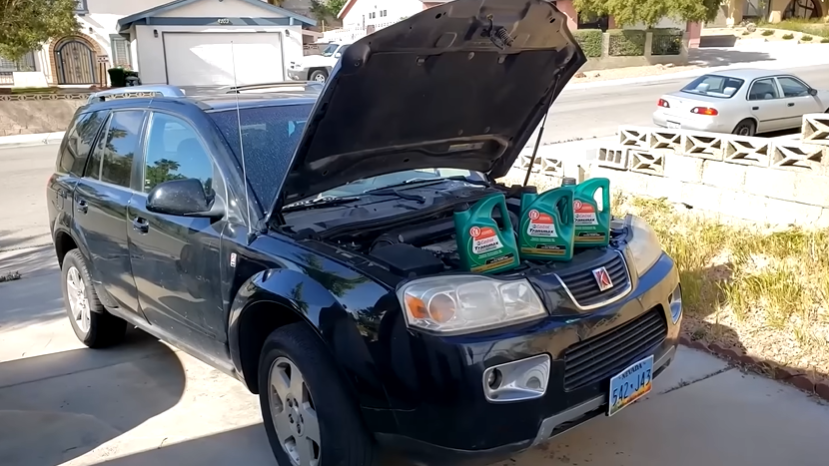
The oil cap on your car is there to keep the oil in and the dirt and water out. Over time, the cap can become stuck due to built-up residue. If you find yourself unable to remove the oil cap, don’t worry.
With a little patience and some household supplies, you can get it off.
- Unscrew the oil cap by hand
- If it is too tight or stuck, wrap a rag around the cap and use an adjustable wrench to loosen it
- If the cap is still stuck, insert a flathead screwdriver into the slot on the side of the cap and pry it off
- Once the oil cap is removed, clean off any dirt or grime that may be on the threads of the opening
- Screw on a new oil cap hand-tight until it stops, then give it an extra 1/4 to 1/2 turn with an adjustable wrench
How Do I Get a Stuck Oil Cap Off?
If you’re having trouble getting your oil cap off, there are a few things you can try. First, make sure that the cap is lined up correctly with the opening. If it’s not, you may be able to gently twist it until it lines up.
If that doesn’t work, try using a pair of pliers to get a better grip on the cap. If all else fails, you can always take the car to a mechanic and have them take care of it for you.
Can You Open the Engine Oil Cap When Hot?
Yes, you can open the engine oil cap when hot. However, be careful not to touch the hot engine parts as you could get burned. It’s best to wait until the engine has cooled down before attempting to remove the oil cap.
How Do You Remove the Oil Cap on a Subaru?
Assuming you would like a step-by-step guide on how to remove the oil cap on a Subaru:
1. Park your Subaru on level ground and set the emergency brake. Turn off the engine and allow it to cool for at least 10 minutes before proceeding.
2. Place an oil catch pan underneath the oil drain plug, which is located on the bottom of the engine block near the front passenger side wheel.
3. Loosen the oil drain plug with a wrench, then remove it completely by hand. Allow all of the used motor oil to drain into the catch pan.
4. Find the oil filter housing, which is also located on the bottom of the engine block but toward the back driver’s side wheel. Use a wrench to loosen, then remove by hand,the black plastic housing cap that covers the paper element inside (be careful not to lose this small o-ring gasket).
5. Pull out the used paper element and discard it properly according to your local regulations (most likely in a sealed container).
Clean out any debris from inside the housing with a clean rag; do not use compressed air as this can damage sensitive parts inside
6 . Coat the new paper element lightly with fresh motor oil before inserting it into the housing and screwing it on the housing cap (again, being careful not to lose the o-ring gasket).
7. Double-check that both the drain plug and filter housing are tightened securely before moving on
8 . Open your Subarus hood and locate the dipstick at the front left corner of the engine bay
9 . Remove the dipstick by pulling it straight up; wipe clean with a clean rag
10. Insert the dipstick back down into the tube until it stops
11 . Pull the dipstick back out and check the reading: if it’s below the “Add” line on the stick, you will need to add more motor oil
12. Add the recommended type and amount of motor oil specified in your Subarus owner’s manual
Should There Be Pressure When Removing Oil Cap?
There are a few schools of thought when it comes to removing the oil cap on your car. The most important thing is to make sure that the engine is off and has had time to cool down before you attempt to remove the cap. Once you’ve done that, there are two main ways to go about it: with or without pressure.
If you choose to remove the oil cap with pressure, be sure to use a release tool so that you don’t damage the threads on the cap. Apply pressure evenly and slowly turn the cap until it releases. Be careful not to let any hot oil escape!
If you opt to remove the oil cap without pressure, simply grasp it firmly and unscrew it counterclockwise. Again, be careful not to strip any threads in the process.
Whichever method you choose, remember to be patient and take your time – rushing this job could result in costly repairs down the road.
The trick to remove STUCK OIL CAP.
Removing The Oil Cap While The Engine is Hot
If you’re wondering whether it’s safe to remove the oil cap on your engine while it’s still hot, the answer is generally yes. However, there are a few things you should keep in mind before doing so. First, make sure that the engine is turned off and that the car is parked in a safe place.
You don’t want to be removing the oil cap while the engine is still running as this could be dangerous. Once the engine is cool, locate the oil cap and unscrew it slowly. Be careful not to let any hot oil spray out when you do this.
If necessary, use a rag or glove to protect your hand from heat. Once the oil has drained out of the cap, replace it and screw it back on tightly. You may need to give it a little extra torque to ensure that it’s tight enough.
And that’s all there is to safely remove your car’s oil cap while the engine is still hot!
The Trick to Getting Oil Caps off
If you’re like most people, you’ve probably had the frustrating experience of trying to remove an oil cap that’s stuck on tight. Here’s a little trick that can help make the process a whole lot easier. First, take a thin piece of metal (a paperclip or unbent bobby pin works well) and insert it into the hole in the center of the oil cap.
Then, use your other hand to twist the metal clockwise until you feel resistance. At this point, stop twisting and pull firmly on the metal – the cap should come right off. If this doesn’t work, try heating the area around the oil cap with a hair dryer for 30-60 seconds before attempting to remove it again.
The heat will sometimes loosen up whatever is causing the sticking and make it much easier to get off.
What to Do If Oil Cap is Stuck
If your oil cap is stuck, don’t panic! There are a few things you can try to loosen it. First, try using a pair of pliers.
Grip the oil cap firmly and twist it counterclockwise. If this doesn’t work, you can try heating the oil cap with a hair dryer or heat gun. This will help to loosen any built-up grime or debris that may be causing the issue.
Once the oil cap is loosened, be sure to clean it before screwing it back on. This will help to prevent further issues down the road.
Which Way to Turn Oil Cap
If you’re like most people, you’ve probably had to deal with a loose or missing oil cap at some point. It’s not a big deal, but it can be a little tricky to figure out which way to turn the oil cap when you’re putting it back on. Here’s a quick guide to help you out:
The first thing you need to do is find the correct orientation for the oil cap. There will usually be an arrow or some other indicator on the top of the cap that tells you which way it needs to be turned. If there’s no indicator, then just align the cap so that the opening is facing downwards.
Once you’ve got the orientation sorted out, simply screw the cap back on until it’s snug. Be careful not to over-tighten it, as this could damage the threads. And that’s all there is to it!
Just remember – when in doubt, consult your car’s manual for specific instructions on how to change your oil and replace your oil filter.
Conclusion
If your oil cap is stuck, don’t worry! There are a few easy ways to remove it. First, try using a pair of pliers.
If that doesn’t work, you can try heating the cap with a hair dryer or a heat gun. Finally, if all else fails, you can use a screwdriver to pry the cap off.


Leave a Reply