
If your engine is acting up or your car won’t start, the camshaft position sensor might be the culprit. But how do you know for sure?
You don’t need to guess or rush to the mechanic right away. You can test your camshaft position sensor yourself using a simple tool you probably already have—a multimeter. In this guide, you’ll learn easy, step-by-step instructions to check your sensor’s health quickly and accurately.
By the end, you’ll feel confident diagnosing this key part of your engine and saving time and money on repairs. Ready to take control of your car’s performance? Let’s get started.
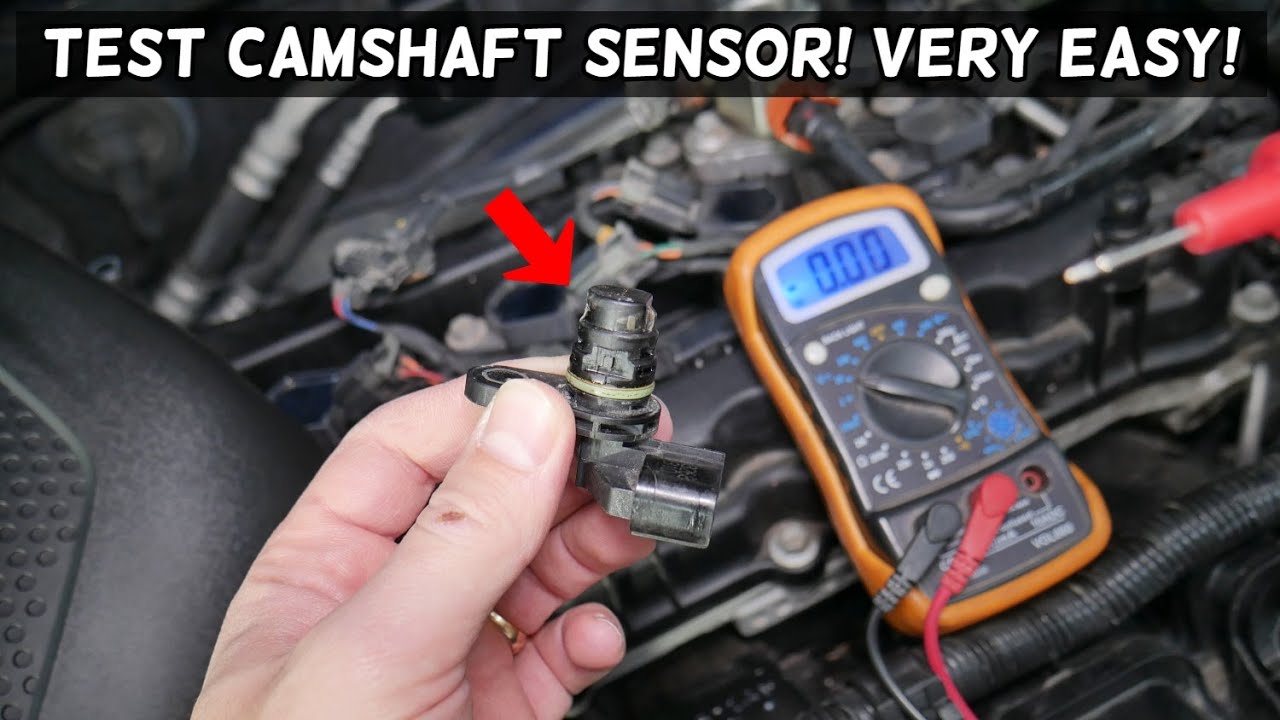
Credit: www.youtube.com
Camshaft Position Sensor Basics
The camshaft position sensor is a small but vital part of your car’s engine. It helps the engine control unit (ECU) know the exact position of the camshaft. This information allows the engine to adjust fuel injection and ignition timing. Proper timing means better engine performance and fuel efficiency.
The sensor works by detecting the rotation of the camshaft. It sends signals to the ECU about the camshaft’s position. The ECU uses these signals to control how and when the engine fires each cylinder. Without a working camshaft position sensor, the engine may run poorly or not start at all.
Role In Engine Performance
The camshaft position sensor controls ignition timing and fuel injection. It helps the engine fire cylinders at the right time. This improves engine power and fuel economy. The sensor also reduces harmful emissions by keeping timing precise. A good sensor keeps the engine running smoothly and efficiently.
Common Symptoms Of Sensor Failure
A failing camshaft position sensor causes engine problems. You might notice rough idling or engine stalling. The car may hesitate or jerk during acceleration. The engine might fail to start sometimes. The check engine light often comes on when the sensor fails. These signs suggest the sensor needs testing or replacement.
Credit: techroute66.com
Tools Needed For Testing
Testing a camshaft position sensor requires specific tools to get accurate results. Using the right equipment helps avoid mistakes and saves time. Before starting, gather all necessary tools to ensure a smooth process.
Choosing The Right Multimeter
Select a digital multimeter with good accuracy and a clear display. It should measure voltage, resistance, and continuity. A multimeter with auto-ranging makes the job easier. Choose one with a durable build for regular use. Avoid cheap models that may give wrong readings.
Additional Equipment
Besides a multimeter, use a set of probe leads with sharp tips. This helps in making solid contact with sensor terminals. A wiring diagram of your vehicle is useful to identify sensor wires. Use gloves to protect your hands from dirt and heat. Have a flashlight ready for better visibility in tight spaces.
Preparing For The Test
Preparing for the test is a key step in checking a camshaft position sensor. It ensures accurate results and protects you from harm. Before using a multimeter, gather the right tools and understand the sensor’s location. This preparation saves time and avoids mistakes during testing.
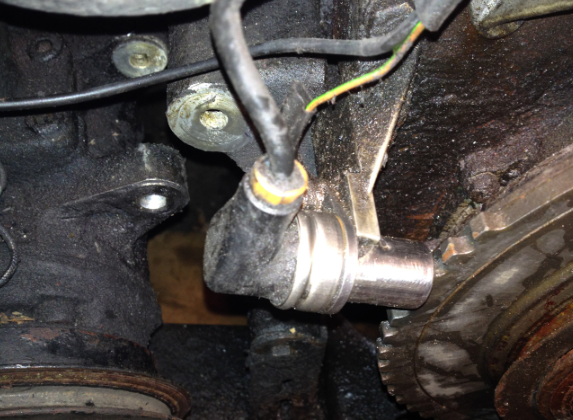
Locating The Sensor
Find the camshaft position sensor first. It usually sits near the engine’s camshaft or cylinder head. Look for a small, cylindrical part with a wire connector attached. Your vehicle’s manual can help pinpoint its exact spot. Clear any dirt or debris around the sensor to get a better look.
Safety Precautions
Safety is important before starting the test. Make sure the engine is off and cool to avoid burns. Disconnect the car battery to prevent electric shocks. Wear gloves and safety glasses for extra protection. Work in a well-lit area to see clearly. Double-check that the multimeter is set to the correct setting before testing.
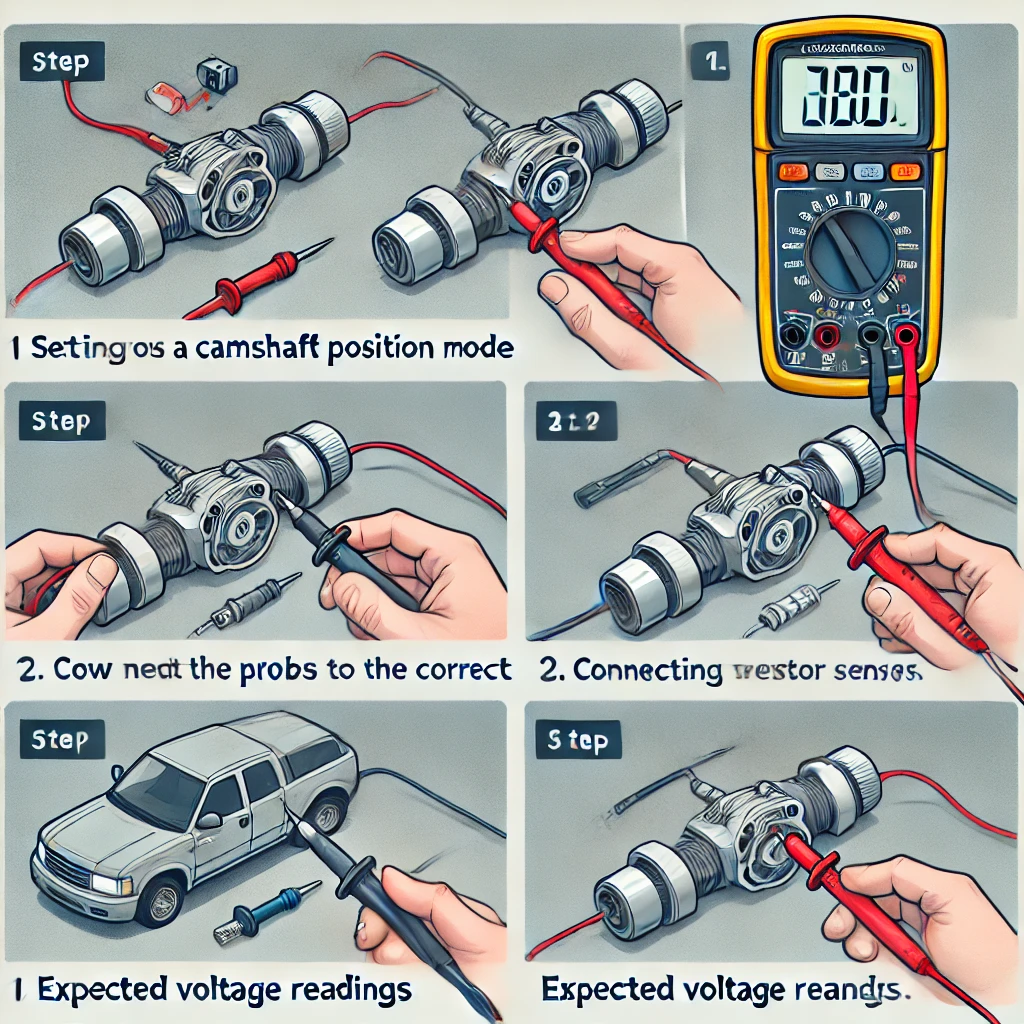
Step-by-step Testing Process
Testing a camshaft position sensor with a multimeter helps find faults quickly. This guide shows the step-by-step process. Each step checks a specific part of the sensor’s function. Follow these steps carefully to get accurate results.
Checking Sensor Resistance
Start by turning off the car and removing the sensor connector. Set the multimeter to the ohms (Ω) setting. Touch the multimeter leads to the sensor’s terminals. The resistance reading should match the manufacturer’s specifications. A very high or low reading means the sensor may be faulty.
Measuring Voltage Output
Reconnect the sensor and turn the ignition key to the ON position. Set the multimeter to the volts (V) setting. Place the positive lead on the sensor’s signal wire and the negative lead on the ground wire. Rotate the engine by hand or crank it briefly. Watch the voltage reading; it should fluctuate as the camshaft turns.
Testing Signal Continuity
Turn off the engine and disconnect the sensor again. Set the multimeter to the continuity mode. Touch the leads to the sensor terminals and check for a beep or low resistance. This test confirms the sensor’s internal wiring is intact. No sound or infinite resistance indicates a broken circuit inside the sensor.
Interpreting Test Results
Interpreting the test results of your camshaft position sensor is key. The multimeter readings tell you if the sensor works or not. Understanding these numbers helps decide what to do next. You can spot problems early before they cause bigger engine issues.
Normal Vs Faulty Readings
A normal reading shows a steady voltage or resistance within the sensor’s range. This means the sensor sends correct signals to the engine computer. The exact values depend on your vehicle’s manual. Usually, resistance falls between 200 and 1,500 ohms.
Faulty readings often show zero, infinite resistance, or erratic voltage. These signs mean the sensor is damaged or not working right. A sudden jump or drop in voltage during testing means the sensor may fail soon. Such irregular readings can cause engine misfires or poor performance.
Next Steps After Testing
If the sensor shows normal readings, check wiring and connectors next. Loose or damaged wires can cause sensor problems even if the sensor is good. Clean and secure all connections for best results.
If the sensor is faulty, replace it with a new one. Use the exact part number for your vehicle model. After replacement, clear any error codes with a scanner. Test drive the car to ensure smooth running and no warning lights.
Credit: www.nevsemi.com
Frequently Asked Questions
What Is A Camshaft Position Sensor?
A camshaft position sensor tracks the camshaft’s position in an engine. It helps the engine control system manage fuel injection and ignition timing.
How Do I Test A Camshaft Sensor With A Multimeter?
Set the multimeter to measure resistance or voltage. Check the sensor’s terminals and compare readings to the manufacturer’s specs.
What Multimeter Setting Is Best For Testing This Sensor?
Use the Ohms (Ω) setting to test resistance or the Volts (V) setting for voltage signals. Choose based on the test type.
Can A Faulty Camshaft Sensor Cause Engine Problems?
Yes, it can cause poor engine performance, stalling, or difficulty starting. The sensor helps the engine run smoothly.
How Often Should I Test The Camshaft Position Sensor?
Test the sensor if you notice engine issues or during regular maintenance. There is no fixed schedule for testing.
Conclusion
Testing a camshaft position sensor with a multimeter is simple and useful. You can find sensor problems early and save on repairs. Follow the steps carefully to get accurate results. A good sensor helps your engine run smoothly. Keep your multimeter ready for quick checks anytime.
Regular testing prevents bigger car issues later. Now, you can check your sensor with confidence and ease.

Leave a Reply