This is a pretty straightforward process that can be done in your garage with just a few tools. You’ll need a socket wrench, an oil catch pan, and some rags. First, you’ll want to warm up your bike so the oil is thinner and will drain out more easily.
Next, use the socket wrench to remove the bolts that hold the fork caps in place. Carefully remove the fork caps and set them aside. Drain the old oil into the catch pan and then wipe down the inside of the forks with a rag to remove any residue.
Now it’s time to add new oil. Pour it slowly into each fork until it reaches the level of the bottom of the fork tube. Replace the fork caps and bolts, being careful not to overtighten them.
- Park your bike on a level surface and place a pan underneath the fork to catch the old oil
- Remove the bolts that hold the fork cap in place and carefully remove the cap, being careful not to lose any of the parts inside
- Use a syringe or a turkey baster to remove most of the old oil from each leg of the fork
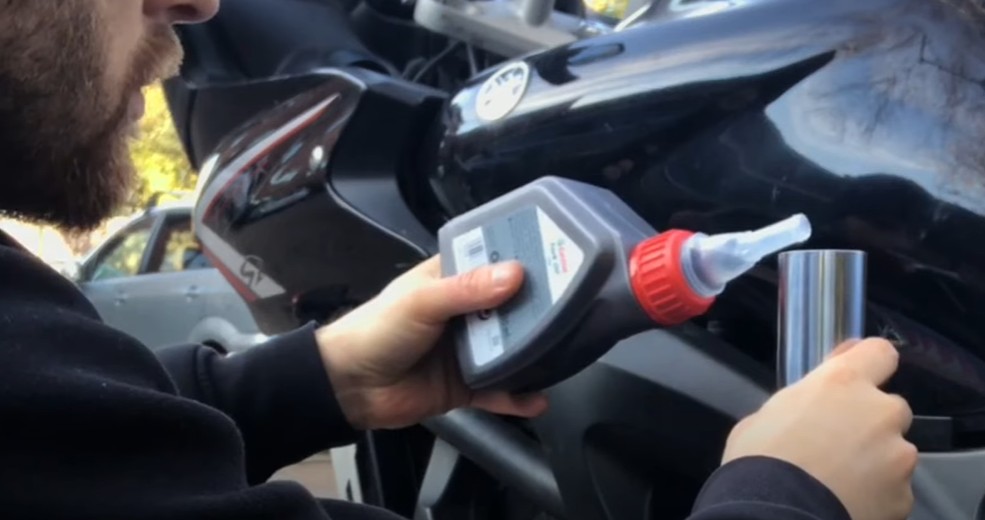
- Pour new fork oil into each leg of the fork, using either a measuring cup with a spout or a funnel
- Screw the fork caps back on, being sure not to over-tighten them, and test ride your bike to make sure everything feels good before taking it out on the trail again
How Often Should Fork Oil Be Changed?
Fork oil should be changed every 30,000 miles or 2 years, whichever comes first. If you ride in dusty or muddy conditions, you may need to change it more often.
How Do You Add Fork Oil Without Removing Forks?
If you’re looking to add fork oil without removing the forks, there are a few things you’ll need to do. First, remove the cap from the top of the fork. Next, use a syringe or small funnel to slowly pour the oil into the exposed area.
Once you’ve added the desired amount of oil, replace the cap and screw it back on tightly. Finally, use a rag to wipe away any excess oil that may have leaked out.
What Happens If You Don’t Change Fork Oil?
Over time, fork oil will break down and become less effective at lubricating and protecting your forks. This can lead to increased wear on the forks, as well as decreased performance and premature failure. In extreme cases, not changing fork oil can even cause the forks to seize up entirely.
How Do You Drain Fork Oil?
If your motorcycle has a sealed cartridge fork, then the process for draining the fork oil is relatively simple. All you need to do is remove the drain plug at the bottom of each leg, and the oil will drain out. If your motorcycle has a traditional damper rod fork, then the process is a little more involved.
You’ll need to remove the spring preload cap and release the compression by removing the rebound damping rod. Once that’s done, you can remove the drain bolts and let the oil drain out. Be sure to check your owner’s manual for specific instructions on how to do this on your particular motorcycle.
Motorcycle Suspension Tech and Maintenance: How To Rebuild Your Fork | MC GARAGE
How to Change Fork Oil Without Removing Forks
If your forks feel soft or if they’ve been leaking oil, it’s time to change the fork oil. You can do this without removing the forks from the bike. Here’s how:
1. Place the bike on a stand so that the front wheel is off the ground. This will make it easier to work on the forks. 2. Remove the cap from each fork leg.
You’ll see a spring inside each leg. Use a compressed air canister to blow out any dirt or debris that may be in there. Then, use a damp cloth to wipe down the inside of each fork leg.
Be careful not to get any water on the springs. 3. Using a syringe or turkey baster, suck out all of the old fork oil from each leg. Catch the old oil in a container so you can dispose of it properly later.
4 . Now it’s time to add new fork oil. Pour fork oil into each leg until it reaches the full line on the side of the leg.
Replace th e caps and screw themon tight.
How to Change Fork Oil on a Dirt Bike
If you have a dirt bike, it’s important to know how to change the fork oil. This is a simple process that anyone can do, and it will keep your bike running smoothly. Here’s what you need to know:
Tools & Materials Needed: -Drain pan -Socket wrench set
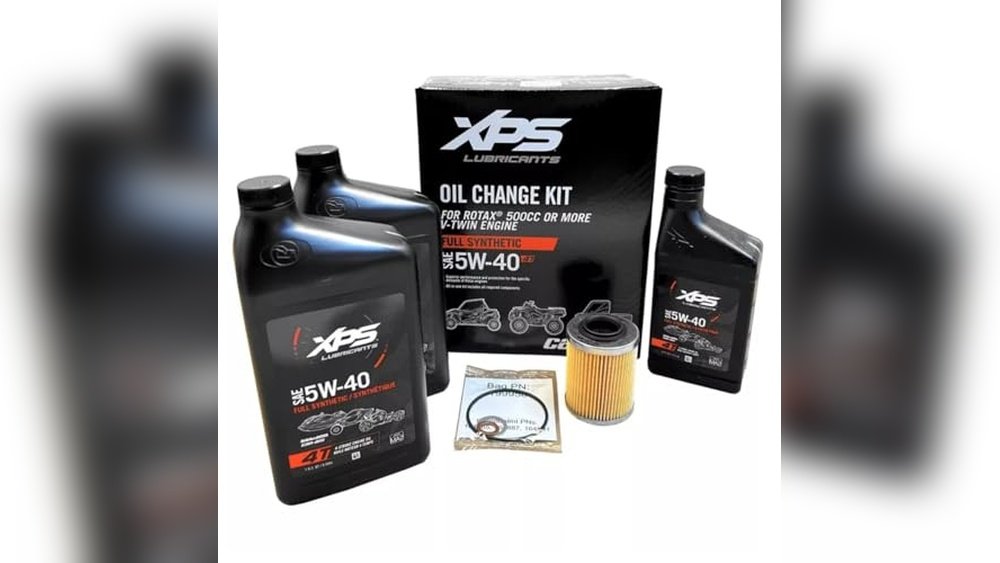
-Funnel -Fork oil (consult your owner’s manual for the recommended type and amount) -Gloves (optional)
Instructions: 1. Place the drain pan beneath the front forks of the dirt bike and loosen the bolts that hold the fork caps in place with the socket wrench. Be sure to remove both bolts from each fork – there should be four in total.
2. Carefully remove the fork cap, being careful not to lose any of the small parts inside (e.g., washers, o-rings). You may want to wear gloves for this step, as used fork oil can be quite dirty. 3. Let all of the old fork oil drain out into the drain pan.
Once it has finished draining, use a clean rag or paper towel to wipe out any residue from inside the forks. 4. Add new fork oil using a funnel. Again, consult your owner’s manual for guidance on how much fork oil to add – too much or too little can adversely affect performance.
(For example, if you add too much oil, the forks may feel “stiff” when riding.) Fill each fork until new oil just starts dripping out of the rebound hole located at the bottom of each leg – this is an indication that you’ve added enough fork oil. 5Replace all ofthe small parts insidethe forks(e.g., washers, o-rings),and thencarefullyscrewtheforkcap backon .Tighten the bolts securely with the socket wrench– don’t overdo it, or you may strip them. Test ride over bumps to check that they’re adjusted properly before heading out for a long ride.
Motorcycle Fork Oil Change
If you’re a motorcycle enthusiast, then you know that one of the most important maintenance tasks for your bike is changing the fork oil. Not only does this ensure that your suspension is working properly, but it also helps to prolong the life of your forks. Here’s a step-by-step guide to changing motorcycle fork oil:
1. Start by draining the old oil from your forks. To do this, remove the drain plugs from the bottom of each fork leg and let the oil drain out into a catch pan. 2. Once all of the old oil has been drained, it’s time to clean out any debris or deposits that may have built up inside the forks.
To do this, use a clean rag to wipe out the inside of each fork leg. 3. Now it’s time to add new oil to your forks. Start by adding the recommended amount of oil to each fork leg, then slowly work the forks up and down until all air bubbles have been purged from the system.
Finally, reinstall the drain plugs and tighten them securely. 4. That’s it! You’ve now successfully changed your motorcycle fork oil and are ready to hit the road again!
How to Change Fork Oil on Upside-down Forks
If you’re a motorcycle owner, you know that changing your fork oil is an important part of regular maintenance. But if you have upside-down forks, the process can be a bit more complicated. Here’s a step-by-step guide on how to change fork oil on upside-down forks:
1. Remove the wheel and fender so you have full access to the forks. 2. Unscrew the top cap from each fork tube and remove the spring. 3. Use a syringe or turkey baster to suction out as much of the old fork oil as possible.
Be careful not to lose any small parts in the process! 4. Refill each fork tube with new fork oil, using the same amount that was removed in step 3. You can use different weights of fork oil, but be sure to consult your owner’s manual for recommendations. 5. Replace the spring and screw on the top caps tightly.
Reattach the wheel and fender, and you’re good to go!
Conclusion
This blog post walks readers through the process of changing fork oil, step by step. The author begins by outlining the tools and materials needed for the job and some helpful tips. They then go on to describe each step in detail, from removing the old fork oil to adding the new oil and bleeding the forks.
Throughout, the author includes photos and diagrams to illustrate each step. By following this guide, readers should be able to easily change their fork oil.


Leave a Reply