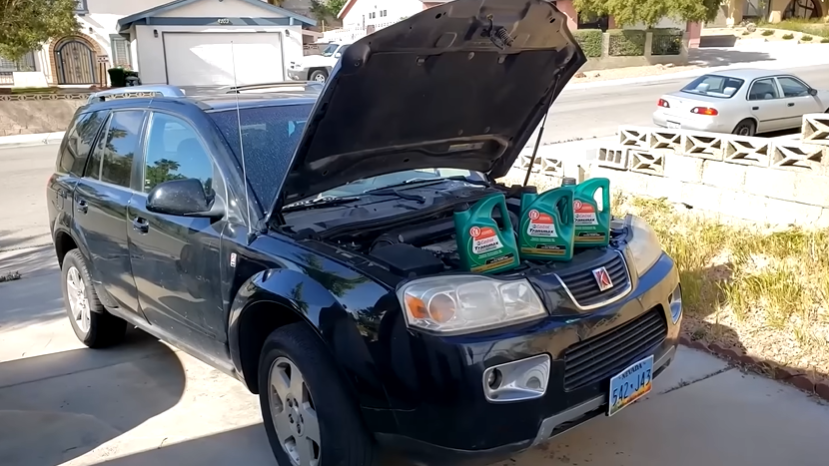
1. Park your vehicle on a level surface and shut off the engine. Place a drip pan underneath the oil filter to catch any leaking oil. 2. Unscrew the oil filter with an oil filter wrench and let the old oil drain into the drip pan.
Screw on a new oil filter, being careful not to overtighten it. 3. Pour new motor oil into the engine, checking the owner’s manual to see how much is needed. Start up the engine and let it run for a few minutes, then turn it off again.
4. Find an unused port on the engine block using your owner’s manual as a guide. Most engines have multiple ports that can be used for installing an oil pressure gauge; however, some may only have one available port or none at all. If there are no unused ports, you will need to install an adapter kit before proceeding any further.
5a) For metric threads: Install a T-fitting into the chosen port using two wrenches—one to hold the T-fitting in place and another to tighten its retaining nut. Be sure not to overtighten this nut, as doing so could damage the threads. Hand-tighten each of the two hoses onto opposite ends of the T-fitting until snug, then use wrenches to give each hose an extra 1/4 – 1/2 turn.
b) For SAE (inch) threads: Install an elbow fitting into the chosen port using two wrenches—one to hold onto the elbow fitting and another wrench to tighten its retaining nut clockwise until snug. Do not over-tighten.
- Locate the oil pressure-sending unit on your vehicle
- This is usually located on the engine block near the oil filter
- Disconnect the electrical connector from the sending unit
- Using a wrench, loosen and remove the sending unit from the engine block
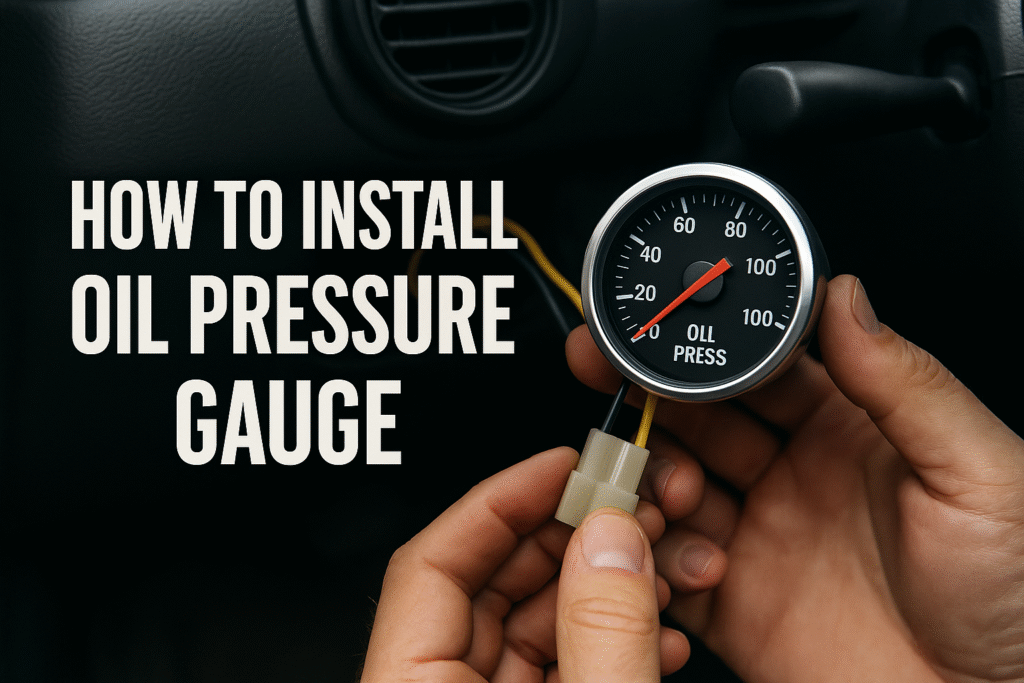
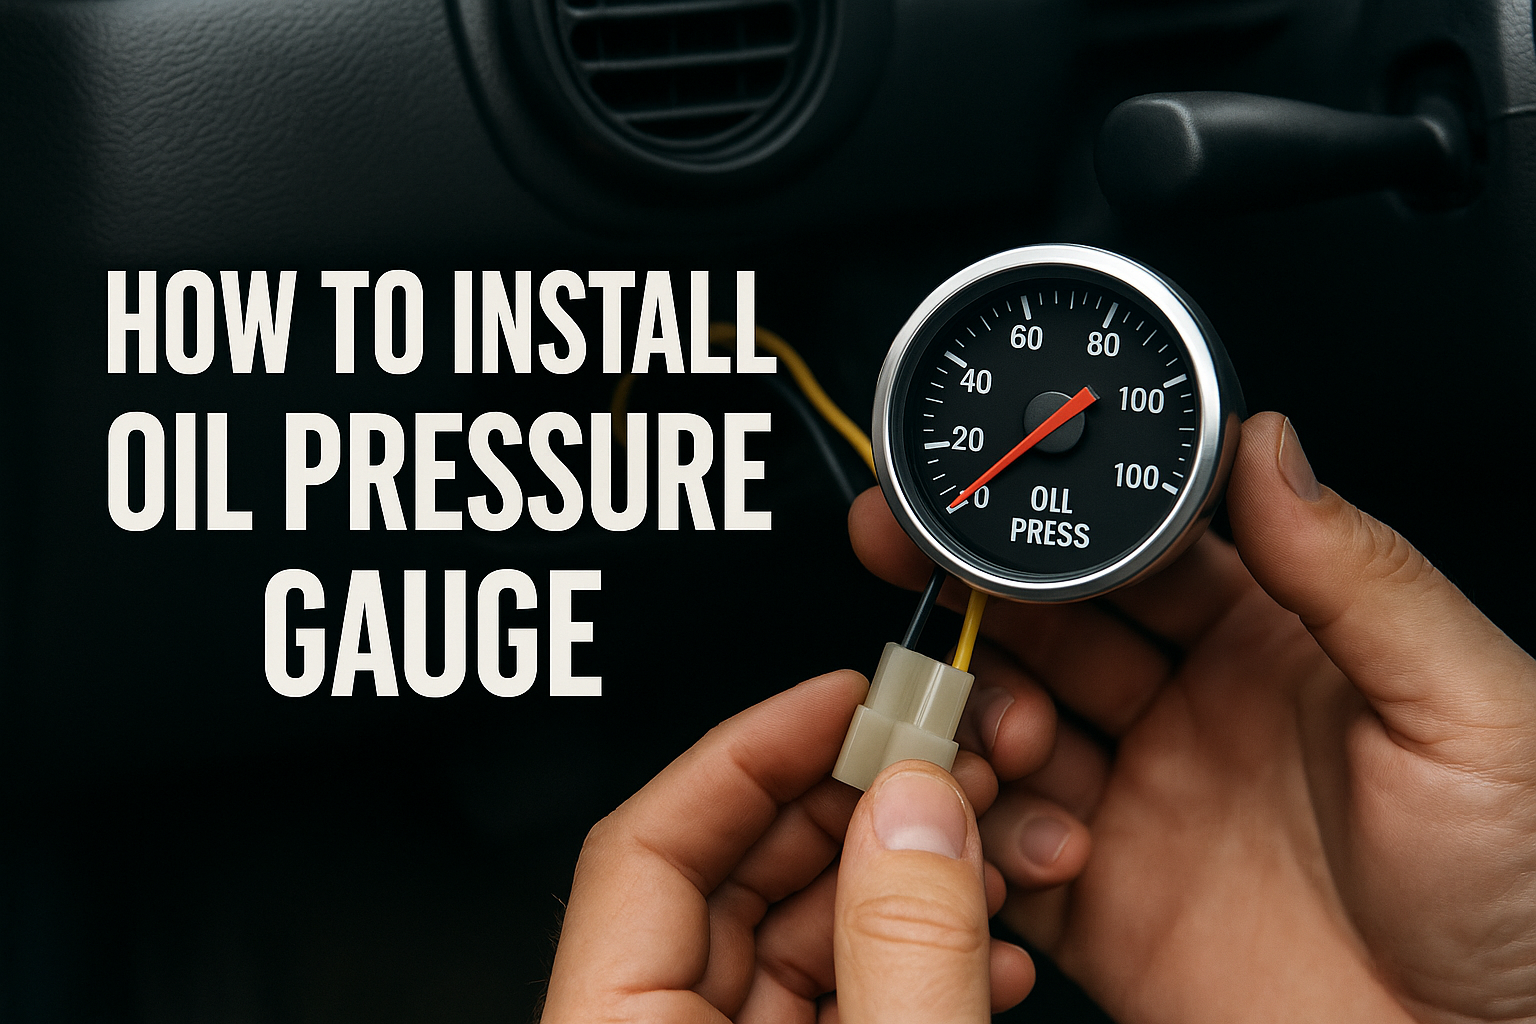
- Install the new oil pressure gauge in its place and tighten it with a wrench until snug
- If your vehicle has an electronic oil pressure gauge, reconnect the electrical connector to the sending unit
- If your vehicle has a mechanical oil pressure gauge, you will need to run a line from the engine block to where the gauge will be mounted
How Do You Install an Oil Pressure Gauge Line?
Installing an oil pressure gauge line is a pretty simple process. You’ll need to start by running the line from the gauge to the engine block. Make sure that you have enough slack in the line so that it can reach around the engine without being too tight.
Once you have the line run to the engine, you’ll need to find a place to tap into the oil pressure-sending unit. This is usually located on the side of the block near where the oil filter is mounted. Once you’ve found the right spot, use a drill and tap kit to create a new thread for your gauge’s fitting.
Be careful not to over-tighten this fitting, as it can strip out easily. Once it’s installed, just screw in your gauge’s sender unit and tighten it down with a wrench. With that done, all you need to do is hook up your power wire and ground wire, and you should be good to go!
Where is the Oil Pressure Gauge Fitted to the Engine?
The oil pressure gauge is typically fitted to the engine at the front, near the oil filter. It may also be located on the side of the engine, near the oil dipstick.
How Do You Install a Pressure Gauge?

Installing a pressure gauge is a relatively simple process that can be completed in just a few minutes with the proper tools. The first step is to determine the type of pressure gauge you need for your application. There are two main types of pressure gauges: digital and analog.
Each has its advantages and disadvantages, so make sure to choose the one that best suits your needs. Once you have selected the type of pressure gauge you need, follow these steps to install it: 1) If necessary, mount the pressure gauge to a panel or surface using the appropriate hardware.
Make sure that the mounting location is level and secure. 2) Connect the pressure gauge to the system being monitored using either tubing or fittings. If using tubing, make sure to use properly sized tubing that can handle the operating pressures of your system.
Also, double-check all connections for leaks before proceeding. 3) Turn on the power to the system and test the pressure gauge for proper operation. Make sure that it is reading accurately and responding properly to changes in system pressure.
If everything looks good, you’re finished!
How Much Does It Cost to Install an Oil Pressure Gauge?
An oil pressure gauge is a handy tool that can help you keep an eye on the health of your engine. But how much does it cost to install one? Let’s take a look.
The cost of an oil pressure gauge will vary depending on the make and model of your car, as well as the type of gauge you choose. Expect to pay anywhere from $30 to $100 for the parts and labor involved in installation.
If you’re comfortable doing some basic car maintenance, you might be able to install the oil pressure gauge yourself.
This can save you a bit of money on labor costs. Just be sure to consult your car’s owner’s manual before attempting any work, and always disconnect the battery before starting.
Oil Pressure Gauge Install
Mechanical Oil Pressure Gauge Install
If your car is running low on oil, you may be able to tell by the behavior of your mechanical oil pressure gauge. If the needle starts dipping into the red, it’s time for an oil change. You can save yourself some money by doing this simple install yourself.
Here’s how:
1. Park your car on level ground and turn off the engine. Place a drip pan under the drain plug to catch any spilled oil.
2. Unscrew the drain plug with a wrench and let the oil flow into the drip pan. When finished, screw the drain plug back in place.
3. Remove the old oil filter using an appropriate tool (usually a strap wrench).
Be careful not to damage the filter housing when removing it. Install a new filter and hand-tighten it in place until resistance is felt, then give it another 1/4 turn with the wrench.
How to Install Oil Pressure Gauge on a Tractor
If your tractor doesn’t have an oil pressure gauge, it’s a good idea to install one. Here’s how:
1. Locate the engine block.
This is usually located at the front of the tractor, behind the radiator.
2. Find an unused threaded hole in the engine block. If there isn’t one, you’ll need to drill a hole for the oil pressure gauge sender.
Be sure to use a drill bit that’s just slightly smaller than the threads on the sender so it will fit snugly.
3. Install the Oil Pressure Gauge Sender into the hole and tighten with a wrench until snug. Don’t overtighten or you could strip the threads.
4 Screw in the adapter fitting (usually included with your gauge) until hand-tight then finish tightening with a wrench until snug – again, being careful not to strip the threads..5
How to Install Oil Pressure Gauge Chevy 350
If you’re looking to install an oil pressure gauge on your Chevy 350, there are a few things you need to know first. Here’s a quick rundown of what you need to do:
1. Remove the negative battery cable from the battery.
2. Unscrew the engine oil dipstick and pull it out.
3. Insert the oil pressure gauge into the dipstick hole. Be sure to screw it in tightly so it doesn’t leak.
4. Reconnect the negative battery cable to the battery.
Vdo Oil Pressure Gauge Installation Instructions
If you’re looking to install a VDO oil pressure gauge in your vehicle, there are a few things you’ll need to keep in mind. First, you’ll need to purchase the correct gauge for your specific vehicle. VDO offers a wide variety of gauges that are designed to fit most makes and models.
Once you’ve got the right gauge, installation is pretty straightforward. Here’s a quick rundown of what you’ll need to do:
1) Locate the sending unit for the oil pressure gauge.
This is usually located on the engine block near the oil filter. In some cases, it may be necessary to remove an engine panel or other obstacle in order to reach the sending unit.
2) Unscrew the sending unit and carefully remove it from its location.
Make sure not to lose any of the small parts that may have come with it.
3) Take your new VDO oil pressure gauge and screw it into place of the old sending unit. Be careful not to over-tighten as this could damage the threads.
4) Reconnect any wiring that was attached to the old sending unit and tuck it away so that it doesn’t get caught on anything while driving.
Conclusion
If your car’s oil pressure gauge isn’t working, it might be time to install a new one. Here’s how:
First, disconnect the negative battery cable.
This will prevent any electrical shorts while you’re working on the gauge.
Next, locate the sending unit. This is usually located on the side of the engine near the oil filter.
Once you’ve found it, unscrew the retaining nut and pull out the old sending unit.
Now it’s time to install the new sending unit. Screw in the new unit and tighten it down with the retaining nut.
Reconnect the negative battery cable and start up your engine. The new oil pressure gauge should now be working properly!


Leave a Reply