Removing an oil dipstick might seem like a simple task, but doing it correctly is essential for maintaining your vehicle’s engine health. Whether you’re checking the oil level or preparing for an oil change, knowing how to properly remove and reinsert the dipstick ensures accurate readings and prevents potential damage.
In this guide, we’ll walk you through the step-by-step process of safely removing the oil dipstick, what to look for, and some helpful tips to avoid common mistakes. Perfect for beginners and car enthusiasts alike, this quick tutorial will give you the confidence to check your oil like a pro. Let’s dive into the basics of handling this small but important part of car maintenance with care and precision.
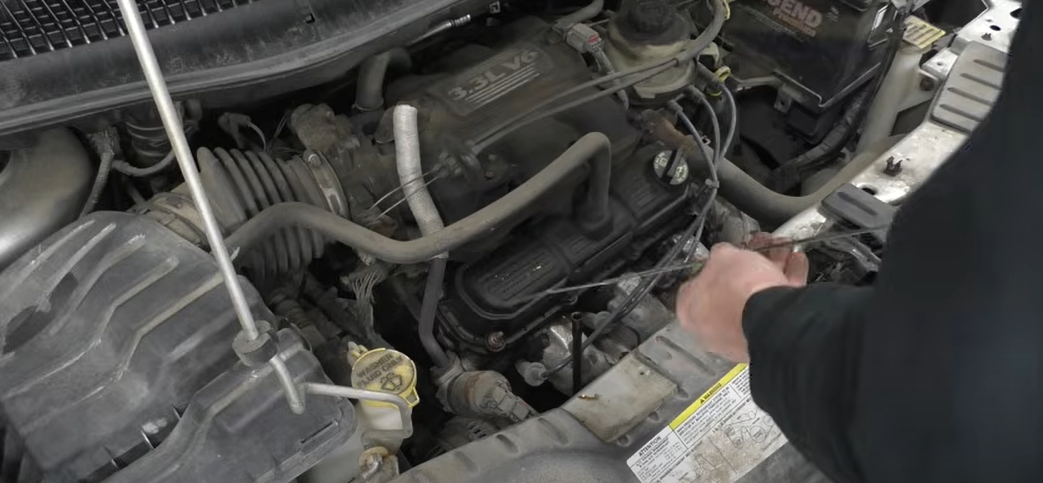
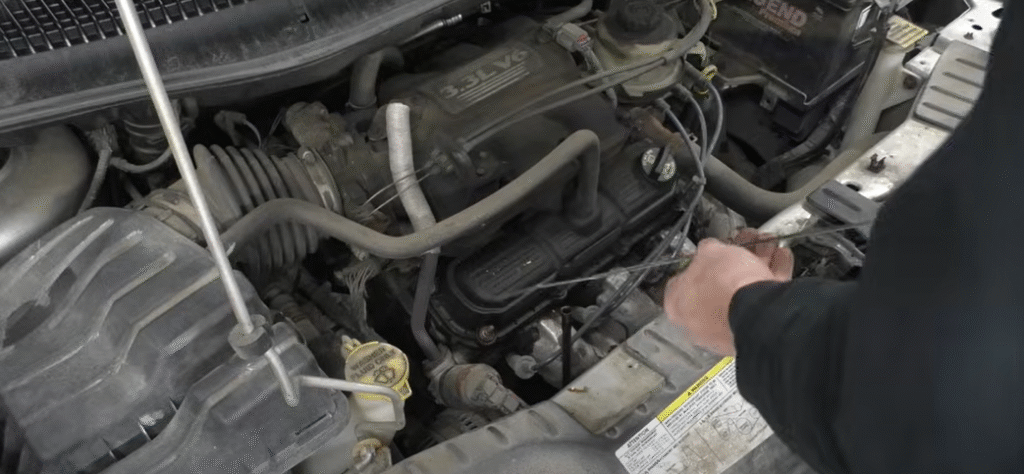
1. Locate the oil dipstick on your vehicle. In most cases, it will be located near the front of the engine, on the side closest to the driver.
2. Pull out the dipstick and wipe it clean with a rag or paper towel.
3. Insert the dipstick back into its housing and push it in until it stops.
4. Pull out the dipstick again and check the level of oil on it. The oil should be between the “full” and “low” markings on the dipstick.
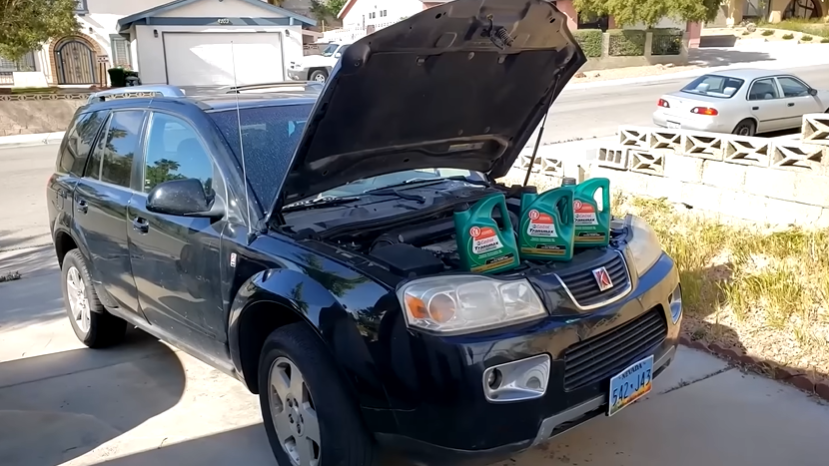
- Open the hood of your car and locate the oil dipstick
- The dipstick is usually located near the front of the engine and has a bright yellow or orange handle
- Grasp the handle of the dipstick and pull it out of its housing
- Wipe any oil off of the dipstick with a clean rag
- Insert the dipstick back into its housing, and push it in until it stops
- Pull the dipstick back out of its housing, and check to see where the oil level falls on the stick
- If it is at or below the “full” line, then you need to add more oil to your car’s engine
How Do You Remove a Dipstick Tube?
Assuming you are referring to an oil dipstick: To remove an oil dipstick tube, first locate the tube. The oil dipstick tube is typically located near the oil pan on the engine.
Once you have located the tube, use a wrench or pliers to loosen the retaining nut or bolt that secures the dipstick tube in place. With the retaining nut or bolt loosened, carefully pull the dipstick tube out of its housing. Be careful not to damage any surrounding components when removing the dipstick tube.
What Tool Removes Broken Oil Dipstick?
If your oil dipstick is broken, you’ll need to remove it before you can add oil to your car. The best tool for the job is a pair of pliers. Just grip the end of the dipstick with the pliers and pull it out.
How Do You Remove a Dipstick Tube from an Oil Pan?
If you need to remove the dipstick tube from an oil pan, the process is actually quite simple. First, you’ll need to locate the tube. It will be located near the top of the oil pan, and will likely have a cap or plug on one end.
Once you’ve located the tube, you can use a wrench or pliers to loosen and remove the cap or plug. With the cap or plug removed, you should be able to simply pull out the dipstick tube. If it’s stuck, you may need to use a little force, but be careful not to damage the threads on the oil pan.
HOW TO REMOVE A BROKEN OIL DIPSTICK STUCK INSIDE TUBE
Oil Dipstick Removal Tool
If your car has an oil dipstick, chances are you’ll need to remove it at some point. Whether you’re checking your oil level or changing your oil, the process is the same. Thankfully, there’s a tool designed specifically for removing oil dipsticks – the Oil Dipstick Removal Tool.
This handy tool is made of durable plastic and fits most standard-size dipsticks. It features a comfortable grip handle and a long, narrow shaft that’s perfect for getting under the dipstick and lifting it out. Best of all, it’s affordable and easy to use.
To use the Oil Dipstick Removal Tool, simply insert the shaft under the dipstick and lift it. The tool will do all the work for you, so there’s no need to worry about damaging your car’s engine. Once the dipstick is out, you can check your oil level or proceed with changing your oil according to your car’s maintenance schedule.
How to Remove a Broken Dipstick
If you find yourself in a situation where you need to remove a broken dipstick, there are a few things you can do. First, try using a pair of pliers to grab onto the end of the dipstick and pull it out. If that doesn’t work, you can try using a wire coat hanger or a piece of string to tie around the end of the dipstick and pull it out that way.
If all else fails, you may need to remove the oil pan to get the dipstick out.
Why is My Oil Dipstick Stuck
If you’ve ever gone to check your oil level and found that the dipstick is stuck, you may be wondering what exactly is going on. There are a few reasons why this can happen, and we’ll go over them all here. One reason why your oil dipstick may be stuck is because there’s too much oil in the engine.
When there’s too much oil, it can cause the dipstick to become lodged in the tube it sits in. This usually happens when someone has accidentally overfilled the engine with oil. If this is the case, you’ll need to have the excess oil drained out by a mechanic before checking your level again.
Another reason for a stuck dipstick could be because something is blocking the way. This could be anything from sludge or debris build-up to a faulty O-ring seal. In either case, you’ll need to have the blockage cleared before you can accurately check your oil level again.
Finally, it’s possible that the problem isn’t with the dipstick at all! If your car has been leaking oil recently, it’s possible that there isn’t enough left in the engine to reach the dipstick. In this case, you’ll just need to top off your oil until it reaches the correct level on the dipstick.
Hopefully, this article has helped clear up why your oil dipstick might be stuck next time you go to check your levels!
Tip of the Oil Dipstick Broke off
If the tip of your oil dipstick breaks off, don’t panic. While it’s certainly not ideal, it’s not the end of the world either. Here’s what you need to do:
1. Locate your oil fill cap and unscrew it.
2. Carefully insert the broken tip of the dipstick into the oil fill hole.
3. Using a funnel, pour in enough oil to reach the Full line on the dipstick (or whatever level is recommended in your owner’s manual).
4. Screw the oil fill cap back on and check that it’s tight.
5. Start up your engine and let it run for a few minutes so that the new oil can circulate throughout the engine. Then, shut it off and recheck the oil level using a new dipstick (or your old one if you can get it out of the fill hole).
Add more oil if necessary.
Conclusion
Removing an oil dipstick is a simple yet crucial part of routine vehicle maintenance. By following the correct steps—ensuring the engine is cool, pulling the dipstick straight out, and wiping it clean before reinserting—you can easily check your engine’s oil level and condition. This small action helps prevent major engine issues and keeps your vehicle running smoothly. With just a few minutes of effort, you can stay on top of your car’s health and avoid costly repairs. Always handle the dipstick with care, and make it a regular part of your maintenance routine.


Leave a Reply