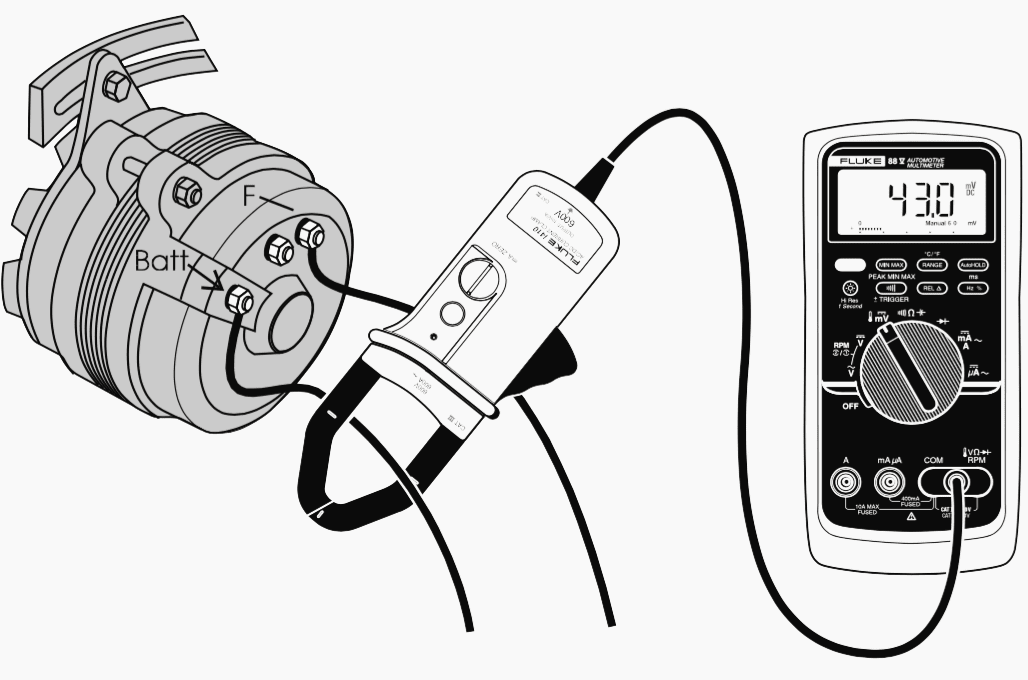
Is your car acting up, and you suspect the alternator might be the problem? Testing your alternator usually means grabbing a multimeter, but what if you don’t have one on hand?
Don’t worry—you can still check if your alternator is working by disconnecting the battery, and it’s easier than you might think. In this post, you’ll learn a simple, step-by-step way to test your alternator without any fancy tools. Keep reading, because knowing this quick trick could save you time, money, and a trip to the mechanic.
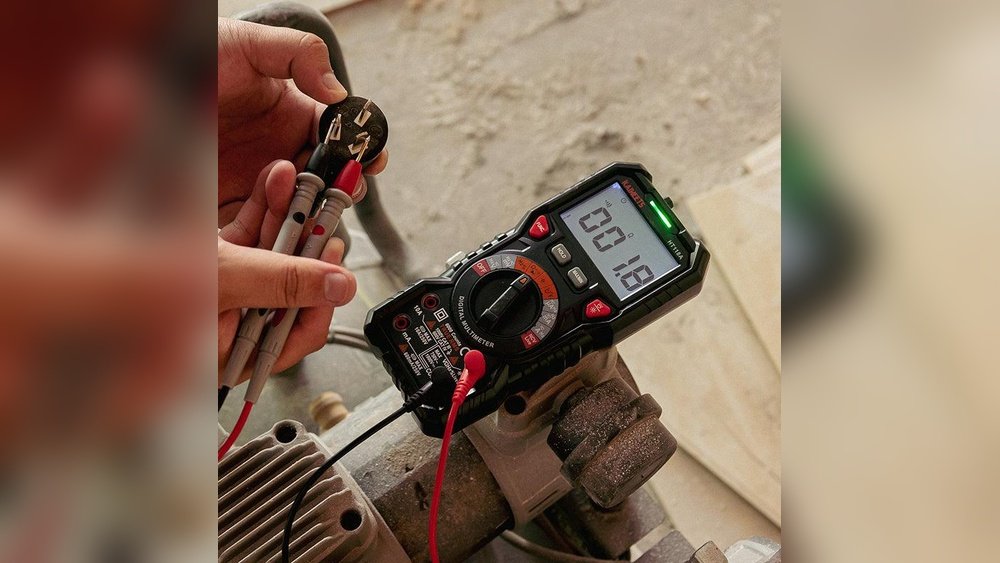
Credit: electrical-engineering-portal.com
Signs Of A Faulty Alternator
Knowing the signs of a faulty alternator helps you spot car problems early. The alternator charges the battery and powers electrical parts. A bad alternator can cause serious trouble while driving. Watch for clear signs to avoid a breakdown.
Dim Or Flickering Headlights
Headlights grow dim or flicker when the alternator fails. The electrical system loses power. This happens especially at low engine speeds. Flickering lights signal the alternator struggles to supply energy.
Battery Warning Light On Dashboard
The battery warning light often means alternator issues. The car’s system detects low voltage. This light stays on even after starting the engine. Ignoring it may lead to a dead battery.
Strange Noises Under The Hood
A failing alternator can make unusual sounds. Listen for grinding or whining noises. These may come from worn bearings or a loose belt. Strange noises call for a quick check.
Electrical Failures
Power windows, radio, or dashboard lights may act oddly. They might work slow or stop altogether. The alternator’s poor output affects these systems. Electrical problems often point to alternator trouble.
Car Stalls Or Has Trouble Starting
The engine may stall or hesitate to start. The alternator might not charge the battery enough. Without enough power, the car struggles to run. Stalling is a serious sign to notice fast.
Safety Precautions Before Testing
Testing an alternator by disconnecting the battery can be risky. Safety precautions are important. They protect you and your vehicle from damage. Follow these steps to stay safe during the test.
Wear Protective Gear
Wear safety glasses to protect your eyes. Use gloves to keep your hands safe. Avoid loose clothing that could catch on parts.
Work In A Well-ventilated Area
Perform the test in a place with fresh air. This reduces the risk of inhaling harmful fumes. Avoid closed spaces like garages without ventilation.
Turn Off The Engine Before Starting
Make sure the engine is off before disconnecting the battery. This prevents sparks and electrical shorts. Never work on a running engine.
Disconnect The Negative Battery Terminal First
Always remove the negative terminal first. This lowers the chance of electrical shock. Then disconnect the positive terminal carefully.
Keep Tools Insulated
Use tools with insulated handles. This reduces the risk of electric shock. Avoid using metal tools that can cause shorts.
Avoid Touching Metal Parts Together
Do not let metal tools touch both battery terminals. This can cause sparks or damage. Keep tools away from the battery post and vehicle frame.
Preparing To Test Without A Multimeter
Testing an alternator without a multimeter is possible by disconnecting the battery. First, ensure the car is off and the key is removed. Then, safely disconnect the battery to check the alternator’s function through simple steps.
Gather Basic Safety Gear
Start by wearing safety glasses and gloves. Protect your eyes and hands from sparks or battery acid. Safety is the first step before testing any electrical part.
Locate The Battery And Alternator
Open the car hood and find the battery. Look for the alternator connected to the engine. Knowing their positions helps during the test process.
Turn Off The Engine
Make sure the engine is completely off. Remove the key from the ignition. This prevents any accidents or electric shocks.
Disconnect The Negative Battery Cable
Use a wrench to loosen the negative cable clamp. Remove the cable from the battery terminal. This stops the electrical flow and prepares for testing.
Inspect The Battery And Connections
Check for corrosion or loose wires on battery terminals. Clean or tighten connections if needed. Good contact is important for accurate testing.
Step-by-step Battery Disconnect Test
The Step-by-Step Battery Disconnect Test helps check your alternator without a multimeter. This simple method uses the battery and basic observation. It shows if your alternator charges the battery properly. You only need to watch the car’s behavior after disconnecting the battery.
Follow each step carefully for accurate results. Safety is important. Wear gloves and avoid touching metal parts together. Let’s start testing.
Prepare Your Vehicle
Turn off the engine and remove the key. Open the car hood and find the battery. Clean any dirt on the battery terminals. This ensures a good connection later. Have a wrench or pliers ready to disconnect the battery cable.
Disconnect The Negative Battery Cable
Identify the negative battery terminal marked with a minus (-) sign. Use your tool to loosen the clamp. Carefully remove the cable from the terminal. Do not let the cable touch any metal parts of the car. This step stops the battery from powering the vehicle.
Start The Engine And Observe
Start the car with the negative cable still disconnected. Listen to the engine sound. Notice if it runs smoothly or stalls. A good alternator keeps the car running even without the battery connected. If the engine dies quickly, the alternator may be weak or broken.
Reconnect The Battery And Check Again
Turn off the engine before reconnecting the battery cable. Tighten the clamp firmly back on the negative terminal. Start the engine once more and watch the dashboard lights. The battery warning light should turn off if the alternator works well. If the light stays on, the alternator might need repair.
Interpreting Test Results And Next Steps
Interpreting test results after disconnecting the battery is a key step in checking your alternator. This step shows if your alternator works well or needs fixing. Clear understanding helps you decide what to do next.
Test results usually show if the alternator charges the battery. Good charging means the alternator is fine. Low or no charging means the alternator might have a problem.
Signs Of A Healthy Alternator
If the engine keeps running after disconnecting the battery, your alternator is likely working. The alternator provides power to the car’s electrical system. No engine stall means the alternator is charging properly.
If the engine stops running after battery disconnection, the alternator may be faulty. This means the alternator is not supplying power. The battery alone cannot keep the engine running.
Next Steps After Testing
Check all battery connections and cables for corrosion or looseness. Clean or tighten them if needed. If the alternator seems faulty, consider visiting a mechanic. They can perform a detailed test or replace the alternator if necessary.
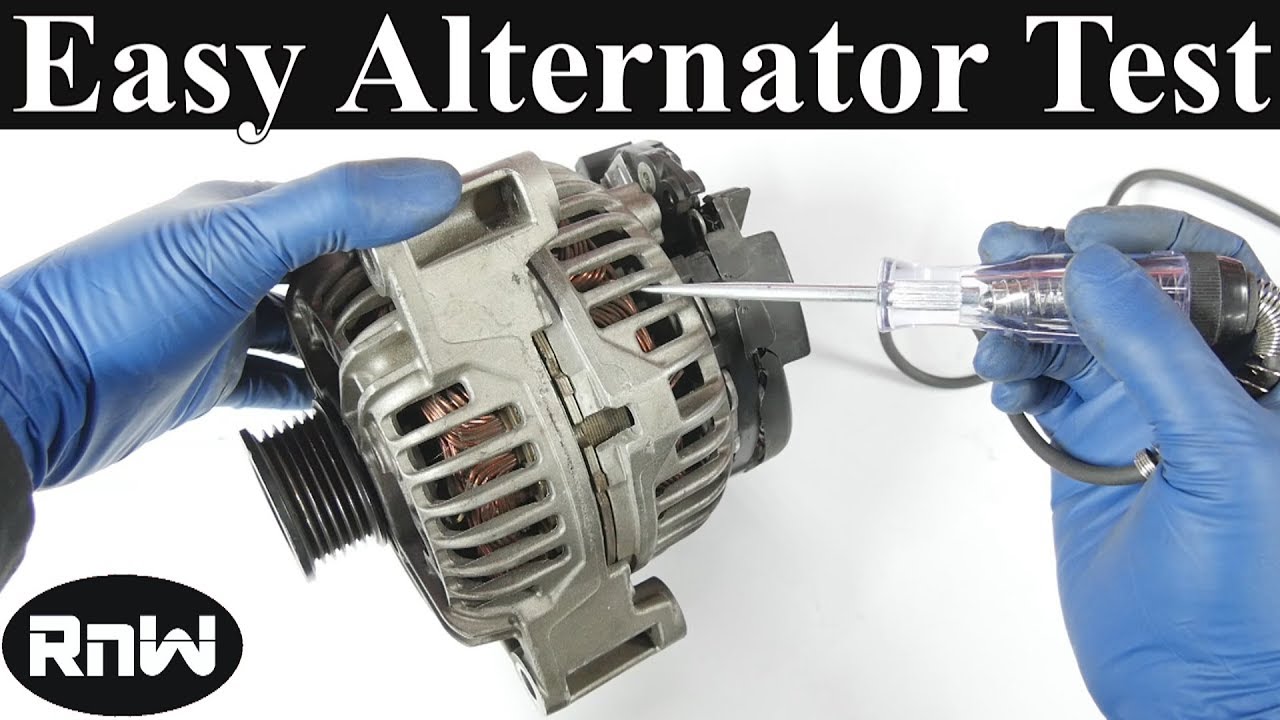
Credit: www.youtube.com
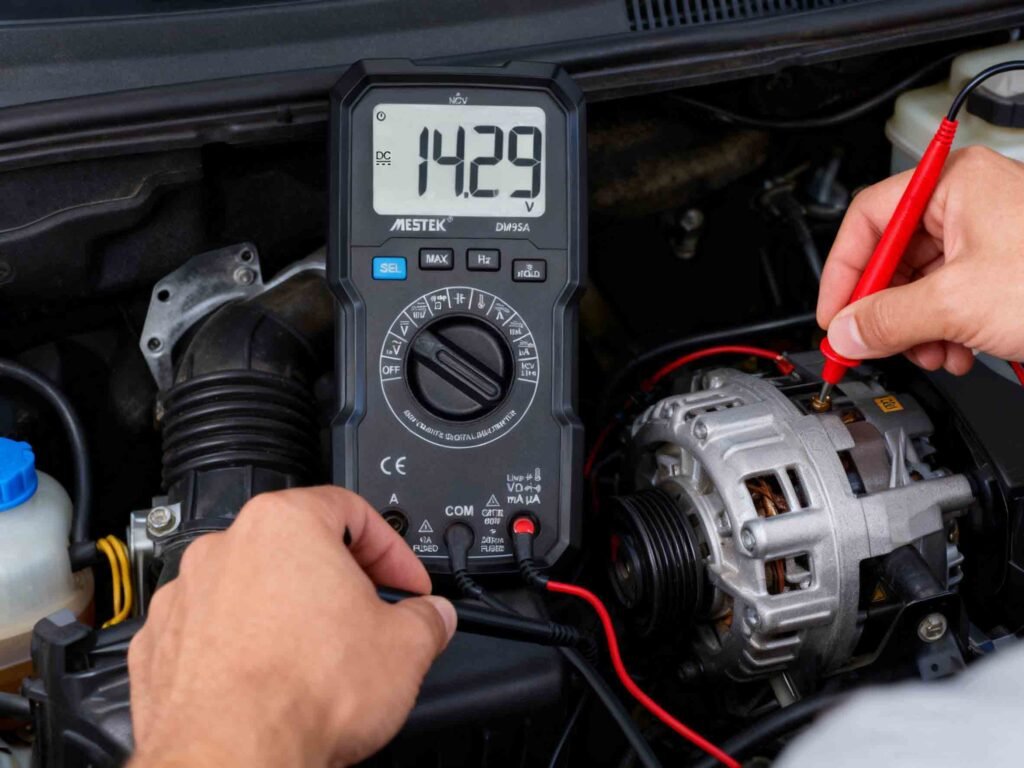
Credit: mestekinstruments.com
Frequently Asked Questions
How Can I Test An Alternator Without Using A Multimeter?
You can test an alternator by disconnecting the battery and starting the car. If the engine stalls quickly, the alternator may be faulty.
Why Disconnect The Battery To Check The Alternator?
Disconnecting the battery stops it from supplying power. This helps check if the alternator alone keeps the engine running.
What Signs Show A Bad Alternator During The Battery Test?
If the engine dies right after battery disconnection, the alternator may not be working. A good alternator should keep the engine running.
Can I Test My Alternator Safely Without Special Tools?
Yes, disconnect the battery cable carefully, then start the car. Watch if the engine keeps running or stalls.
How Long Should The Engine Run After Disconnecting The Battery?
The engine should run smoothly for several minutes. If it stops immediately, the alternator likely isn’t charging the system.
Conclusion
Testing your alternator by disconnecting the battery without a multimeter is simple. It helps you find problems fast. Just follow the steps carefully and stay safe. This method works well for quick checks at home or on the road. Remember, if results seem unclear, getting professional help is a smart choice.
Keep your car’s charging system in good shape to avoid bigger issues. Try this easy test next time your battery acts up. It saves time and gives peace of mind.


Leave a Reply