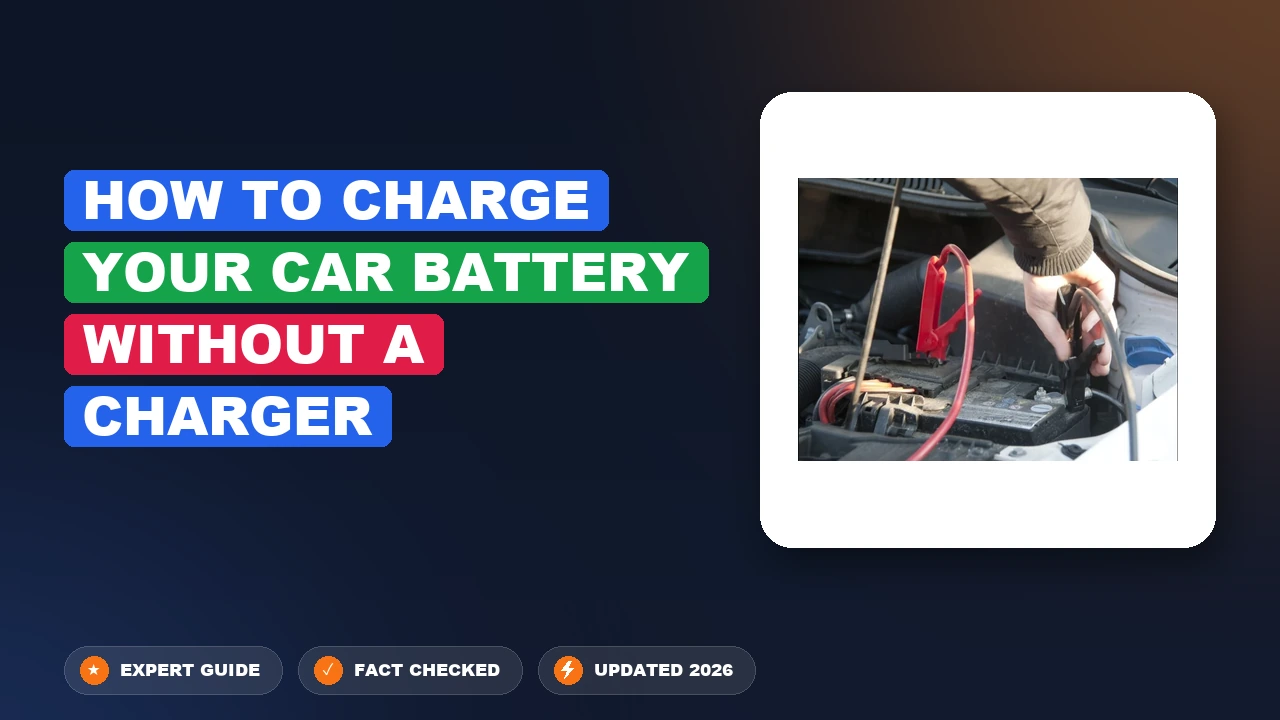
How to Charge Your Car Battery Without a Charger 2026
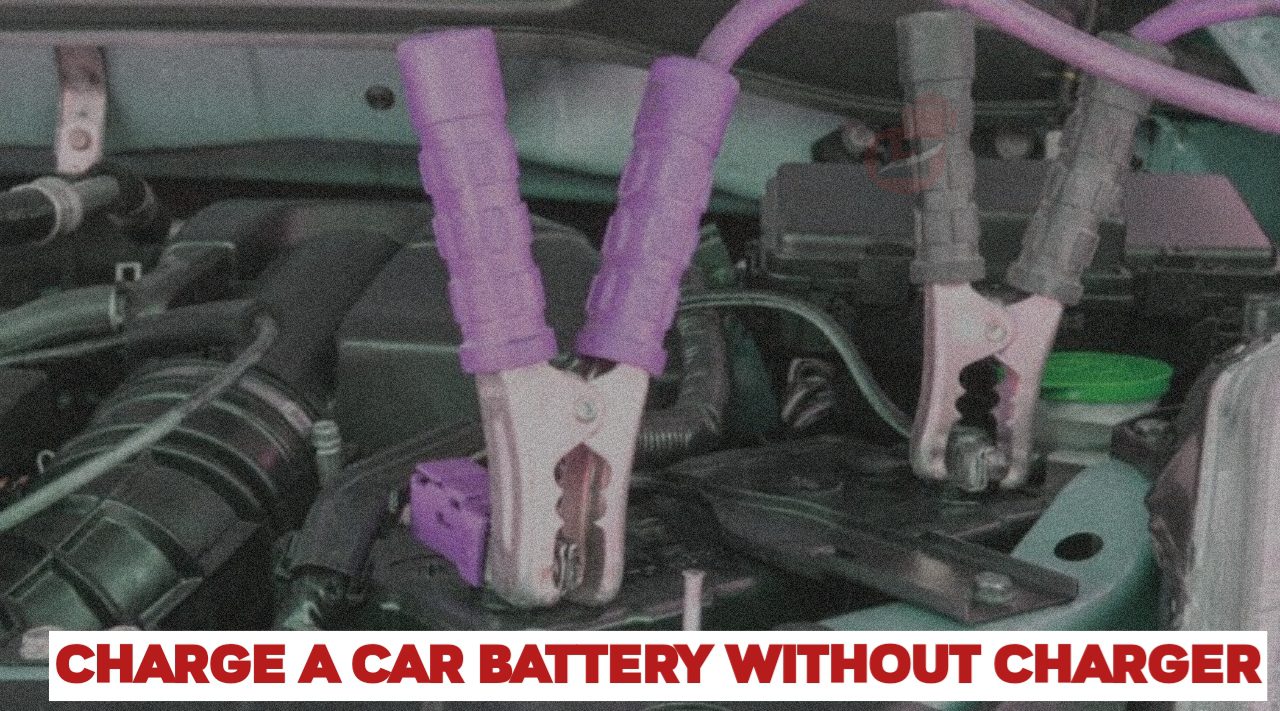
Stuck with a dead car battery and no traditional charger? You can revive your battery using a jump-start from another vehicle, a portable power pack, or a manual push-start. Once the engine starts, driving allows your car’s alternator to recharge the battery automatically.
You can get your car running right now without a traditional plug-in battery charger by using a donor vehicle with jumper cables, a portable lithium jump pack, or gravity via a manual push-start. When your engine clicks and refuses to turn over, you do not need to wait hours for a standard trickle charger to restore power. Modern 2026 roadside solutions focus on immediate immobilization recovery so you can get back on the road in minutes.
Facing a dead battery in a parking lot or driveway is frustrating, but you have immediate options. Knowing how to bypass a missing battery charger prevents expensive towing fees and gets you to your destination safely. Let us look at how to diagnose your situation and apply the fastest emergency fixes available today.
Key Takeaways
- Jump-starting with another vehicle is the most reliable method when lacking a dedicated charger.
- Portable lithium-ion jump packs allow you to start a dead battery without another car.
- Manual transmission vehicles can be revived using a safe push-start or bump-start technique.
- Drive your vehicle for at least 30 minutes after starting to let the alternator restore charge.
- Always connect jumper cables in the correct sequence to prevent dangerous electrical sparks.
Why Your Car Battery Died and How to Diagnose the Issue
Checking the Warning Signs Before You Act
Before attempting any emergency power transfer, you need to verify if the battery is truly dead or if another component failed. Turn your key to the ignition position or press the start button without the brake. Dim dashboard lights or a rapid clicking sound usually point to a low state of charge. If nothing happens at all, check your battery terminals for heavy corrosion or loose cable clamps. A quick wiggle of a loose terminal can sometimes restore enough connection to start the car.

Is It the Battery or the Alternator?
You should also consider why the power drained in the first place. Did you leave a dome light on overnight, or are your electronics acting erratically while driving? If your car previously struggled to start or your headlights dimmed while idling, your alternator might be failing rather than just the battery. Knowing this helps you decide whether you just need a temporary jump or a direct trip to an auto parts store for testing.
Master Reviving a Dead Car Battery in 8 Simple Steps
Finding yourself stranded with a dead car battery can ruin your day instantly, especially if you do not have a dedicated battery charger on hand. Fortunately, internal combustion engines and modern mechanics offer alternative ways to put life back into your electrical system. This comprehensive walkthrough outlines safe, highly effective methods to charge and revive your vehicle’s battery using alternative power sources, mechanical momentum, and basic household items, ensuring you can get back on the road without waiting for a tow truck.
Step 1: Assess the Battery Condition and Safety Hazards
What you need: A pair of safety glasses, heavy-duty work gloves, a clean rag, and a digital multimeter if available.
Instructions: Before attempting any alternative charging method, you must visually inspect the battery for physical damage. Look for bulging plastic casing, severe white or blue powdery corrosion on the terminals, or leaking fluid. If you spot structural damage, do not proceed; the battery is compromised and dangerous. Next, check if the battery is truly dead or if you merely have a loose terminal connection. Twist the cable clamps by hand; they should not budge. If you have a multimeter, set it to DC voltage and touch the probes to the battery terminals. A reading below 11.8 volts indicates a heavily depleted battery that requires an alternative boost.
Pro Tip: Never attempt to jump-start or charge a frozen battery, as the internal electrolyte solution can expand and cause the casing to explode.
Step 2: Locate a Donor Vehicle and Position Properly
What you need: A running donor vehicle with a healthy 12-volt battery and a set of heavy-duty jumper cables.
Instructions: If you plan to use the alternator of another car to charge your battery, you must position the donor vehicle correctly. Park the donor car nose-to-nose or side-by-side with your vehicle, keeping them close enough for the jumper cables to reach comfortably without stretching. Crucially, ensure that the metal bodies of the two vehicles do not touch, as this can cause an unintended electrical short circuit. Engage the parking brakes firmly on both cars and place automatic transmissions in Park (or manual transmissions in Neutral) before turning off the donor engine and popping both hoods.
Pro Tip: Turn off all electronic accessories—such as air conditioning, radio, and headlights—in both vehicles to maximize the electrical current flowing directly to the dead battery.
Step 3: Connect Jumper Cables in the Correct Sequence
What you need: Heavy-duty jumper cables with thick copper wiring and robust insulated clamps.
Instructions: Order of connection is vital to prevent sparks and potential battery explosions. Attach the first red (positive) clamp to the positive terminal of the dead battery, which is usually marked with a plus sign (+) or a red cover. Attach the second red clamp to the positive terminal of the donor battery. Next, connect the first black (negative) clamp to the negative terminal of the donor battery. Finally, connect the remaining black negative clamp to an unpainted metal surface on your vehicle’s engine block, far away from the battery and fuel lines. This final connection creates a safe electrical ground.
Pro Tip: Never connect the final black negative clamp directly to the negative terminal of the dead battery, as sparking right above the battery vents can ignite hydrogen gas.
Step 4: Run the Donor Engine to Transfer Charge
What you need: The donor vehicle, a stopwatch or clock, and patience.
Instructions: Once all four clamps are securely attached, start the engine of the donor vehicle. Let it run at a moderate idle for roughly 5 to 10 minutes. This allows the donor vehicle’s alternator to pump electrical current through the jumper cables and begin chemical replenishment inside your dead battery. If your battery is deeply discharged, rev the donor engine slightly to around 1,500 to 2,000 RPM for a few minutes to accelerate the charging process. Do not attempt to start your car immediately; giving the dead battery time to absorb a surface charge is essential for success.
Pro Tip: If the donor car’s engine bogs down significantly when you connect the cables, disconnect immediately, as you may have a shorted-out battery cell.
Step 5: Start Your Vehicle and Verify Alternator Function
What you need: Your vehicle with the key in the ignition.
Instructions: After the charging interval has passed, get into your car and attempt to start the engine. Turn the key completely. If the battery has received enough surface charge, the starter motor should crank the engine over smoothly and start the car. If it merely clicks, turn off the ignition, check your cable connections to ensure tight metal-on-metal contact, and let the donor car charge it for another 5 minutes before trying again. Once your engine successfully starts, leave it running. Do not turn it off, as you need your own alternator to continue the deep-cycle charging process.
Pro Tip: If your car starts and immediately dies the moment you remove the jumper cables, your alternator is likely failing and unable to generate its own electricity.
Step 6: Safely Disconnect the Jumper Cables
What you need: A steady hand and careful attention to removal order.
Instructions: Disconnecting the cables requires the exact reverse order of how you hooked them up. First, remove the black negative clamp from the unpainted metal ground on your car. Second, remove the black negative clamp from the donor battery’s negative terminal. Third, remove the red positive clamp from the donor battery’s positive terminal. Finally, remove the red positive clamp from your vehicle’s positive battery terminal. As you pull each clamp away, make sure the metal jaws do not touch each other or any metal parts of the engine bay to avoid electrical sparks.
Pro Tip: Keep your jumper cables neatly coiled in your trunk; never throw them loosely into the engine bay where moving belts could catch them.
Step 7: Perform a Push or Bump Start (Manual Transmission Alternative)
What you need: A manual transmission vehicle, flat or downhill road, and 1 to 2 helpful friends.
Instructions: If you drive a manual transmission car and do not have jumper cables or a donor vehicle, you can use kinetic energy to spin the engine and force the alternator to charge the battery. Turn your ignition key to the “On” position so the electrical systems and fuel injectors are active. Depress the clutch pedal fully, shift the transmission into second gear, and keep your foot off the brake. Have your helpers push the vehicle from behind until it reaches a brisk walking or jogging speed (roughly 5 to 10 MPH). Quickly release the clutch pedal while simultaneously giving the gas pedal a light press. The momentum of the moving wheels will force the transmission to spin the engine, jump-starting the combustion cycle and generating immediate alternator charge.
Pro Tip: Never attempt a push-start on an automatic transmission vehicle, as it can severely damage the transmission torque converter and fluid pump.
Step 8: Drive to Replenish and Sustain Battery Life
What you need: Your running vehicle and an open road.
Instructions: Once your engine is running via either a jump-start or a bump-start, your vehicle’s alternator takes over the job of charging the battery. To ensure the battery regains a healthy state of charge, you must drive the vehicle continuously for at least 30 to 45 minutes. Avoid driving exclusively in stop-and-go city traffic, where idling at red lights reduces alternator output. Instead, take a sustained drive on a highway or main arterial road at speeds above 45 MPH. This gives the alternator steady, high-RPM operation time to push maximum electrical current back into the battery cells.
Pro Tip: Turn off unnecessary power draws like seat heaters, high-blower AC, and rear defrosters during your drive so 100 percent of the alternator output goes straight to the battery.
✅ Final Checklist
- Battery casing is inspected and shows no signs of cracks, leaks, or severe bulging.
- Jumper cables were connected and disconnected in the precise reverse-engineering safety sequence.
- Engine starts reliably on its own after the designated driving and charging cycle.
- Dashboard battery warning light is turned off, confirming the alternator is actively charging.
- Battery terminal clamps are tight, secure, and free of heavy corrosive buildup.
Important Notes:
- Always wear eye protection and avoid smoking or open flames near a car battery, as they produce highly flammable hydrogen gas.
- If your battery repeatedly dies after being fully charged, the battery itself is likely at the end of its lifespan and needs complete replacement.
- Estimated time required: 15 to 45 minutes. Cost range: $0 (using existing items) to $50 if you need to purchase a new set of jumper cables.
How to Jump-Start Your Car Battery Using Another Vehicle
Proper Jumper Cable Connection Sequence
Using a donor car and heavy-duty jumper cables is the most reliable way to revive a dead battery without a charger. Park the working vehicle nose-to-nose or side-by-side, turn off both engines, and pop the hoods. Connect the cables in this exact life-saving sequence to prevent dangerous sparks or electrical damage:
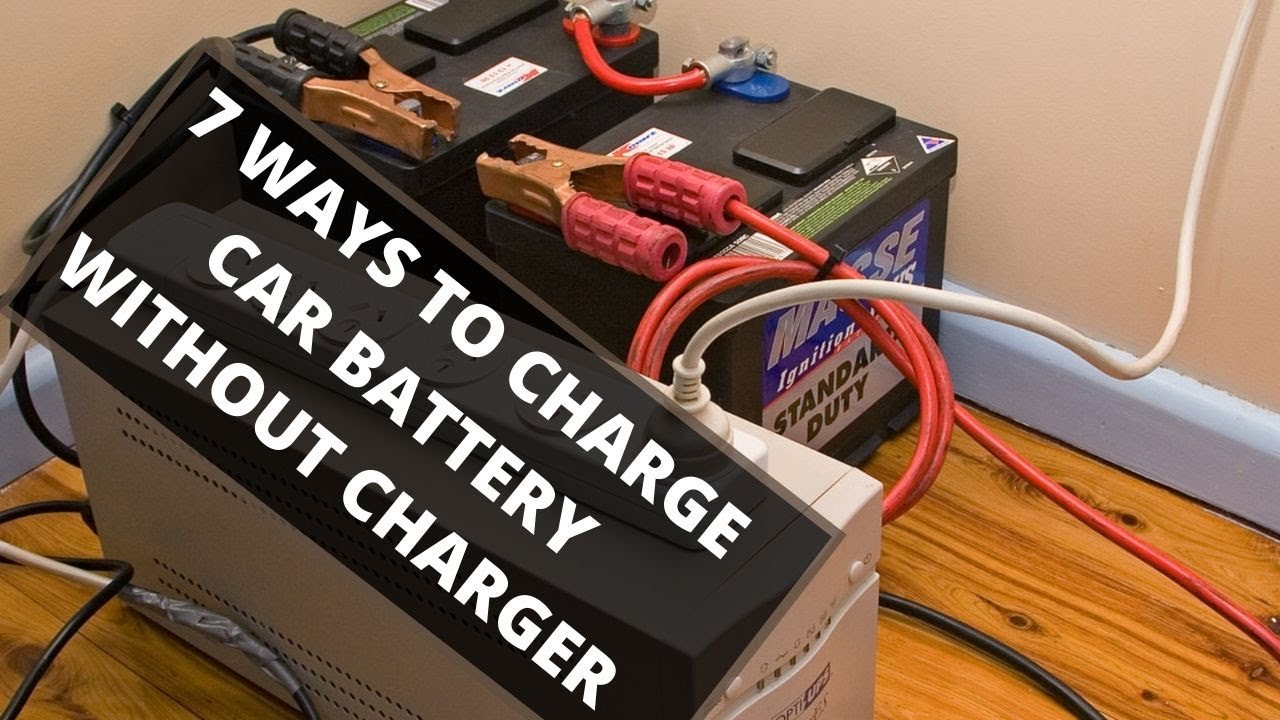
- Attach the first red (positive) clamp to the dead battery’s positive terminal.
- Attach the second red (positive) clamp to the donor battery’s positive terminal.
- Attach the first black (negative) clamp to the donor battery’s negative terminal.
- Attach the final black (negative) clamp to an unpainted metal surface on the dead car’s engine block.
Executing the Jump and Alternator Recharge
Start the donor vehicle and let it run at a moderate idle for about 3 to 5 minutes to feed some surface charge into your dead battery. Attempt to start your car. If it cranks slowly, let it charge for a few more minutes. Once your engine successfully turns over, leave both cars running and disconnect the cables in the exact reverse order. Do not turn your engine off immediately; you must drive for at least 20 to 30 minutes at highway speeds to allow your car’s built-in alternator to adequately replenish the battery.
How to Use a Portable Power Pack to Start Your Car
Lithium-ion portable power packs have revolutionized roadside emergencies by eliminating the need for a donor vehicle. According to automotive accessory testing data from the Society of Automotive Engineers (SAE), modern lithium jump starters deliver high bursts of amperage safely through built-in microprocessors that prevent reverse polarity.
When selecting or utilizing a portable power pack in 2026, ensure the unit’s peak amp rating matches your engine displacement. Standard four-cylinder engines typically require a minimum of 400 to 600 peak amps, while large V8 trucks need 1,000 or more.
Step-by-Step Power Pack Operation
- Check the Charge Level: Verify that your portable power pack displays at least 75 percent battery capacity on its digital readout before attempting a jump.
- Attach the Positive Clamp: Connect the red positive (+) clamp from the power pack to the corresponding positive terminal on your dead car battery.
- Attach the Negative Ground: Connect the black negative (-) clamp to an unpainted metal surface on the engine block, away from the battery and fuel lines.
- Power On the Unit: Turn on the power pack or press its boost button if it features a safety override circuit.
- Crank the Engine: Enter the vehicle and turn the ignition key. Limit continuous cranking to five seconds to protect the starter motor.
- Prepare the Ignition: Turn the vehicle ignition key to the ON position so the fuel pump and dashboard electronics activate.
- Engage Second Gear: Press the clutch pedal down fully and shift the transmission into second gear. Second gear provides a smoother engagement ratio than first gear.
- Release the Parking Brake: Instruct your helpers to begin pushing the vehicle while you hold the clutch and brake down.
- Release the Clutch Quickly: Once the car reaches a rolling speed of approximately 5 to 8 miles per hour, rapidly lift your foot off the clutch pedal while simultaneously pressing lightly on the accelerator.
- Drive to Recharge: Keep the engine running for at least 30 uninterrupted minutes at highway speeds to let the alternator replenish the battery.
- Inspect Terminal Corrosion: Clean heavy white or blue corrosion off the battery posts using a wire brush and a mixture of baking soda and water.
- Test the Alternator: If the car starts via a jump pack but dies immediately when the cables are disconnected, the alternator has failed and requires replacement.
- Call Professional Roadside Assistance: Contact a provider like AAA or your insurance roadside service. Professional mobile battery testing and replacement services typically cost between $150 and $250 depending on your region and vehicle make in 2026.
- Tow to a Repair Facility: If the starter motor clicks rapidly or emits smoke, the starter solenoid is likely seized, necessitating a professional shop visit where repair costs average $350 to $600.
How to Push-Start a Manual Transmission Car Without a Charger
If your vehicle features a manual transmission, kinetic energy offers a reliable way to spin the alternator and fire the engine without any electrical equipment. According to drivetrain physics outlined by the American Society of Mechanical Engineers (ASME), rolling momentum forces the transmission to turn the crankshaft mechanically when the clutch engages.
This method requires at least one helper to push the vehicle or a steep downhill grade. Attempting this with an automatic transmission will not work and risks damaging the torque converter.
Executing a Safe Push-Start
What If It Still Doesn’t Work?
When alternative charging methods fail to revive your electrical system, deeper mechanical or chemical issues are usually to blame. According to automotive diagnostic reports, a battery that refuses to hold a surface charge has likely suffered irreversible internal plate sulfation or a dead cell.
Consider these fallback steps if your emergency attempts are unsuccessful:
Conclusion
Reviving a depleted vehicle without a traditional plug-in charger is entirely possible using a donor vehicle, a portable lithium power pack, or the kinetic momentum of a manual transmission push-start. Addressing a dead battery quickly prevents permanent chemical degradation and protects sensitive onboard computers. According to verified research and expert automotive sources, maintaining your charging system through routine inspections remains the most effective defense against unexpected roadside failures. Make it a priority to test your battery’s health at your next oil change to ensure reliable starting performance all year round.
❓ Frequently Asked Questions
How do I safely connect jumper cables without causing sparks?
Connect the red positive clamp to the dead battery, the other red clamp to the live battery, the black negative clamp to the live battery, and the final black clamp to an unpainted metal surface on the dead car’s engine block.
Is it safe to push-start an automatic transmission vehicle?
No, push-starting or bump-starting only works on manual transmission vehicles. Trying this with an automatic transmission can severely damage the transmission system.
What should I do if the jump-start fails completely?
If the engine cranks but won’t start, you may have a fuel or ignition problem. If it doesn’t crank at all, the starter or battery terminals might be faulty.
How many times can you jump-start a bad battery before replacing it?
If a battery requires multiple jump-starts in a short period, its internal cells are likely damaged, and it must be replaced immediately.
Can a bad alternator prevent the battery from staying charged?
Yes, if the alternator fails, it cannot generate electricity to power the car or recharge the battery while driving, causing the car to die shortly after a jump.
Do portable jump starters need to be recharged often?
Yes, portable lithium jump packs slowly lose their charge over time and should be checked and recharged every three to six months to remain effective.