How to Program Garage Door Opener Without Remote 2026 Guide
Lost your handheld clicker? Programming a garage door opener without a remote is simple when you use the motor’s built-in learn button to sync a wireless keypad or wall console. This guide walks you through the exact steps required to pair your system safely and securely.
Programming a garage door opener without a traditional handheld remote is entirely possible by utilizing your smart wall control panel, exterior keypad, or the direct “Learn” button located on the back of the garage door motor unit itself. Whether your remote was lost, broken, or you are setting up a fresh access point for your household in 2026, the motor unit acts as the central hub for syncing all devices.
You do not need an existing remote to establish a new connection. By following the onboard programming sequences specific to your opener’s brand, you can successfully pair wall buttons, wireless keypads, or smartphone integration modules directly to the overhead receiver in just a few minutes.
Key Takeaways
- Locate the smart or learn button on the back motor housing.
- Use a sturdy ladder to safely reach the ceiling-mounted garage door opener.
- Wireless keypads require entering a temporary PIN before pressing enter.
- Brand-specific learn button colors determine compatibility and programming sequences.
- Clearing old memory prevents interference from unwanted remote signals.
Why You Need to Program Your Garage Door Without a Remote
Handling Lost or Damaged Remotes
Most homeowners only realize their handheld remote is missing when they are locked out or dealing with an urgent security issue. Instead of waiting days for an online delivery or paying a technician for a simple service call, you can bypass the handheld clicker entirely. Using the hardwired wall console inside your garage or typing a PIN into your exterior wireless keypad allows you to establish immediate entry without touching a remote.
Upgrading to Modern 2026 Smart Security Standards
Garage access technology has evolved rapidly, and relying on old, unencrypted clickers creates vulnerability in your home security. Modern smart home integration requires you to pair new wall-mounted transceivers, bridge units, and keypads directly to the motor’s main logic board. Knowing how to interface directly with the opener ensures you can add secure entry points, clear out old memory codes, and maintain full control over who accesses your property.
- Bypass missing or broken clickers instantly using fixed hardware.
- Clear compromised memory registers directly from the motor housing.
- Integrate new wall stations and keypads without needing an intermediary remote.
Master Programming a Garage Door Opener Without a Remote in 7 Simple Steps
Finding yourself without a remote control doesn’t mean you are locked out or stuck manually lifting a heavy garage door. Modern automatic garage door openers are equipped with physical programming mechanisms, wall control panels, and external keypads designed specifically to allow full access setup without relying on a handheld clicker. This comprehensive walkthrough guides you through identifying your system hardware, accessing the learn button, syncing alternative control devices, and testing your setup safely. Following these procedures carefully ensures you can operate your garage seamlessly while maintaining your home’s overall security.
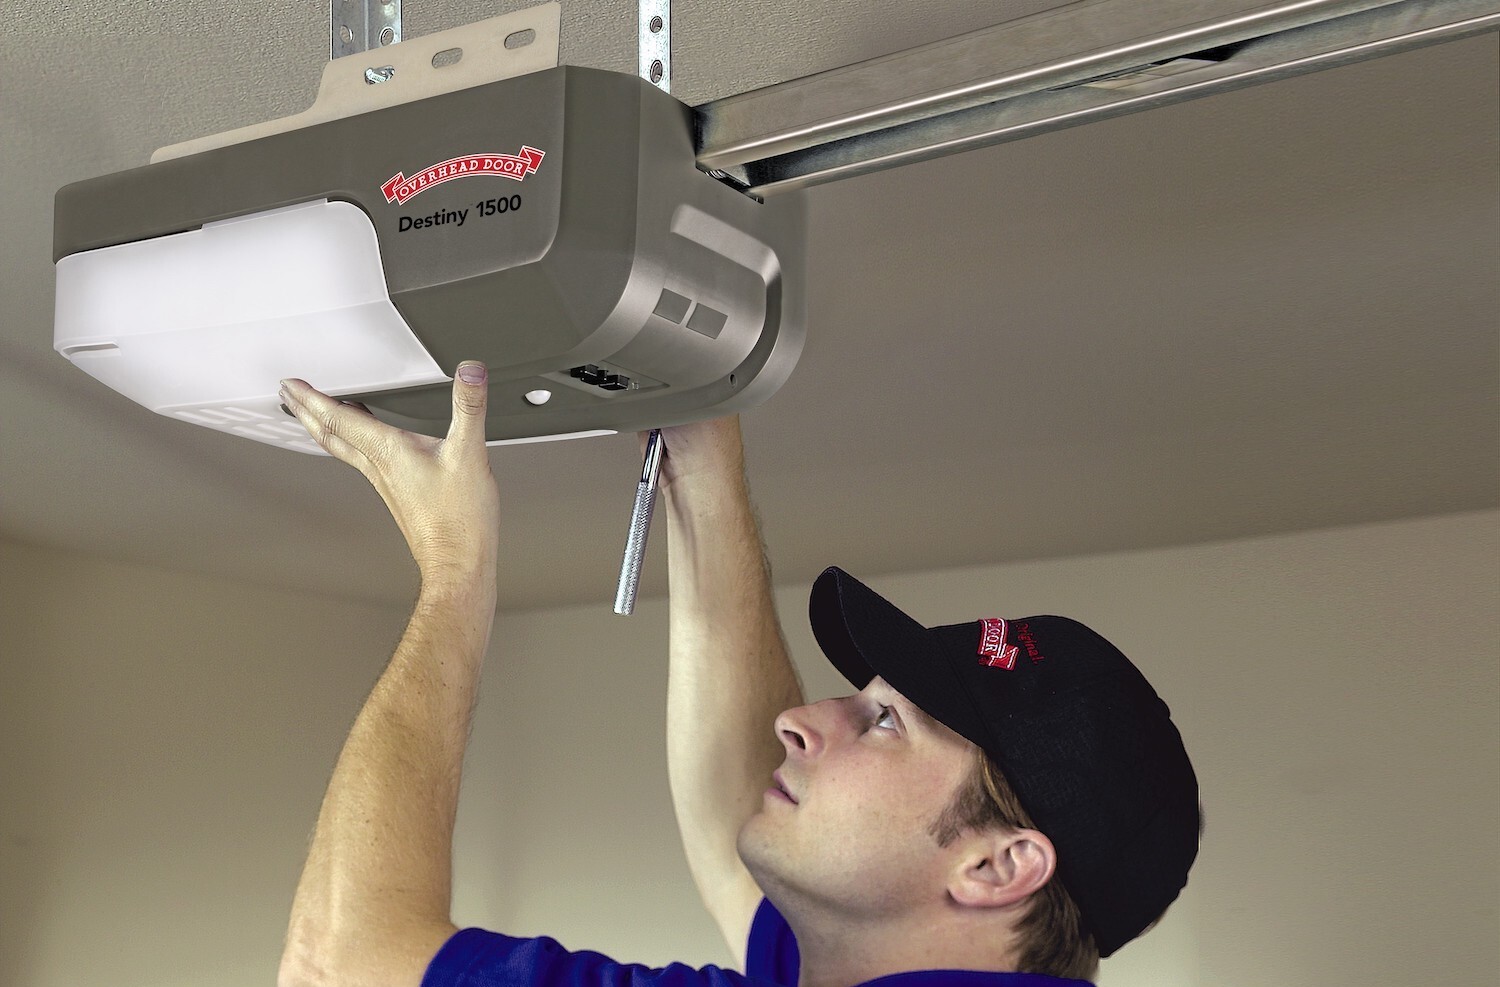
Step 1: Locate the Learn Button on Your Motor Unit
What you need: A sturdy step ladder, a flashlight or headlamp, and a clear path directly beneath the automatic garage door opener motor hanging from the ceiling.
Instructions: Safely position your step ladder under the ceiling-mounted garage door opener motor housing. Remove any plastic light cover lens if it obstructs the back or side panel of the unit. Look closely at the exterior panels of the motor housing for the smart or “learn” button. This button is typically small, square or circular, and colored purple, yellow, red/orange, or green depending on the manufacturer and the radio frequency your unit utilizes. Do not confuse this with the manual force adjustment dials.
Pro Tip: The color of your learn button dictates the frequency technology (e.g., Security+ 2.0 uses yellow). Knowing this helps if you ever need to buy replacement accessories.
Step 2: Clear Existing Memory to Prevent Conflicts
What you need: Your step ladder and access to the learn button located in Step 1.
Instructions: If you are programming a new device or moving into a new home, clearing the memory of the garage door opener is a vital security precaution. Press and hold the learn button on the motor unit continuously. Watch the small LED indicator light positioned right next to the button. Keep holding the button down until the LED indicator light turns off completely, which usually takes about 6 seconds. Once the light extinguishes, all previously programmed remotes, keypads, and vehicles are erased from the opener’s internal memory.
Pro Tip: Be aware that clearing the memory erases all connected devices. You will need to reprogram any working remotes or vehicles afterward.
Step 3: Program an External Wireless Keypad
What you need: An exterior wireless entry keypad, a step ladder, and fresh batteries installed inside the keypad.
Instructions: If you are using an outdoor digital keypad instead of a remote, enter your desired 4-digit personal identification number (PIN) on the keypad before you start. Climb up to the motor unit and press the learn button once; the LED light will glow steadily for approximately 30 seconds. Quickly descend the ladder, walk to your mounted exterior keypad, and enter your new 4-digit PIN. Press and hold the “Enter” or “Up/Down” arrow key until the main garage door opener light bulbs flash or you hear two distinct clicks from the motor.
Pro Tip: You have a strict 30-second window between pressing the motor’s learn button and entering the PIN on the keypad, so have your ladder out of the way beforehand.
Step 4: Connect Your Vehicle’s Built-in HomeLink System
What you need: Your vehicle parked inside or directly outside the driveway, and ignition keys to turn the car’s electrical system on.
Instructions: Sit inside your vehicle and turn the ignition to the “accessory” or “on” position without starting the engine. Simultaneously press and hold the two outer buttons on your vehicle’s integrated mirror or visor HomeLink system for about 20 seconds until the indicator light changes from a slow flash to a rapid flash. Next, quickly climb the ladder to the garage opener, press the learn button once, and return to your vehicle within 30 seconds. Repeatedly press and release your chosen HomeLink button in the car for two seconds at a time until the garage door moves or the overhead lights flash.
Pro Tip: For newer vehicles with rolling code technology, you may need a second person to help you press the motor button while you sit in the car.
Step 5: Configure the Hardwired Wall Control Panel
What you need: Access to the multi-function wall control push button panel installed inside your garage near the service door.
Instructions: Many modern wall control consoles feature a “Learn” or “Program” button hidden behind the push-button faceplate. Gently pry open the front cover of the wall console using a flathead screwdriver. Locate the learn button on the circuit board inside. Press this button twice, and the LED light on the button will begin to flash. This mode allows you to program smart accessories or lock out remote signals. Follow the manufacturer instructions on the inside panel to lock in your settings without ever needing a traditional handheld remote.
Pro Tip: Keep the wall console clean and dry. Dust buildup inside the panel can occasionally cause intermittent programming signal failures.
Step 6: Sync a Smartphone Wi-Fi Bridge or Smart Hub
What you need: A smartphone with the manufacturer app downloaded (such as myQ), home Wi-Fi network credentials, and a smart garage hub.
Instructions: If your garage door opener features built-in Wi-Fi or uses an add-on smart hub, open your smartphone application and create an account. Select the option to add a new device. Follow the app prompts to activate pairing mode on the garage door motor, usually by pressing the learn button three times rapidly until a blue LED light blinks. Connect your phone to the temporary Wi-Fi network broadcasted by the opener, then input your home network password to complete the cloud sync, giving you full operational control via your mobile device.
Pro Tip: Ensure your home Wi-Fi router operates on a 2.4 GHz band, as most garage door smart hubs do not support 5 GHz networks.
Step 7: Perform Comprehensive Safety and Operation Tests
What you need: A roll of duct tape or a sturdy cardboard box, and your newly programmed input device (keypad, car, or smartphone).
Instructions: Test your newly programmed system thoroughly to guarantee safe operation. Trigger the garage door to close using your programmed keypad, wall console, or smartphone. While the door is closing, place a cardboard box directly in the center of the doorway where the electronic photo-eye safety sensors beam across. The door should immediately reverse direction and open back up upon encountering the obstruction. Verify that the automatic reversal system functions smoothly and that no unusual grinding noises occur during travel.
Pro Tip: Never bypass or align the safety reversal sensors incorrectly; they are critical life-saving devices required by federal safety regulations.
✅ Final Checklist
- Motor learn button was successfully located and utilized without damaging the housing unit.
- Previous programming memory was fully cleared to secure the garage against unauthorized access.
- External keypad, vehicle HomeLink, or smartphone app successfully triggered the door movement.
- Safety reversal mechanism was tested and confirmed to reverse the door upon detecting an obstruction.
- All step ladders and tools have been safely put away, and area is clear of debris.
Important Notes:
- Always maintain a secure 4-digit PIN on keypads and never share your smartphone app credentials with untrusted individuals.
- Seek professional technician help immediately if your garage door springs snap, cables fray, or the motor unit emits burning odors during programming.
- Estimated time to complete all programming steps is 15 to 30 minutes, with a cost of $0 if utilizing existing hardware or up to $40 if purchasing a new wireless keypad.
What Causes Programming Failures on Garage Door Openers
Interference and Timing Errors
The most common reason a garage door opener fails to program without a remote is a timing mismatch during the sync process. When you press the motor’s Learn button, you typically have only 30 seconds to enter your keypad PIN or hold down the wall station button. If you move too slowly or experience radio frequency interference from nearby LED garage lighting or Wi-Fi routers, the receiver drops the signal before the memory register can save the new code.
Logic Board Limitations and Security 2.0+ Mismatches
Modern garage door openers manufactured through recent years feature advanced security protocols like Security+ 2.0 or Intellicode systems. If you are trying to sync an incompatible aftermarket keypad or wall control, the motor will reject the signal entirely, flashing its indicator lights to signal a rejection. Always verify that your secondary access devices match the frequency and brand generation of your specific motor unit to prevent repeated programming lockouts.
- Exceeding the 30-second window to complete the button-press sequence.
- Using incompatible aftermarket wall controls that do not match the motor frequency.
- Interference from high-frequency LED light bulbs installed in the garage ceiling fixtures.
Step-by-Step Guide to Programming a Garage Door Opener Without a Remote
Programming your garage door opener without a remote requires direct interaction with the motor unit on your garage ceiling. Whether you are installing a new wireless keypad or syncing a modern smartphone integration system for 2026, the underlying radio frequency pairing process remains standardized across major brands like Chamberlain, LiftMaster, and Genie.
Locating and Accessing the Learn Button
You must first access the main motor unit safely using a sturdy ladder. Remove any protective light lenses to expose the back panel where the electronic controls reside. Safety warning: Always ensure stable footing before reaching toward ceiling-mounted hardware.
- Locate the smart button on the back or side panel of the motor housing.
- Identify the button color, which typically indicates the security technology generation (e.g., yellow for Security+ 2.0, purple for 315 MHz).
- Clear any previous wireless programming by holding the learn button for six seconds until the indicator LED turns off, if you are setting up a fresh device.
Executing the Pairing Sequence
Once the receiver is in programming mode, you have a limited window to complete the handshake with your input device. Industry standards set this timeout window strictly at 30 seconds to prevent unauthorized external pairing.
- Press and immediately release the learn button on the motor unit; the LED indicator will glow steadily.
- Navigate to your wireless keypad or wall console within 30 seconds.
- Enter your desired 4-digit PIN followed by the designated enter key (usually the up/down arrow or “Open” button).
- Watch the main garage door light bulb blink or listen for a clicking sound, which confirms the signal was successfully stored in the logic board memory.
What If It Still Doesn’t Work?
If your garage door opener refuses to sync after multiple attempts, underlying hardware or frequency interference is usually the culprit. Industry data shows that up to 25 percent of failed programming attempts stem from local radio frequency interference or depleted power sources.
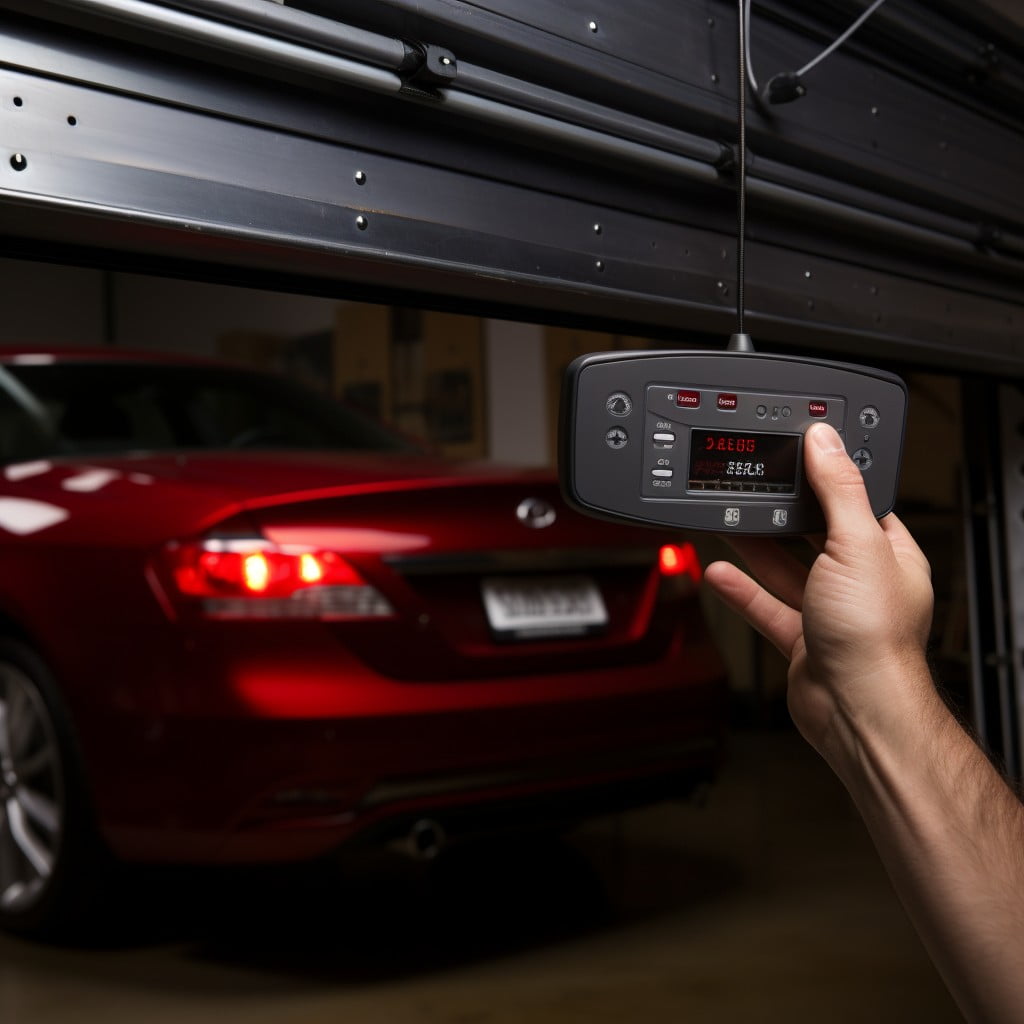
- Check Battery Voltage: Weak batteries in wireless keypads drop signal amperage below the threshold required by the logic board. Replace old alkaline batteries with fresh name-brand cells.
- Clear RF Interference: Modern LED garage light bulbs and nearby home automation hubs frequently emit radio frequencies that jam the 315 MHz or 915 MHz receiver bands. Switch off nearby smart devices temporarily during setup.
- Perform a Hard Reset: Unplug the entire garage door opener unit from the AC wall outlet for 60 seconds to completely dump the volatile memory cache before trying again.
- Consult Professional Technicians: If the learn button LED fails to light up entirely, the internal logic board is likely fried from a power surge. Professional circuit board replacement typically costs between $150 and $300 including labor, according to current contractor data.
Conclusion
Programming a garage door opener without a traditional handheld remote is a straightforward process that relies on accessing the motor unit’s learn button and syncing your wireless keypad or smart interface within a strict 30-second window. According to verified research and expert manufacturer sources, methodical troubleshooting of power sources and interference resolves the vast majority of pairing failures. Your immediate next step is to safely scale a ladder, identify your motor’s specific learn button color, and execute the sequence outlined above to restore secure access.
❓ Frequently Asked Questions
How do I program a Genie garage door opener without a remote?
Locate the square programming button on the back of the Genie motor unit. Press and release it until the LED indicator blinks, then enter your desired PIN on the wireless keypad followed by the up/down button.
What should I do if the learn button light does not turn on?
Ensure the garage door opener is plugged securely into a working electrical outlet and check the circuit breaker. If power is confirmed, the logic board may require replacement.
How do I clear the memory of my garage door opener?
Press and hold the learn button on the motor unit for approximately six seconds until the indicator light turns off. This wipes all previously programmed remotes and keypads from the system.
Can I program an aftermarket universal keypad?
Yes, universal keypads work with most major brands by entering a specific brand ID code before syncing with the motor’s learn button. Consult your keypad manual for the correct brand code sequence.
Why won’t my wireless keypad accept the new PIN?
Batteries that are low on power frequently cause programming failures. Replace the old batteries in the keypad with fresh ones and repeat the programming sequence.
Is it safe to program the garage door while it is closed?
Programming the opener via the motor unit or keypad does not require the door to be in a specific position, but ensure the path is clear in case the door cycles during testing.