
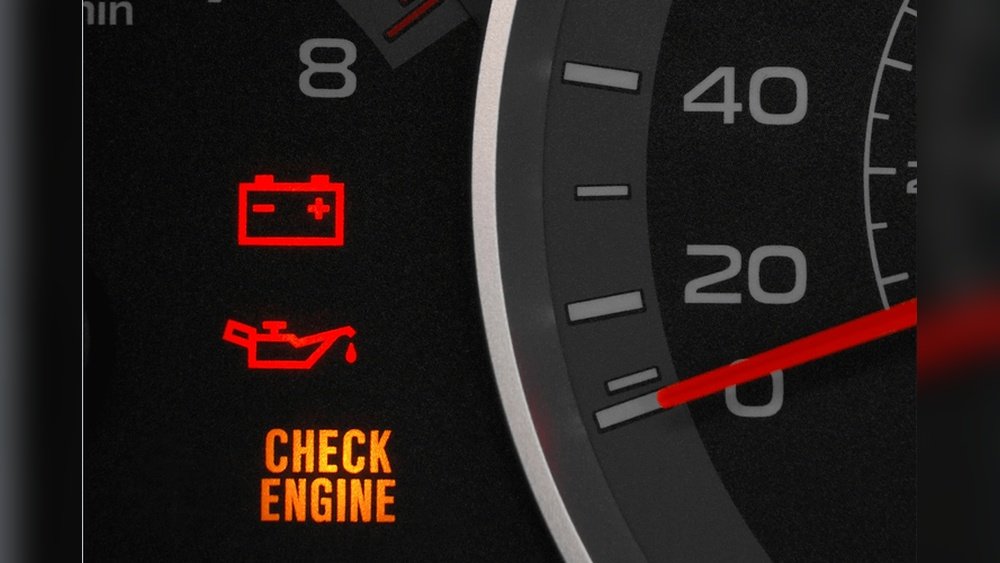
Are you noticing oil leaks or a burning smell coming from your engine? It might be time to change your valve cover gasket.
But how long does this repair actually take? Whether you’re planning to DIY or just want to know what to expect at the mechanic’s shop, understanding the time involved can help you prepare and avoid surprises. You’ll discover the typical time it takes to replace valve cover gaskets, what factors can speed up or slow down the process, and tips to make sure the job is done right.
Keep reading to get clear, straightforward answers so you can get your engine running smoothly again without the guesswork.
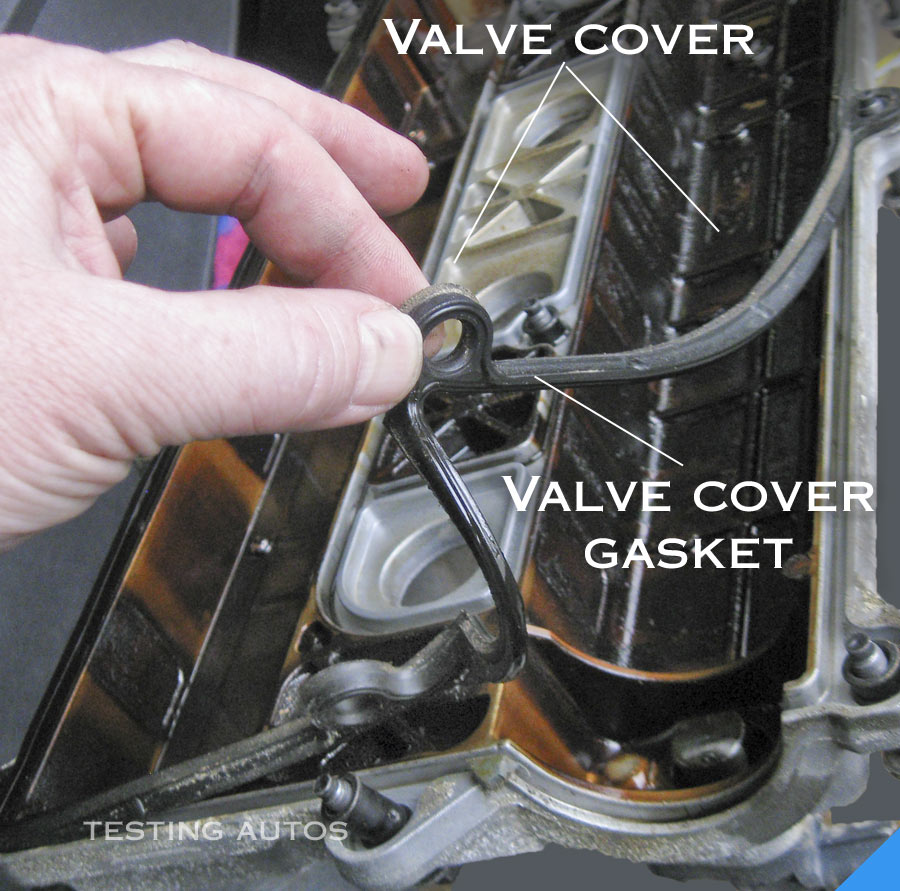
Credit: www.testingautos.com
Typical Time Estimates
Changing valve cover gaskets usually takes between one to two hours. The process involves removing the cover, cleaning old gasket material, and installing the new gasket carefully. Time can vary depending on the engine layout and how easy it is to access the parts.
Changing valve cover gaskets usually takes between 1 and 3 hours. This range depends on the vehicle’s make and model. Some engines are easier to access than others, speeding up the process.
For simple engines, the job might only take about an hour. More complex engines with tight spaces or extra parts can take up to three hours or more. A professional mechanic often completes the task faster than a beginner.
Factors That Affect The Time
- Accessibility: Some valve covers are blocked by windshield wipers, strut bars, or many vacuum lines. This adds time to remove and reinstall these parts.
- Cleaning Time: Removing old gasket material and cleaning the cylinder head surface is often the most time-consuming step.
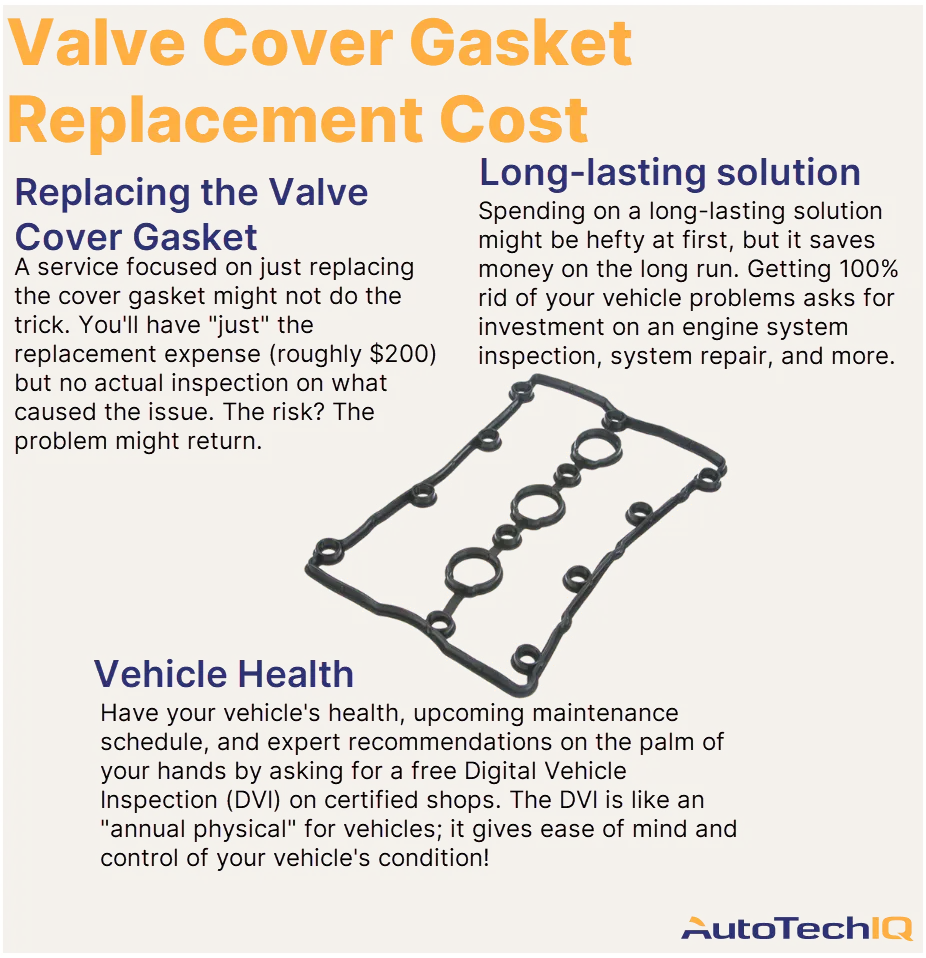
Credit: www.autotechiq.com
Tools And Materials Needed
Changing a valve cover gasket requires specific tools and materials. Having everything ready makes the job easier and faster. You avoid delays and frustration by preparing in advance.
Gathering the right tools ensures you work safely and correctly. Using proper materials helps prevent leaks and ensures a long-lasting repair. Below are the essential items needed for this task.
Basic Hand Tools
You will need a socket set with ratchet and extension bars. A set including 8mm to 13mm sockets covers most valve cover bolts. A screwdriver set with flathead and Phillips tips is useful. A torque wrench ensures bolts tighten to the correct specification.
Replacement Gasket
Buy a new valve cover gasket designed for your vehicle model. Using the exact fit gasket prevents oil leaks. Some gaskets come with a sealant or require one separately. Check the manufacturer’s instructions for proper installation.
Cleaning Supplies
Clean the valve cover and engine surface before installing the new gasket. Use a gasket scraper or plastic putty knife to remove old gasket material. Brake cleaner or degreaser removes oil and dirt from the surfaces. Clean, lint-free rags help wipe down areas thoroughly.
Additional Materials
Some jobs need RTV silicone sealant for corners or specific spots. You may also need replacement bolts if old ones are damaged or corroded. Gloves protect your hands from grease and chemicals. Safety glasses shield your eyes during cleaning and scraping.
Step-by-step Replacement Process
Changing a valve cover gasket requires careful attention to detail and a clear process. Following a step-by-step approach helps ensure a proper seal and prevents leaks. Each stage of the replacement has its own tasks and challenges. Understanding these steps can help you plan your time and work efficiently.
Removing The Valve Cover
Start by disconnecting any components attached to the valve cover. This may include hoses, wires, and bolts. Use the correct tools to avoid damaging parts. Carefully lift the valve cover off the engine once all fasteners are removed. Set the cover aside on a clean surface to prevent dirt contamination.
Cleaning The Mating Surfaces
Remove the old gasket material from both the valve cover and the engine surface. Use a plastic scraper or a gasket remover tool for this task. Avoid scratching or gouging the surfaces. Clean the area with a solvent to remove oil and debris. Ensure the surfaces are dry and smooth before proceeding.
Installing The New Gasket
Place the new gasket carefully onto the valve cover or engine surface. Align it so that it fits perfectly in the gasket groove. Avoid stretching or twisting the gasket during installation. Reinstall the valve cover and tighten the bolts evenly in a crisscross pattern. Follow the manufacturer’s torque specifications to prevent leaks or damage.

Credit: wanasignauto.com
Factors Influencing Replacement Time
After replacing the valve cover gasket, proper care is vital. This step helps ensure the repair lasts long. It also protects the engine from leaks and damage. Following the right aftercare tips keeps your vehicle running smoothly.
When To Drive The Vehicle
Wait at least one hour before starting the engine. This time lets the gasket seal properly. Avoid driving immediately after replacement. A cool engine prevents damage to the new gasket. Starting the car too soon can cause leaks or gasket failure.
Signs Of A Successful Replacement
Check for no oil leaks around the valve cover. The engine should run smoothly without rough idling. There should be no unusual noises or smells. Clean surfaces around the cover show proper installation. If these signs appear, the gasket replacement was successful.
Frequently Asked Questions
How Long After Replacing A Valve Cover Gasket Can You Drive?
You can drive your car immediately after replacing the valve cover gasket. Just ensure all bolts are tightened and no leaks remain.
What’s The Average Cost To Replace A Valve Cover Gasket?
The average cost to replace a valve cover gasket ranges from $150 to $350. Prices vary by vehicle model and labor rates.
Are Valve Cover Gaskets Easy To Replace?
Valve cover gaskets are moderately easy to replace with basic tools. Cleaning surfaces and proper sealing are crucial for success.
Can A Bad Gasket Cause A Misfire?
A bad gasket can cause a misfire by allowing oil or coolant to leak into spark plug wells or combustion chambers. This disrupts ignition and causes engine misfires.
Conclusion
Changing valve cover gaskets usually takes about one to two hours. The exact time depends on your vehicle and experience. Cleaning old gasket material takes the most time. Some engines have parts that make access harder, slowing the process. Taking your time ensures a good seal and prevents leaks.
After replacement, check for leaks before driving. Proper care helps your engine run smoothly and avoid costly repairs. Simple steps and patience make this task manageable for most car owners.

Leave a Reply