How Do I Know How Much Transmission Fluid to Add in 2026
Determining how much transmission fluid to add requires reading the dipstick accurately while the vehicle is at operating temperature. Never guess the amount; instead, add fluid in fractional increments to prevent severe mechanical damage from overfilling.
You determine how much transmission fluid to add by checking your vehicle’s dipstick while the engine is running and warm, then topping off in small quarter-quart increments until it reaches the full mark. Adding fluid requires precision because both underfilling and overfilling can cause severe internal transmission damage, slip gears, or destroy seals.
As vehicle engineering shifts further into 2026, many modern cars feature sealed transmissions without traditional dipsticks. However, if you drive a standard setup, mastering the exact dipstick reading prevents you from guessing and protects your transmission from costly repairs.
Key Takeaways
- Check the transmission fluid level only when the engine is warm and running on a flat surface.
- Add fluid in small increments, such as a quarter-quart at a time, to avoid overfilling.
- Consult your vehicle owner’s manual for the exact fluid type and total capacity specifications.
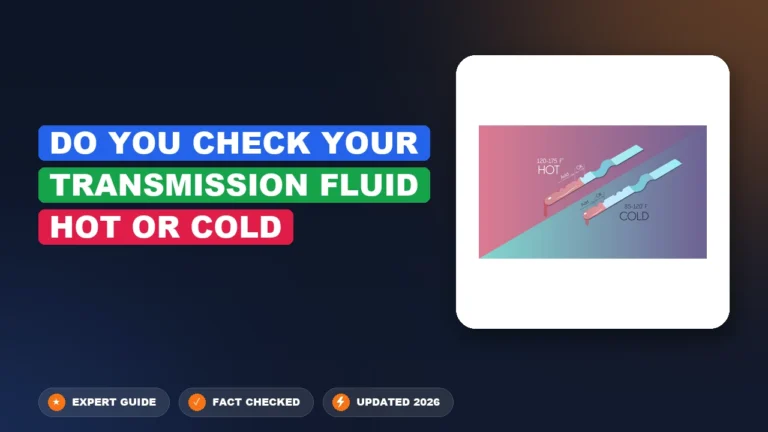
- Use the hot and cold markings on the dipstick to gauge the current deficit accurately.
- Overfilling transmission fluid causes foaming, pressure loss, and erratic shifting behavior.
Why Determining Transmission Fluid Levels Accurately Matters
The Risks of Overfilling Your Transmission
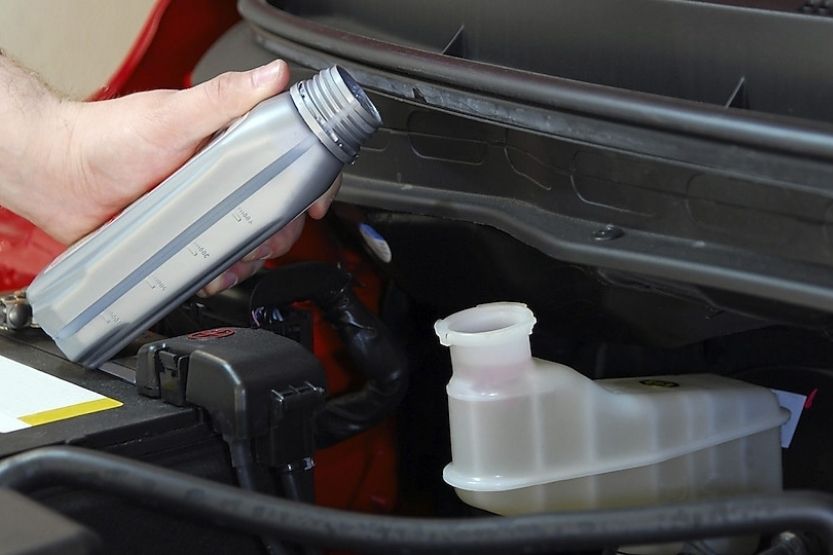
Pouring too much fluid into your transmission creates excessive internal pressure. This pressure causes the fluid to foam up when it contacts the spinning components of the gear train.
- Foamy fluid loses its hydraulic pressure properties, leading to delayed engagement or slipping gears.
- Aerated fluid overheats rapidly, breaking down additives prematurely.
- Excess pressure can force fluid past your transmission seals and gaskets, causing external leaks.
The Dangers of Underfilling
Running your transmission with too little fluid starves the hydraulic system of the pressure it needs to shift gears smoothly.
- Low fluid levels cause the internal pump to draw in air, leading to erratic shifting or complete failure to move.
- Friction clutches burn out rapidly without adequate lubrication and cooling properties.
- Component wear accelerates exponentially, turning a simple top-off into a complete transmission replacement.
Master Transmission Fluid Capacity in 6 Simple Steps
Determining the exact amount of transmission fluid to add to your vehicle is critical for preventing catastrophic transmission failure. Overfilling causes foaming, pressure loss, and overheating, while underfilling leads to slipping gears, delayed engagement, and burned clutches. This comprehensive walkthrough provides a foolproof methodology to calculate and verify the precise fluid requirements for your specific make, model, and year, ensuring your drivetrain operates smoothly and efficiently.
Step 1: Consult the Vehicle Owner’s Manual
What you need: Your vehicle’s physical owner’s manual or digital access to the manufacturer database.
Instructions: Open your glove box and locate the owner’s manual. Navigate to the “Capacities and Specifications” or “Maintenance and Service” section. Look specifically for the transmission fluid capacity listed in quarts or liters. Note whether the manual distinguishes between a standard fluid drain-and-fill service versus a complete dry fill after a total transmission rebuild. The drain-and-fill amount is typically what you will need for routine maintenance, whereas a dry fill requires significantly more fluid because the torque converter and cooler lines hold a large volume.
Pro Tip: Never rely on generic online forum estimates for transmission fluid capacity, as sub-models and engine size variations can change the fluid volume significantly.
Step 2: Identify Your Specific Transmission Code
What you need: A flashlight, a clean rag, and a vehicle identification number (VIN) decoder if necessary.
Instructions: Manufacturers often used multiple transmission models within the same vehicle year depending on the engine and drivetrain. Crawl underneath your vehicle or check the vehicle certification label located on the driver-side door jamb. Locate the transmission model code stamp or tag. If you cannot find a physical tag, plug your 17-digit VIN into a reliable online parts catalog or contact your dealership’s parts department. Providing them with your exact VIN ensures you get the precise transmission variant, which directly correlates to the exact fluid capacity.
Pro Tip: Taking a digital photo of your door jamb sticker or transmission casing tag ensures you have the exact alphanumeric codes handy when purchasing parts.
Step 3: Check the Existing Fluid Level and Condition
What you need: A lint-free shop rag, a flashlight, and potentially a funnel with a narrow gauge.
Instructions: Park your car on a completely level surface, engage the parking brake, and let the engine idle to operating temperature. If your vehicle features a dipstick, pull it out, wipe it clean with your rag, reinsert it fully, and pull it out again to read the current level. Note how far below the “Full” or “Hot” line the fluid currently rests. This deficit gives you a baseline measurement of how much fluid has been lost or consumed, helping you avoid overfilling during the top-off process.
Pro Tip: If your vehicle is equipped with a sealed transmission lacking a dipstick, you must measure the exact amount of fluid that drains out into a drain pan to know precisely how much to put back in.
Step 4: Calculate the Exact Amount Needed
What you need: A clean measuring container or graduated pitcher, and a notepad.
Instructions: Subtract your current fluid deficit from the total capacity specified in your owner’s manual. If you performed a standard drain and fill, measure the exact volume of old fluid captured in your drain pan using a graduated container. Compare this drained amount to the manufacturer’s specified drain-and-fill capacity. Purchase slightly more fluid than your calculation requires—typically keeping one extra quart on hand—to account for minor spills, residual fluid in the transfer pump, or subtle calibration adjustments.
Pro Tip: Always buy the exact fluid specification recommended by the manufacturer (e.g., Dexron VI, Mercon LV, ATF+4, or specific CVT fluid). Using the wrong fluid type can instantly destroy internal seals.
Step 5: Add Fluid in Incremental Quantities
What you need: The correct automatic transmission fluid (ATF), a long-neck transmission funnel, and protective gloves.
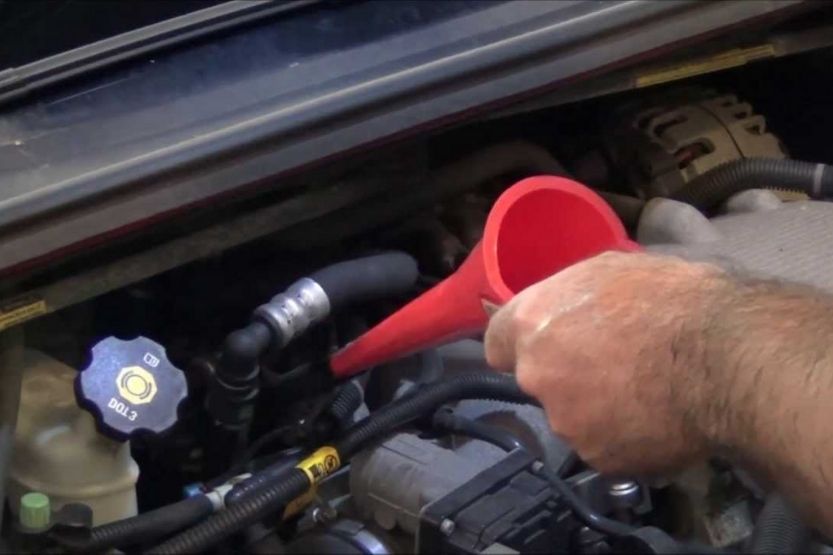
Instructions: Insert your clean funnel directly into the dipstick opening or the fill plug port located on the side of the transmission housing. Pour in the calculated transmission fluid slowly, adding roughly 75% of your estimated total deficit first. Stop pouring to allow the fluid to travel down the narrow fill tubes into the pan. Rushing this process causes fluid to back up, overflow, and create a messy hazard in your engine bay.
Pro Tip: Add fluid in half-quart increments toward the end of the fill process to drastically reduce the risk of accidentally overfilling your transmission.
Step 6: Verify and Fine-Tune the Final Level
What you need: Your vehicle’s dipstick or fill-plug wrench, and a level surface.
Instructions: With the engine still running and the parking brake firmly engaged, cycle the gear selector slowly through every gear (Park, Reverse, Neutral, Drive, and back), pausing for three seconds at each position to circulate the new fluid through the valve body and torque converter. Return the shifter to Park or Neutral (depending on manufacturer instructions). Pull the dipstick, wipe it, reinsert, and check the level against the hot markings. Add microscopic amounts if it sits below the line, or use a fluid extractor syringe if you accidentally overfilled.
Pro Tip: Always check your transmission fluid temperature using an OBD2 scanner if your vehicle requires a specific temperature range (e.g., 95°F to 113°F) for an accurate sealed-transmission check.
✅ Final Checklist
- Verified the correct fluid capacity using the official owner’s manual or VIN data
- Checked the transmission fluid level on a completely flat surface while at operating temperature
- Added fluid incrementally using a clean funnel to prevent contamination and overfilling
- Cycled through all gear selections to properly distribute the fresh fluid throughout the system
- Inspected drain plugs and fill ports for any signs of leaks after completion
Important Notes:
- Never smoke or use open flames near transmission fluid, as it is flammable and hazardous to skin and eyes.
- Seek professional mechanic assistance if your transmission fluid smells severely burnt, contains metallic shavings, or if leaks persist despite proper filling.
- Estimated time: 30 to 60 minutes. Estimated cost: $20 to $80 depending on the cost and quantity of specialized fluid required.
How to Check Your Transmission Fluid Level with a Dipstick
Preparation and Engine Conditions
Getting an accurate fluid measurement requires specific vehicle conditions. If you check the fluid when the transmission is cold, you will get a false reading.
- Park your car on a completely level surface and engage the parking brake.
- Run the engine and let it reach normal operating temperature.
- Cycle through all the gears by moving the shifter from Park to Drive and back, leaving it in Park or Neutral with the engine idling.
Reading the Dipstick Correctly
Locate the transmission dipstick under your hood, which often features a colored handle or a transmission icon distinct from the engine oil dipstick.
- Pull the dipstick out, wipe it clean with a lint-free rag, and push it all the way back down.
- Pull it out a second time and hold it horizontally to inspect the fluid level against the hot and cold markers.
- Observe the fluid color; healthy fluid appears bright red or pink, while dark brown or burnt-smelling fluid indicates it is time for a change rather than a simple top-off.
Step-by-Step Guide on How Much Transmission Fluid to Add
Adding the correct amount of fluid requires precision. Overfilling causes foaming, internal pressure spikes, and seal blowouts. Underfilling starves the system of hydraulic pressure and lubrication. The Automotive Service Excellence (ASE) recommends following a strict procedural workflow to prevent catastrophic transmission failure.
Preparation and Warming
- Park your vehicle on a completely level surface and engage the parking brake firmly.
- Start the engine and let it idle for five to ten minutes. Transmission fluid expands as it heats up, so accurate dipstick readings depend on operating temperature.
- Shift through all gears (Park, Reverse, Neutral, Drive) while holding the foot brake, pausing for three seconds at each selection. This cycles fluid through the valve body and torque converter.
- Leave the engine running in Park or Neutral (consult your owner’s manual for specific manufacturer requirements) and pop the hood.
Filling and Verification
- Locate the transmission dipstick, pull it out, wipe it clean with a lint-free shop rag, and reinsert it fully.
- Remove the dipstick again to read the current fluid level against the hot markings.
- Insert a long-neck funnel directly into the transmission dipstick tube to prevent spills onto hot exhaust components.
- Add transmission fluid in conservative increments, starting with no more than one-quarter to one-half of a pint (4 to 8 ounces).
- Wait two minutes for the fluid to drain down the narrow tube into the pan, then re-check the level with the dipstick.
- Stop pouring immediately once the fluid level stabilizes squarely between the “Full” and “Add” lines.
What If Your Transmission Still Slips After Adding Fluid
If you have correctly topped off your fluid level and your vehicle still exhibits delayed engagement, harsh shifting, or slipping gears, the underlying issue extends beyond simple fluid starvation. According to diagnostic data from major automotive repair networks, persistent slipping despite correct fluid levels usually points to mechanical or electrical component failures.

- Inspect for External Leaks: Check your driveway or garage floor for fresh puddles. A persistent leak means your newly added fluid is escaping, requiring immediate pan gasket or seal replacement.
- Check Fluid Condition: Pull the dipstick and smell the fluid. If it smells severely burnt or appears dark brown to black, the friction clutches inside the transmission are likely worn out and require rebuilding.
- Scan for Diagnostic Trouble Codes (DTCs): Plug an OBD-II scanner into your vehicle port. Faulty shift solenoids, bad pressure control valves, or failing torque converter lock-up solenoids will trigger specific codes.
- Consult a Professional Mechanic: If mechanical wear or electronic sensor failure is suspected, tow the vehicle to a certified transmission specialist. Professional diagnostic testing typically costs between $100 and $250, while a complete transmission rebuild ranges from $2,500 to $4,500 depending on vehicle make and model.
Conclusion
Knowing how much transmission fluid to add safeguards your vehicle against premature mechanical failure and expensive overhauls. By strictly utilizing manufacturer-approved fluids, monitoring fluid temperatures, and adding liquid in small, measured increments, you ensure optimal hydraulic pressure. According to verified research and expert sources from the Automatic Transmission Rebuilders Association (ATRA), regular fluid maintenance extends transmission lifespan by up to 100,000 miles. Your actionable next step for 2026 is to check your transmission dipstick today and verify that your fluid levels match exact factory specifications.
❓ Frequently Asked Questions
How can I tell the difference between the full and low marks on the dipstick?
The dipstick features crosshatched areas, dots, or lines labeled ‘Hot’ and ‘Cold’. If the fluid film falls below the lower mark or the minimum crosshatch, your transmission is low on fluid.
How long should I idle the car before checking the transmission fluid?
You should idle the engine for 5 to 10 minutes and shift through all the gears before checking the level. This ensures the fluid circulates through the torque converter and entire transmission system.
Is it safe to drive with low transmission fluid while waiting to top it off?
Driving with low fluid can cause the transmission to slip, overheat, and suffer permanent internal damage. It is best to top off the fluid immediately before operating the vehicle.
What if my vehicle does not have a transmission fluid dipstick?
Many modern sealed transmissions lack a traditional dipstick and require checking via a fill plug underneath the vehicle. These systems often require specialized equipment to measure fluid temperature and capacity correctly.
How many quarts does it take to go from the low mark to the full mark?
On most standard passenger vehicles, the distance between the low and full marks on a dipstick represents approximately one pint to one quart of fluid.
Can I mix different brands or types of transmission fluid?
You should only mix fluids if they strictly meet the exact manufacturer specifications outlined in your owner’s manual. Mixing incompatible fluids can degrade shift quality and damage internal seals.