
Can You Switch From Regular Oil to Synthetic Oil 2026
Yes, you can safely switch from regular conventional oil to synthetic oil in almost any modern vehicle without causing engine damage. This transition requires no special engine flushes or complex procedures; it is as simple as performing a standard oil change.
Yes, you can safely switch your car from regular conventional oil to synthetic oil at any time, regardless of your vehicle’s mileage. Whether you are driving a brand-new 2026 model or an older commuter with over 100,000 miles, modern engines are engineered to handle this transition seamlessly without requiring any complex flushes or special additives.
Making this switch is one of the easiest ways to improve your engine’s protection against extreme temperatures and reduce internal wear. Because synthetic oils flow better in freezing winter conditions and resist breaking down during heavy summer traffic, upgrading your oil routine helps your engine run cleaner and last longer.
Key Takeaways
- You can safely switch between conventional and synthetic oils at any time.
- Engine flushing is entirely unnecessary before making the oil transition.
- Modern synthetic oils will not cause healthy engine seals to leak.
- You can freely mix synthetic and conventional oils if you need to top off.
- Always match the manufacturer’s recommended oil viscosity rating.
What Causes the Myth That You Can Not Switch to Synthetic Oil
The Fear of Engine Leaks
You have likely heard the persistent garage rumor that switching to synthetic oil causes sudden engine leaks. This belief stems from decades-old automotive history. Back in the 1970s and 1980s, early synthetic formulations occasionally caused older, degraded cork or paper gaskets to shrink and leak. However, modern 2026 engine seals and synthetic oil formulas are fully compatible. If an engine leaks after switching to synthetic oil, it is almost always because a gasket was already worn out and blocked by old oil sludge, not because the synthetic oil damaged the seal.

The Myth of No Turning Back
Another common misconception is that once you switch to synthetic oil, you are locked in forever. Drivers often worry that reverting to conventional oil will instantly ruin their engine. In reality, conventional and synthetic oils are completely miscible. You can mix them together in your crankcase safely, and you can alternate between conventional and synthetic oil changes at any interval without causing harm to your vehicle’s internal components.
Master Switching to Synthetic Oil in 6 Simple Steps
Switching from conventional regular engine oil to full synthetic oil is one of the single best investments you can make for your vehicle’s longevity and performance. Synthetic oils offer superior thermal stability, resist breakdown at high temperatures, and flow much better during freezing winter startups. Whether you have an older vehicle with high mileage or a brand-new car off the lot, this comprehensive walkthrough will guide you safely through the transition process, ensuring your engine reaps the maximum mechanical benefits without any leaks or compatibility issues.
Step 1: Gather Your Supplies and Workspace
What you need: Full synthetic oil matching your manufacturer’s viscosity grade (e.g., 5W-30), a new oil filter, an oil filter wrench, a drain pan, a socket wrench set, a funnel, clean rags, jack stands, and wheel chocks.
Instructions: Before touching your vehicle, organize all your materials on a flat, well-lit surface. Check your owner’s manual to verify the exact oil capacity and viscosity required for your specific engine make and model. Park your car on level ground, engage the emergency parking brake firmly, and place wheel chocks behind the rear tires. If you need to elevate the vehicle to reach the oil pan, safely lift the front end using a hydraulic floor jack and secure it solidly with heavy-duty automotive jack stands. Never rely solely on a hydraulic jack to hold a vehicle while you are working underneath it.
Pro Tip: Always buy one extra quart of synthetic oil than your engine capacity requires, just in case of accidental spills or to keep on hand for future top-offs between scheduled oil changes.
Step 2: Warm Up the Engine
What you need: Your vehicle, a timer or clock.
Instructions: Start your vehicle’s engine and let it run idle for approximately 3 to 5 minutes, or take a very brief drive around the neighborhood. The primary goal here is to warm up the existing regular motor oil, making it less viscous and much thinner. Warm oil flows faster and more completely, which ensures that trapped contaminants, sludge, and microscopic metallic debris suspended in the old conventional oil are successfully drained out of the crankcase rather than clinging to internal engine components. Turn off the ignition before proceeding further.
Pro Tip: Exercise extreme caution when handling the oil drain plug and filter shortly after running the engine, as exhaust components and the oil pan will be extremely hot and capable of causing severe burns.
Step 3: Drain the Old Regular Oil
What you need: Drain pan, socket wrench, shop rags, protective gloves and safety glasses.
Instructions: Slide underneath the vehicle and locate the oil drain plug on the bottom of the engine’s oil pan. Position your drain pan directly underneath the plug to catch the fluid. Using the correct size socket wrench, carefully loosen the drain plug counter-clockwise. Once it is loose enough, remove it by hand while quickly pulling your fingers away so the rush of hot oil does not coat your hands. Allow the oil to drain completely into the pan for at least 10 to 15 minutes until it reduces to a slow, intermittent drip. Inspect the drain plug washer or O-ring for any signs of crushing, cracking, or wear, and replace it if necessary.
Pro Tip: Push the drain plug inward as you unscrew the final threads so you can defeat the oil pressure momentarily and keep the plug from dropping directly into your messy basin of hot used oil.
Step 4: Remove and Replace the Oil Filter
What you need: Oil filter wrench, new oil filter, clean rag, fresh synthetic oil.
Instructions: Locate the old oil filter attached to the engine block. Position your drain pan underneath it, as some oil will spill out when you loosen it. Use the oil filter wrench to turn the filter counter-clockwise just enough to break the seal, then unscrew it by hand, keeping the open end facing upward to minimize splashing. Take a clean rag and thoroughly wipe down the metal mounting surface on the engine block where the rubber gasket of the filter sits; ensuring this area is pristine prevents chronic oil leaks. Take your new synthetic-grade oil filter, dip a clean finger into fresh synthetic oil, and smear a light film around the new rubber gasket. Screw the new filter onto the mounting stud clockwise by hand until it makes firm contact, then tighten it an additional three-quarters to one full turn. Never use a wrench to tighten a new filter, as over-tightening can crush the gasket or ruin the threads.
Pro Tip: Always double-check that the old rubber gasket did not stick to the engine block mounting pad (often called a “double gasket”). If a double gasket occurs, it will cause a catastrophic oil blowout the moment you start the engine.
Step 5: Reinstall the Plug and Fill with Synthetic Oil
What you need: Socket wrench, clean funnel, new full synthetic oil.
Instructions: Clean the area around the oil pan drain hole and thread the drain plug back in by hand clockwise to avoid cross-threading. Use your socket wrench to tighten it securely, but do not over-torque it, as this can strip the soft metal threads of the oil pan. Next, open the hood of your car, locate the engine oil filler cap, and remove it. Insert your clean funnel securely into the oil filler hole. Slowly pour in the precise amount of full synthetic oil specified in your vehicle manual. Once poured, remove the funnel, securely screw the oil filler cap back onto the valve cover, and wipe away any accidental drips with a rag.
Pro Tip: If your vehicle is older and has high mileage, do not worry about myths regarding synthetic oil causing instant engine leaks. Modern full synthetic oils are fully compatible with all conventional engine seals and gaskets.
Step 6: Test Run and Level Verification
What you need: Dipstick, clean paper towel, vehicle.
Instructions: Remove your jack stands and safely lower the vehicle back down to flat ground. Start the engine and let it idle. Look underneath the car with a flashlight to verify there are no active leaks dripping from the drain plug or the new oil filter. Simultaneously, check your dashboard instrument cluster to ensure the oil pressure warning light turns off within 3 to 5 seconds. Let the engine run for about one minute, then shut it off. Wait roughly 5 minutes to let the oil settle back down into the oil pan. Pull out the engine oil dipstick, wipe it clean with a paper towel, reinsert it fully, and pull it out again to read the fluid level. Ensure the oil mark rests precisely between the low and full indicators.
Pro Tip: Properly containerize your old conventional oil and filter in a sealed jug and take them to a local auto parts store or recycling center for safe, eco-friendly disposal.
✅ Final Checklist
- Engine oil level reads correctly between the low and full marks on the dipstick.
- The oil drain plug and oil filter are torqued properly with zero visible leaks.
- Dashboard oil pressure indicator light turns off normally upon startup.
- Used conventional oil and old filter are stored safely for proper recycling.
Important Notes:
- Always wear safety glasses and heat-resistant gloves when dealing with hot automotive fluids and lifting heavy machinery.
- If you notice persistent oil pooling under your vehicle or the oil pressure light remains illuminated, shut down the engine immediately and seek professional mechanic assistance.
- Estimated time for completion: 45 to 60 minutes. Estimated cost: $40 to $80 for oil and filter supplies depending on brand quality and engine capacity.
How to Fix Your Oil Routine With a Step-by-Step Synthetic Switch
Preparing for the Transition
Transitioning your vehicle to synthetic oil requires very little preparation. You do not need to purchase expensive engine flush treatments or specialized cleaning additives. Simply follow these straightforward steps for a clean and efficient transition:
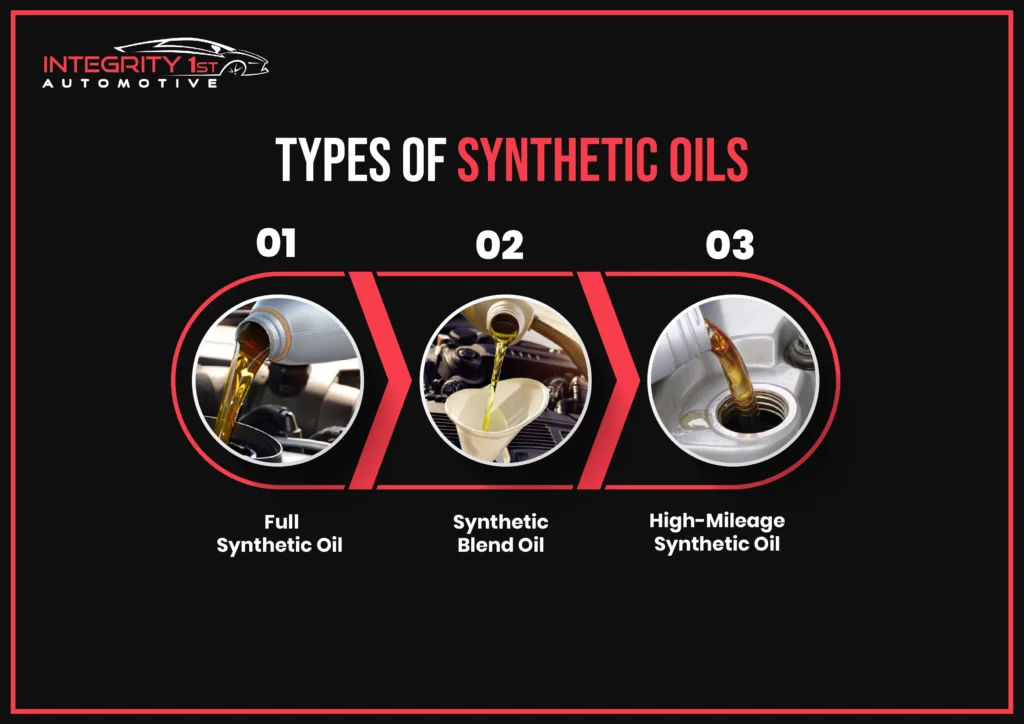
- Check your vehicle owner manual to confirm the correct oil viscosity grade (such as 0W-20 or 5W-30) required for your engine.
- Run your engine for a few minutes to warm up the existing oil, which helps contaminants drain out more thoroughly.
- Drain the old conventional oil completely by removing the oil pan plug.
Completing the Change
Once the old oil has drained out, finish the job by installing a fresh filter and refilling your engine with high-quality synthetic oil. Keep these final execution tips in mind:
- Always replace your oil filter with a new one; never put fresh synthetic oil through a dirty, old filter.
- Fill the engine to the proper dipstick level, taking care not to overfill.
- Reset your dashboard maintenance light and update your service sticker to reflect your new, longer oil change interval—often between 7,500 and 10,000 miles depending on your driving habits in 2026.
What If It Still Does Not Run Right After Changing Your Oil
Making the switch to synthetic oil in 2026 is generally smooth, but drivers occasionally notice unexpected engine behavior immediately following the service. If your engine is running rough, ticking, or triggering a check engine light after your transition, do not panic. Modern engines utilize complex variable valve timing and high-pressure fuel systems that react sensitively to fresh fluid viscosities.
Troubleshooting Post-Switch Performance Issues
If your vehicle does not run right after upgrading to synthetic oil, follow these diagnostic steps to isolate and resolve the issue:
- Verify Fluid Levels and Viscosity: Check the dipstick to ensure the oil level sits squarely between the minimum and maximum markers. Confirm that the grade matches your manufacturer specifications, such as 0W-20 or 5W-30. Incorrect viscosity directly impacts hydraulic lifters and oil pressure sensors.
- Inspect the Oil Filter and Cap: A loose filter housing or an improperly seated O-ring causes pressure drops. Mechanics note that minor leaks around the filter seal trigger performance codes on modern powertrains.
- Reset the Oil Life Monitor: Failing to reset the electronic control unit after an oil change causes conflicting sensor data in some vehicles. Consult your owner manual for the specific pedal-press or dashboard-menu sequence to clear the service interval.
- Check for Pre-Existing Sludge Movement: High-detergent synthetic oils clean legacy deposits rapidly. If debris temporarily restricts a tiny oil passage or fouls a variable valve timing solenoid, the engine may stumble until the filter catches the particulate.
- Seek Professional Diagnostics: If performance does not normalize after driving for twenty miles, take the vehicle to a certified technician. Professional diagnostic scans typically cost between $100 and $150 to pinpoint deeper sensor or mechanical faults.
Conclusion
Switching from regular conventional oil to advanced synthetic oil remains one of the safest and most effective upgrades for modern vehicle longevity. The transition is fully reversible, chemically safe, and yields superior high-temperature stability and cold-start protection. According to verified research from the American Automobile Association (AAA) and leading lubricant engineering authorities, premium synthetic oils reduce engine wear by up to 70 percent compared to conventional standards. Your next actionable step is to check your vehicle owner manual today to confirm the exact viscosity grade required for your engine, and schedule your synthetic oil service with confidence.

❓ Frequently Asked Questions
Is it safe to switch a high-mileage car to synthetic oil?
Switching a high-mileage vehicle to synthetic oil is completely safe. Many drivers successfully make the switch to benefit from better high-temperature protection and reduced engine wear.
Will synthetic oil clean out sludge built up by regular oil?
Yes, high-quality synthetic oils contain superior detergents that gradually clean existing varnish and sludge from your engine components over multiple oil change intervals.
Does switching to synthetic oil improve fuel economy?
Synthetic oil flows more easily at lower temperatures and reduces internal friction better than conventional oil, which can yield a minor improvement in fuel efficiency.
Do I need to change my oil filter when switching to synthetic?
You should always replace your oil filter during any oil change. Ensure you use a high-quality filter rated to handle the extended drain intervals of synthetic oil.
Can switching to synthetic oil void my car warranty?
Switching to synthetic oil will not void your warranty as long as the oil you choose meets the specific viscosity and performance standards outlined in your owner’s manual.
Why do some people say synthetic oil causes leaks?
This myth stems from early formulations decades ago that shrank certain old-style cork gaskets. Modern synthetic oils are fully compatible with contemporary rubber and synthetic engine seals.