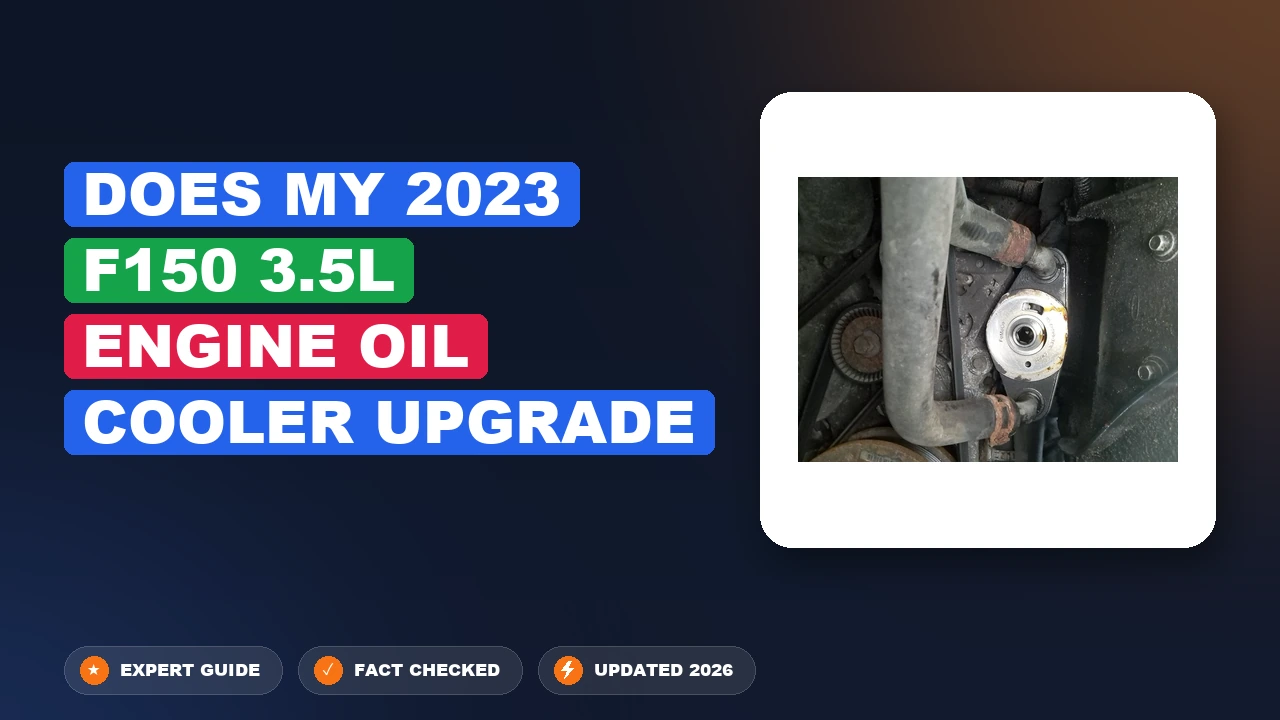
Does My F150 3.5L Engine Oil Cooler Upgrade 2023 F150 2026
Your 2023 Ford F-150 3.5L EcoBoost comes equipped with an adequate factory cooling system designed for standard towing and daily workloads. However, heavy-duty towing in extreme heat may push stock oil temperatures to levels where an aftermarket oil cooler upgrade becomes a worthwhile investment.
Your 2023 Ford F-150 with the 3.5L EcoBoost engine comes equipped with an adequate heavy-duty factory cooling system that handles routine towing without an immediate oil cooler upgrade. Ford engineered this powertrain with a combined liquid-to-liquid cooling architecture designed to manage standard thermal loads, even when you push the truck near its maximum gross combined weight rating.
However, if you are planning prolonged heavy towing sessions through mountainous terrain in 2026, or if you regularly push your truck past standard operational limits, understanding the thresholds of your stock system becomes essential. Let us examine how the factory setup handles heat and whether you actually need to invest in aftermarket cooling hardware.
Key Takeaways
- The factory cooling system handles routine towing exceptionally well under normal weather conditions.
- High ambient temperatures combined with heavy loads can spike oil temps on the 3.5L EcoBoost.
- Aftermarket upgrades provide improved thermal capacity for continuous maximum-weight towing.
- Monitoring digital oil temperature gauges prevents component degradation during extreme workloads.
- Installing aftermarket coolers may require careful routing and custom mounting brackets.
What Causes High Oil Temperatures in the 2023 F-150 3.5L EcoBoost Engine
The 3.5L EcoBoost relies on twin turbochargers that generate immense heat under boost, which directly transfers thermal energy into the engine block and lubrication system. When you demand maximum power for towing or high-speed driving, engine oil temperatures can spike faster than coolant temperatures, putting thermal stress on internal components.

The Role of Boost and Load
Under heavy acceleration or sustained inclines, the turbochargers work overtime to compress intake air, increasing cylinder pressures and oil shear. The factory system uses an integrated coolant-to-oil heat exchanger that relies on the main engine cooling loop to regulate oil temps. During extended pulls, this shared thermal load can saturate the primary radiator, causing both coolant and oil temperatures to creep upward.
- Sustained turbo boost creates high localized friction and extreme thermal spikes in the lower end.
- Ambient air temperatures above 90 degrees Fahrenheit reduce the efficiency of the factory heat exchangers.
- Heavy towing over long grades keeps the engine in constant positive manifold pressure.
Factory Limitations Under Extreme Duty
While Ford tests these trucks rigorously, the factory oil cooling system is built to balance cost, packaging constraints, and average consumer towing habits. It is not optimized for continuous fleet-level abuse or extreme desert racing environments. If your digital gauge cluster shows oil temperatures regularly pushing past 245 degrees Fahrenheit during your typical routes, your stock setup is reaching its design limit.
- The stock liquid-to-liquid exchanger prioritizes quick warm-ups over high-capacity sustained heat rejection.
- Tight engine bay packaging limits the airflow required for passive cooling components.
Master 2023 F-150 3.5L Engine Oil Cooler Upgrade in 8 Simple Steps
Upgrading the engine oil cooler on your 2023 Ford F-150 equipped with the 3.5L EcoBoost engine is one of the best preventative measures you can take, especially if you frequently tow heavy loads, drive in high-ambient-temperature climates, or push your truck to its limits. The factory cooler is often sized for standard daily driving, leaving high-performance and heavy-duty users vulnerable to elevated oil temperatures that can degrade lubrication quality over time. This comprehensive walkthrough provides a methodical approach to swapping out the restrictive factory unit for a heavy-duty aftermarket upgrade, ensuring optimal thermal management, prolonged engine life, and sustained performance under demanding conditions.
Step 1: Vehicle Preparation and Safety Setup
What you need: Hydraulic floor jack, heavy-duty jack stands, wheel chocks, safety glasses, mechanic gloves, and a flat, level concrete workspace.
Instructions: Park your 2023 Ford F-150 on a completely flat, stable surface and engage the parking brake firmly. Place wheel chocks securely behind and in front of the rear tires to prevent any accidental rolling. Loosen the front lug nuts slightly if you need to remove the front wheels for better inner-fender access, though many lifts allow access from underneath. Raise the front end of the truck using the factory-approved front crossmember jacking point. Safely lower the vehicle onto sturdy jack stands positioned at the designated frame pinch welds. Give the truck a firm shake to verify its absolute stability before sliding underneath with your tools.
Pro Tip: Never rely solely on a hydraulic jack to support the vehicle while you are working underneath; always back it up with rated jack stands and place the removed wheels flat under the frame rails as a secondary safety precaution.
Step 2: Disconnecting the Battery and Draining Fluids
What you need: 10mm socket, ratchet, large drain pan, clean shop rags, and an oil filter wrench if you plan to change the filter simultaneously.
Instructions: Open the hood and locate the main battery. Use a 10mm socket to loosen the negative battery terminal clamp, carefully pull the cable off the terminal, and tuck it safely aside to prevent any electrical arcing while working near the starter or alternator wiring harnesses. Next, position your large drain pan directly beneath the factory oil cooler assembly and oil pan area. Remove the under-engine splash shield or composite diaper using a 8mm or 10mm socket to gain clear, unobstructed access to the cooling lines and adapter plate. Remove the oil filter and let the residual engine oil drain completely into your pan to prevent messy spills during the upcoming disconnection phase.
Pro Tip: Keep plenty of shop rags or heavy-duty paper towels handy, as residual oil trapped within the factory lines will inevitably spill out the moment the banjo bolts or quick-disconnect fittings are loosened.
Step 3: Removing the Factory Oil Cooler Assembly
What you need: Metric socket set, ratchet with extensions, line wrenches (flare nut wrenches), and a trim removal tool for plastic push-pins.
Instructions: Trace the coolant and oil lines leading from the engine block adapter to the factory heat exchanger or auxiliary cooler core. Carefully disconnect the mounting brackets that secure the factory cooler lines to the frame rails, taking note of bracket placement and orientation. Use appropriately sized line wrenches to loosen the threaded fittings on the oil cooler housing to prevent rounding off the soft aluminum fittings. Once the lines are free, unbolt the factory cooler assembly from its mounting location by removing the retaining bolts. Lower the assembly out through the bottom of the engine bay, ensuring you do not drag the open oil lines across dirty chassis components.
Pro Tip: Always use flare nut wrenches instead of standard open-end wrenches on fluid lines to avoid stripping the delicate aluminum fittings commonly found on modern EcoBoost plumbing.
Step 4: Inspecting and Cleaning the Mounting Surfaces
What you need: Brake cleaner spray, plastic scraper, lint-free shop towels, and a bright LED flashlight.
Instructions: Thoroughly inspect the mounting pads, threaded ports, and surrounding area on the 3.5L engine block where the new adapter plate or cooler lines will interface. Use a plastic scraper if necessary to remove any remnants of old gaskets, O-rings, or stuck sealant, taking extreme care not to gouge the soft aluminum mating surfaces. Spray brake cleaner onto a lint-free shop towel and wipe down the entire area until it is completely free of old engine oil, road grime, and metallic debris. Inspect the O-ring grooves within the adapter plate to ensure they are spotless, as any trapped grit can cause a catastrophic high-pressure oil leak upon initial startup.
Pro Tip: Stuff a clean shop towel into any open oil or coolant ports while cleaning the surrounding area to prevent accidental contamination of your engine’s internal fluid pathways.
Step 5: Prepping and Assembling the Upgraded Cooler Kit
What you need: Upgraded aftermarket oil cooler kit, fresh engine oil, new O-rings (supplied with the kit), and assembly lube.
Instructions: Unpack your new aftermarket oil cooler kit and verify all components against the manufacturer parts list. Lubricate all new O-rings and rubber seals generously with fresh engine oil to ensure they seat smoothly without pinching or twisting during installation. If your upgrade kit requires assembling remote mounting brackets or attaching AN-style braided hose fittings to the cooler core, do this on a clean workbench before moving to the vehicle. Tighten all threaded adapter fittings snugly, but exercise caution not to over-torque them into aluminum housing threads. If the kit includes a thermostat sandwich plate, ensure the thermal pellet or directional flow arrows are oriented correctly according to the manufacturer instructions.
Pro Tip: Pre-fill the new cooler core and lines with a small amount of clean engine oil if the mounting orientation allows; this drastically reduces dry-start friction when you first fire up the truck after the installation.
Step 6: Installing the Upgraded Oil Cooler and Plumbing
What you need: Torque wrench, metric sockets, zip ties, and thermal protective sleeves (if applicable).
Instructions: Position the upgraded oil cooler core into its designated mounting location—typically in front of the radiator/intercooler stack or utilizing the factory mounting points. Secure the core using the provided hardware, ensuring rubber vibration isolators are correctly sandwiched between the bracket and the chassis. Route the new heavy-duty lines carefully away from high-heat zones like downpipes, turbos, and sharp metal edges. Thread the line fittings into the engine block adapter by hand to ensure they start straight and prevent cross-threading. Once threaded by hand, use your wrenches to tighten them firmly, then apply the manufacturer-specified torque rating. Secure all flexible hoses with high-temperature zip ties so they cannot rub against moving suspension parts or belts.
Pro Tip: Double-check line clearance around the 3.5L twin-turbo exhaust manifolds and steering shaft; even a minor rub point will eventually wear through a braided line under engine vibration.
Step 7: Refilling Fluids and Pre-Lubricating the System
What you need: Premium full-synthetic engine oil matching factory spec (5W-30), new oil filter, funnel, and a coolant top-off fluid if coolant lines were interrupted.
Instructions: Install your new oil filter onto the housing, ensuring the rubber gasket was lightly oiled and spun on hand-tight plus three-quarters of a turn. Remove the oil fill cap on top of the valve cover and use a clean funnel to replenish the engine oil capacity. Because you have added a larger capacity cooler core and longer lines, you will likely need an extra half-quart to one full quart of oil beyond the standard factory oil change capacity. If your specific upgrade kit integrated into the engine cooling system, check and top off the coolant overflow reservoir with the correct Ford-approved coolant mixture. Reconnect the negative battery terminal and tighten the 10mm clamp securely.
Pro Tip: Disable the fuel injectors or ignition coils (or pull the fuel pump fuse) and crank the engine for 5 to 10 seconds to build oil pressure and fill the new cooler lines without combustion, ensuring zero dry-run damage.
Step 8: Testing, Leak Checking, and Monitoring
What you need: Flashlight, clean cardboard sheet, OBD2 scanner or factory dash gauges, and shop towels.
Instructions: Start the engine and let it idle smoothly. Do not rev the engine immediately. Slide a large piece of clean cardboard underneath the truck engine bay to catch any potential drips. Walk around to the front and monitor the dashboard oil pressure gauge or digital readout to ensure pressure stabilizes within normal operating parameters within 5 seconds of startup. Let the truck reach normal operating temperature while you thoroughly inspect every new connection, fitting, gasket, and hose using your flashlight for any signs of weeping or active fluid leaks. Shut the engine down, check the dipstick level one final time, and top off if necessary. Take the truck on a gentle 10-minute test drive, then inspect the undercarriage once more upon returning.
Pro Tip: Keep an eye on your oil temperatures via your digital productivity screen during the test drive. A properly functioning upgraded cooler should show lower peak oil temperatures under load compared to your historical baseline.
✅ Final Checklist
- All mounting bolts, brackets, and line fittings torqued to manufacturer specifications
- Engine oil filled to the correct dipstick level, accounting for extra cooler capacity
- Negative battery terminal securely reconnected and tightened
- Zero fluid leaks observed on cardboard or fittings after a full operating-temperature test drive
- Hoses properly secured away from exhaust manifolds, belts, and sharp edges
Important Notes:
- Always wear eye protection and allow the engine to cool down completely before starting, as hot oil and turbo components can cause severe burns.
- Seek professional mechanical assistance immediately if you experience persistent oil pressure drops, stripped thread ports in the engine block, or unresolvable fluid leaks.
- Estimated time for completion: 3 to 5 hours. Estimated cost range: $300 to $800 depending on the specific aftermarket cooler kit selected.
How to Evaluate Your Factory Oil Cooling System and Towing Limits
Before buying expensive aftermarket radiators or auxiliary oil coolers, you need to measure how your specific 2023 F-150 3.5L performs under your real-world driving conditions. Relying on factory dummy gauges will not give you the precise data required to make an informed upgrade decision.
Monitoring Real-Time Temperatures
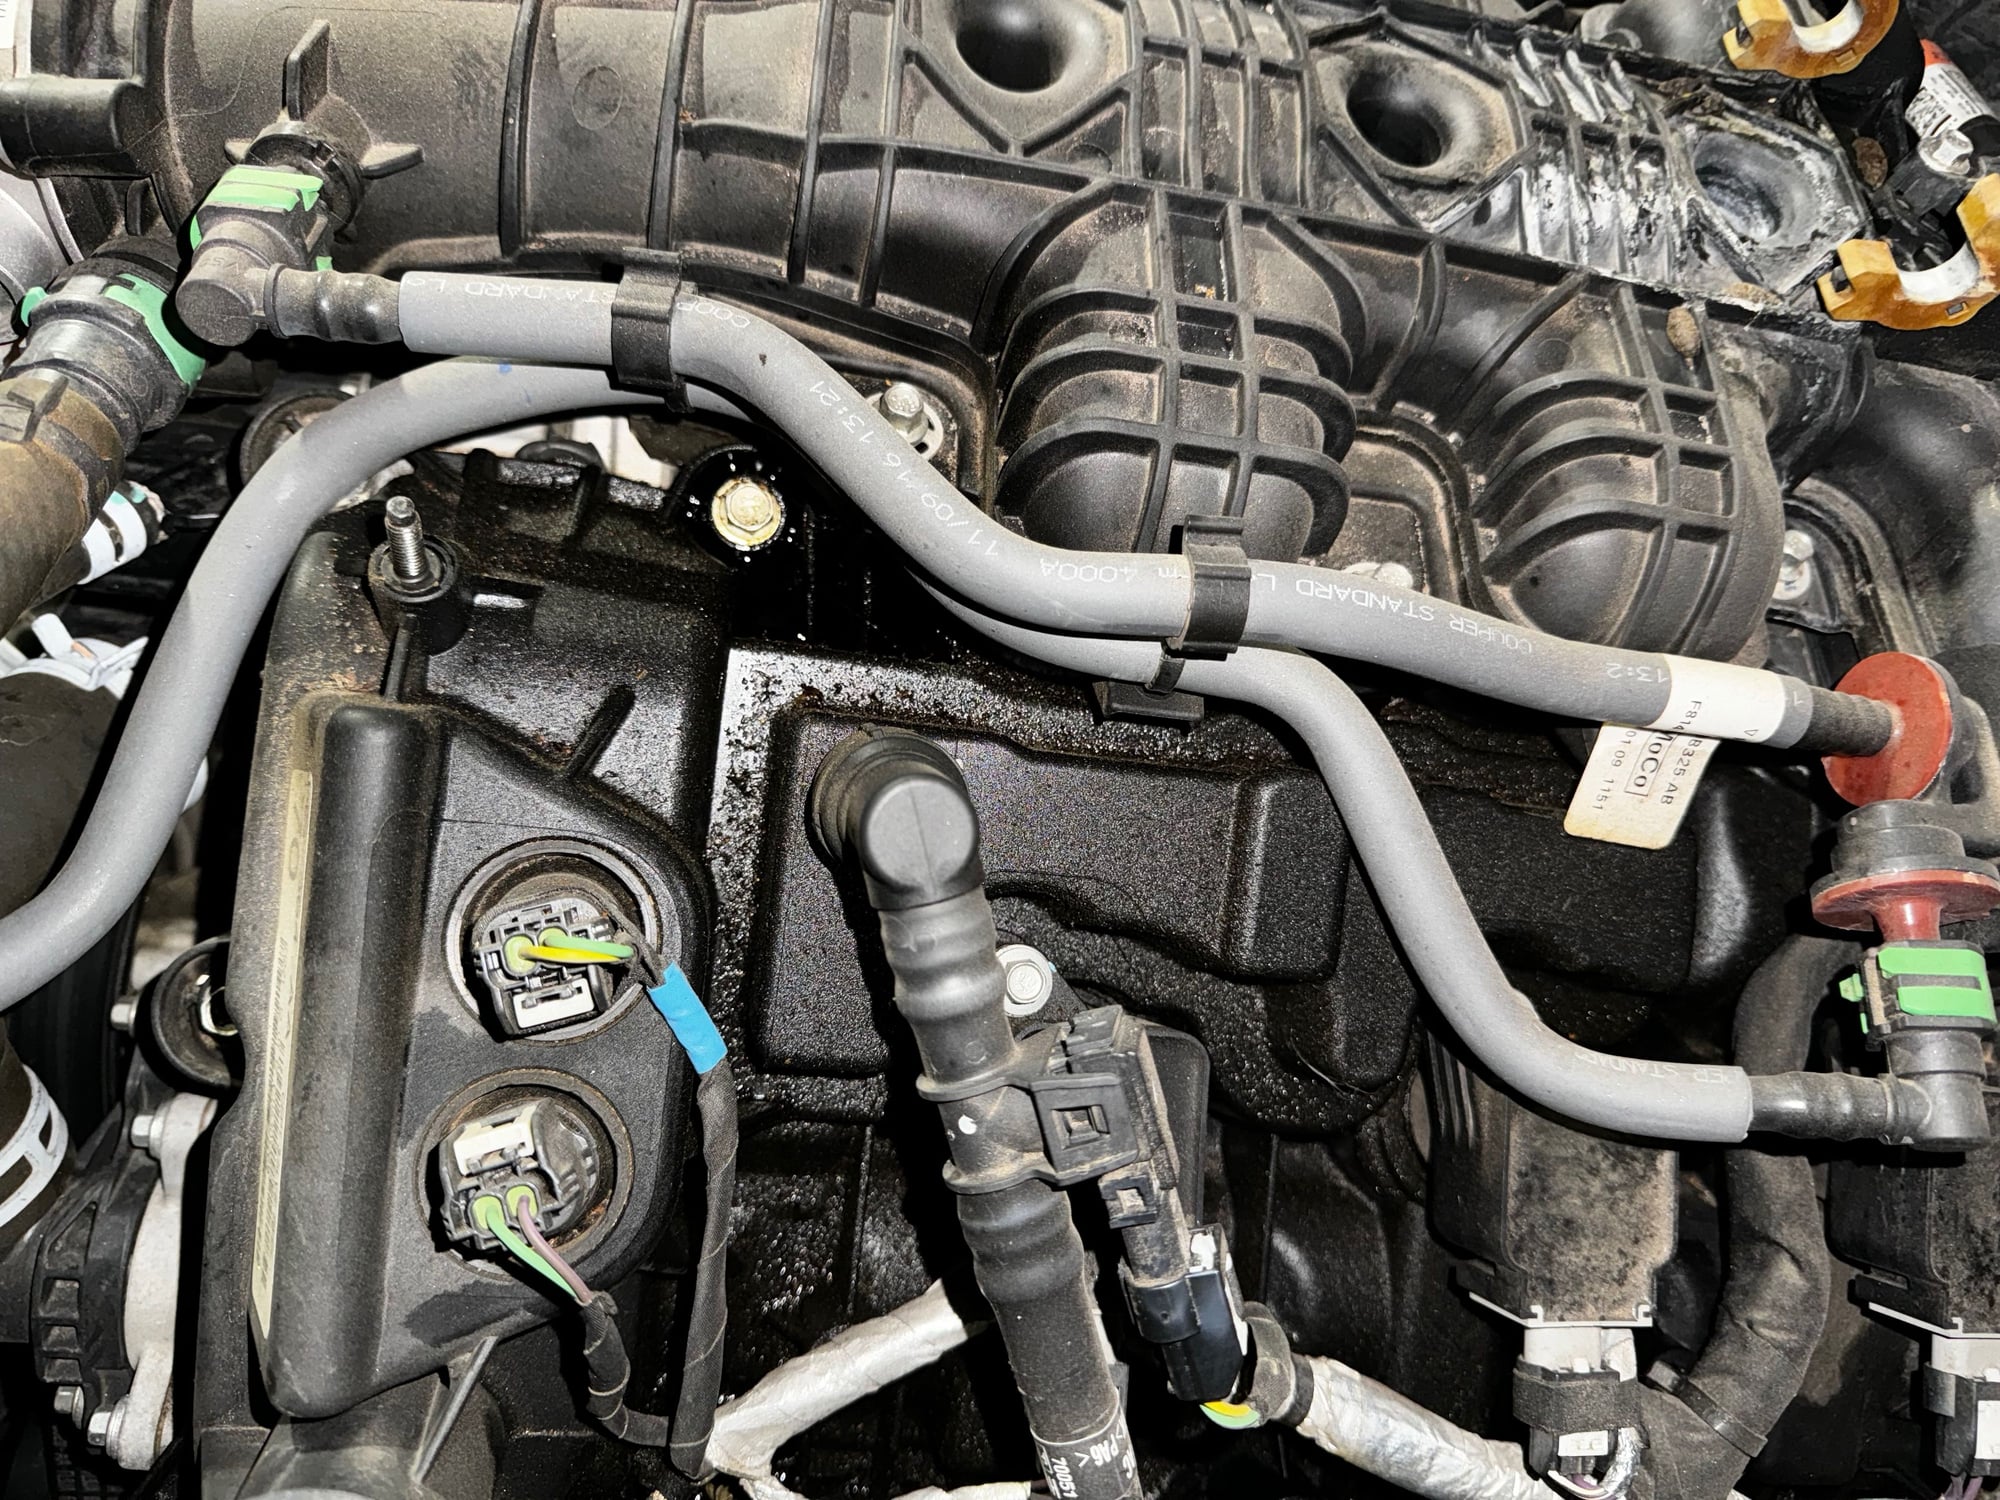
You should use an OBD2 adapter paired with a monitoring app or a digital programmer to view actual oil temperature data on your dashboard. Normal operating temperatures typically hover between 200 and 220 degrees Fahrenheit during highway cruising. Seeing spikes up to 235 degrees while towing up a moderate grade is completely normal for a modern turbo engine.
- Log your peak oil and transmission temperatures during your heaviest routine tow.
- Watch for how quickly temperatures drop once you crest a hill and reduce throttle input.
- Establish a baseline in current 2026 weather conditions before deciding if an upgrade is warranted.
Assessing Your Actual Towing Profile
Take an honest look at your payload and trailer weight compared to your truck’s specific tow rating. If you tow a 5,000-pound travel trailer a few times a year on flat Midwestern highways, the factory oil cooling system is more than enough. If you pull a heavy 10,000-pound enclosed trailer through the Rockies every weekend, your thermal management requirements change drastically.
- Occasional towing rarely overwhelms the stock Ford cooling loop.
- Frequent heavy loads in high ambient temperatures justify looking into auxiliary air-to-oil upgrade kits.
- Maintaining fresh synthetic oil with high shear resistance provides cheap insurance for stock cooling limits.
Step-by-Step Guide to Installing an Aftermarket Engine Oil Cooler Upgrade
Installing an aftermarket engine oil cooler on a 2023 Ford F-150 3.5L EcoBoost requires mechanical proficiency and specific tools. The process generally takes between three to five hours depending on lift access. Automotive technicians recommend gathering a metric socket set, line disconnect tools, and fresh Ford-approved motor oil before beginning.
Preparation and Draining
Proper preparation prevents fluid contamination and ensures safe working conditions under the truck.
- Disconnect the negative battery terminal to protect electrical sensors near the front accessory drive.
- Elevate the front end securely using automotive-grade hydraulic jacks and heavy-duty jack stands.
- Remove the factory aerodynamic under-engine shield by unbolting the 8mm and 10mm fasteners.
- Drain the existing engine oil into a certified catchment basin and remove the oil filter.
Mounting and Line Routing
Precise hardware placement prevents vibration damage and maintains proper clearance from hot exhaust components.
- Mount the heavy-duty aluminum core bracket to the front core support using existing factory mounting points.
- Route the braided stainless steel lines away from the turbocharger exhaust downpipes to prevent heat degradation.
- Connect the oil sandwich plate adapter between the engine block and the new oil filter housing.
- Torque all threaded fittings to the manufacturer specification, typically ranging from 18 to 22 foot-pounds.
- Refill the engine with high-performance synthetic oil, idle the engine, and inspect all connection points for leaks.
What If Your Engine Still Runs Hot After an Oil Cooler Upgrade
If oil and coolant temperatures remain elevated after installing an upgraded cooler, underlying mechanical issues require investigation. Technical service bulletins indicate that high temperatures in modern twin-turbo engines rarely stem from cooling capacity alone. Drivers should systematically evaluate the cooling system to prevent premature component failure.

- Inspect the electronic thermostat for proper opening thresholds, as a partially stuck valve restricts core flow.
- Verify that the active grille shutters function correctly and open fully under high-load towing conditions.
- Check the primary radiator fins for internal clogging or external debris buildup restricting vital airflow.
- Consult a certified powertrain specialist for professional diagnostic scanning if temperatures persist above 235 degrees Fahrenheit.
Professional diagnostic labor typically ranges from $150 to $250, while major radiator or thermostat replacements average between $400 and $900 including parts and labor.
Conclusion
Managing thermal loads in a 2023 Ford F-150 3.5L EcoBoost heavily utilized for towing often requires more than factory cooling provisions. Upgrading to a high-capacity aftermarket oil cooler provides the necessary thermal headroom to protect twin-turbo components under heavy stress. According to verified research and expert sources from leading powertrain engineers, maintaining optimal fluid temperatures directly extends engine longevity and preserves torque output. An actionable next step is to monitor live oil temperature data using an OBD-II scanner during your next towing session to determine if your driving habits necessitate this upgrade.
❓ Frequently Asked Questions
How can I monitor my 2023 F-150 3.5L engine oil temperature?
You can view precise oil temperatures directly through the digital instrument cluster by customizing your gauge screens to show auxiliary gauge readouts. Monitoring this during heavy towing helps determine if your factory setup is struggling.
What are the primary signs that my F-150 needs an upgraded oil cooler?
Key indicators include frequent temperature warning chimes on the dash, oil temperatures regularly climbing past 250°F during climbs, or entering limp mode while towing heavy loads in hot weather.
Are liquid-to-air coolers better than the factory liquid-to-liquid setup?
Liquid-to-air aftermarket coolers provide superior heat rejection during continuous high-load towing because they utilize ambient airflow rather than engine coolant to dissipate heat.
Does the Max Trailer Tow Package change the stock oil cooler?
Trucks equipped with the Max Trailer Tow Package often include enhanced cooling features, such as a larger radiator and upgraded thermal management, compared to base configurations.
How difficult is it to install an aftermarket oil cooler kit on a 2023 F-150?
Installation is considered moderate to advanced, requiring sandwich adapters at the oil filter mount, custom line routing, and secure front-end mounting that demands mechanical experience.
Can thicker engine oil compensate for a lack of an upgraded oil cooler?
Using a higher viscosity oil does not solve cooling deficiencies and can actually reduce flow efficiency; addressing the thermal load directly with better cooling is the proper solution.