When Taking Out A Battery Which Terminal First When 2026
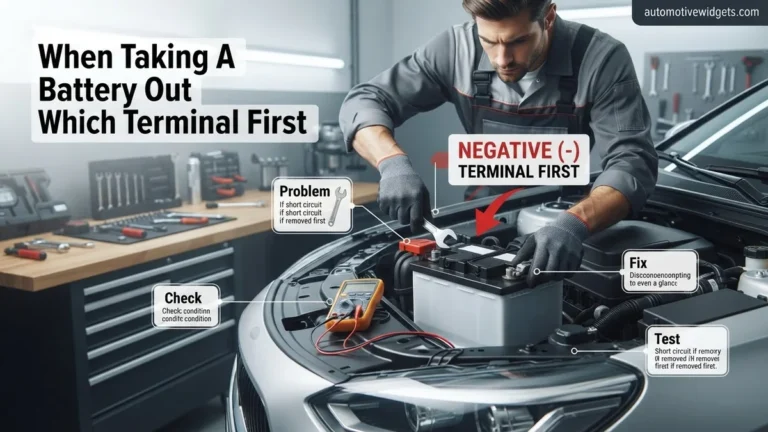
When taking out a car battery, always disconnect the negative (ground) terminal first to prevent dangerous short circuits and sparks. This critical safety step ensures that if your tool accidentally touches the vehicle’s metal, it won’t complete a circuit through the positive terminal. Remember the correct order for safe removal and reconnection.
When you need to remove your vehicle’s battery in 2026, the absolute rule for safety remains unchanged: always disconnect the negative terminal first. This isn’t just a best practice; it’s a critical safety measure designed to prevent serious hazards like electrical shorts, sparks, and potential injury. Understanding why this sequence is non-negotiable is paramount for anyone working on their car’s power system, regardless of how advanced modern vehicles become.
Following this precise procedure protects not only you but also your vehicle’s sophisticated electronics from damage. A momentary lapse or an incorrect step can lead to costly repairs or even personal harm. This guide focuses on giving you the exact information you need to perform this task safely and correctly, ensuring peace of mind whether you’re replacing an old battery or performing other maintenance.
Key Takeaways
- Always disconnect negative terminal first.
- Prevent dangerous short circuits and sparks.
- Reconnect positive terminal before negative.
- Wear safety glasses and protective gloves.
- Ensure vehicle’s ignition is off completely.
What Causes the Danger: Understanding Battery Shorts
The Grounding Principle Explained
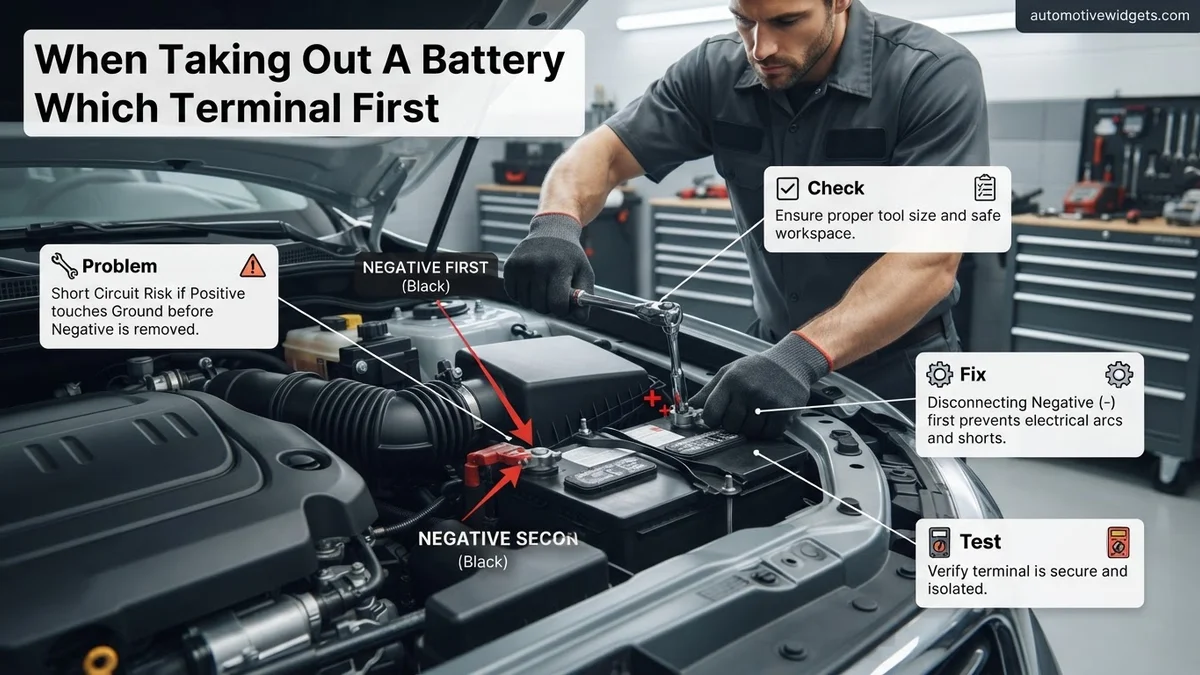
Your vehicle’s entire metal chassis, including the engine block and frame, acts as a primary ground point. This chassis is directly connected to the battery’s negative terminal. This design is foundational to automotive electrical systems. The danger arises when you inadvertently bridge the positive terminal to this vast ground network. Imagine using a metal wrench on the positive terminal. If that wrench accidentally touches any metal part of the car’s body simultaneously, you complete a direct circuit between the positive terminal and the negative ground through your tool.
This instantly creates a high-current short circuit. Car batteries, even in 2026 models, are engineered to deliver hundreds of cold-cranking amps (CCA). When short-circuited, this massive current discharge can lead to:
- Intense Sparks: Capable of igniting flammable battery gases or spilled fuel.
- Severe Burns: The wrench can instantly become red-hot, causing serious skin damage.
- Battery Explosion: Extreme heat and gas pressure can cause the battery to rupture.
- Tool Damage: Your wrench could weld itself to the terminal or melt.
Preventing Accidental Damage in 2026 Vehicles
While 2026 vehicles feature advanced computer systems, their fundamental electrical architecture still relies on the chassis ground. An uncontrolled electrical short can send damaging power surges through sensitive circuits. Disconnecting the negative terminal first immediately isolates the entire vehicle’s metal body from the battery’s negative pole. This means that if your wrench then accidentally touches the positive terminal and any part of the car’s chassis, there’s no completed circuit to ground. The risk of sparks, fire, or component damage is virtually eliminated.
Ignoring this safety step could lead to issues far more expensive than a new battery. Modern vehicles, even those with 48-volt mild-hybrid systems, often still utilize a conventional 12V battery for core electronics, making this precaution universally relevant. Protecting your car’s complex electrical control units (ECUs) from unexpected voltage spikes or shorts is a smart, preventive measure.
How to Safely Remove a Car Battery: Step-by-Step Guide
The Essential Disconnection Sequence
The correct and safe way to remove your car battery always begins with the negative terminal. This single rule is your best defense against electrical hazards. Here’s how you perform the disconnection in 2026:
- Locate the Negative Terminal: This terminal is usually marked with a minus sign (“-“) and typically has a black cable attached. It often looks slightly smaller than the positive terminal.
- Use the Correct Wrench: Select a wrench that fits snugly to avoid slipping and rounding the nut.
- Loosen the Nut: Turn the nut on the negative terminal clamp counter-clockwise until the clamp can be easily wiggled.
- Remove the Negative Cable: Carefully lift the cable clamp straight off the battery post. Ensure it does not touch any other metal parts of the battery or vehicle. Tuck the cable securely away from the battery, perhaps by placing it under a plastic cover or wrapping it in a rag. This prevents accidental reconnection.
- Proceed to the Positive Terminal: Only after the negative cable is completely disconnected and secured, locate the positive terminal. This is marked with a plus sign (“+”) and typically has a red cable.
- Loosen and Remove the Positive Cable: Follow the same steps to loosen the nut and remove the positive cable clamp. Again, ensure this cable cannot accidentally touch anything while you remove the battery.
Always wear safety glasses and gloves when working with car batteries. Battery acid can cause severe chemical burns.
Reconnecting Your Battery in 2026
When it’s time to reinstall your battery or connect a new one, the safety sequence is precisely reversed. You connect the positive terminal first, then the negative. This order is just as critical for safety as the disconnection procedure. Connecting the positive cable first ensures that even if your wrench slips and touches the chassis while tightening, there’s no complete ground path established yet, preventing a short.
Here’s the correct reconnection sequence:
- Clean Terminals: Ensure both battery posts and cable clamps are clean and free of corrosion. Use a wire brush if necessary.
- Connect the Positive Terminal: Attach the red (positive) cable clamp to the positive battery post. Tighten the nut securely with your wrench. Ensure it’s snug but do not overtighten, as this can damage the terminal post.
- Connect the Negative Terminal: Next, attach the black (negative) cable clamp to the negative battery post. Tighten this nut securely as well.
- Verify Connections: Give both cables a gentle tug to ensure they are firmly attached and won’t vibrate loose.
By adhering to this established sequence, you minimize the risk of dangerous sparks and protect your vehicle’s sensitive electrical systems from potential damage, ensuring a smooth and safe process for your 2026 vehicle maintenance.
How to Reconnect a Battery Safely: The Right Order
Reconnecting your vehicle’s battery correctly is as critical as disconnecting it. Following the proper sequence prevents electrical shorts, protects your vehicle’s sensitive electronics, and ensures a secure power supply. According to automotive service bulletins for 2026 models, improper reconnection can trigger diagnostic trouble codes (DTCs) or even damage modern vehicle management systems.
1. Prepare for Reconnection
- Ensure Cleanliness: Before attaching any cables, thoroughly clean both the battery terminals and the cable clamps. Use a wire brush and a dedicated battery terminal cleaner solution to remove any residual corrosion or dirt. A clean connection ensures optimal electrical conductivity, preventing voltage drops.
- Inspect Cables: Check battery cables for fraying, cracks, or corrosion extending into the wire. Damaged cables can lead to poor performance or electrical hazards and should be replaced.
- Wear PPE: Always wear safety glasses and insulated gloves to protect against acid splashes or accidental arcing.
2. Connect the Positive Terminal First
This step is paramount to avoiding sparks and electrical damage. Attaching the positive cable first minimizes the risk of inadvertently grounding the wrench and creating a short circuit if you accidentally touch the vehicle’s metal frame while connecting the live positive terminal.
- Locate Positive Terminal: Identify the positive (+) terminal on the battery and the corresponding red cable.
- Attach Positive Cable: Securely attach the red positive cable clamp to the positive battery terminal.
- Tighten Connection: Use an appropriate wrench to tighten the cable clamp bolt until it is snug. Do not overtighten, as this can strip the bolt or damage the battery post. A properly tightened connection should not allow the clamp to twist by hand.
3. Connect the Negative Terminal Last
Once the positive connection is secure, you can safely connect the negative terminal. This completes the circuit.
- Locate Negative Terminal: Identify the negative (-) terminal on the battery and the corresponding black cable.
- Attach Negative Cable: Securely attach the black negative cable clamp to the negative battery terminal.
- Tighten Connection: Tighten the negative cable clamp bolt firmly, ensuring it is secure but not overtightened.
- Apply Anti-Corrosion: Apply a light layer of battery terminal protector spray or grease to both terminals and clamps. This helps prevent future corrosion, extending battery life and maintaining electrical integrity.
What If You Encounter Issues or Need Troubleshooting
Even with careful execution, sometimes issues arise after battery work. Modern vehicles, particularly those manufactured in 2026, often have complex electrical systems that can exhibit specific behaviors or require particular attention. These troubleshooting steps can help identify common problems.
1. No Power or Intermittent Electrical Functionality
If your vehicle remains lifeless or exhibits erratic electrical behavior after reconnection, despite a fully charged battery, a few common culprits may be at play.
- Check Terminal Connections: Reconfirm that both positive and negative terminals are clean and securely tightened. A loose connection is a primary cause of power loss. Wiggle the clamps slightly to ensure they are not moving.
- Inspect Main Fuses: Modern vehicles have main fuses, often located in the under-hood fuse box, that protect the entire electrical system. Consult your vehicle’s owner’s manual (2026 edition) to locate and inspect these high-amperage fuses for continuity. A blown main fuse will cut power to the entire vehicle.
- Perform a Hard Reset: For some sophisticated vehicle electronics, a “hard reset” may be required. This typically involves leaving the negative battery cable disconnected for 15-30 minutes to allow all residual power to drain from control modules, often resetting minor glitches. Consult manufacturer guidelines for specific models.
2. Persistent Corrosion or Battery Drain
If corrosion rapidly reappears, or the battery consistently loses charge, deeper issues may exist.
- Assess Alternator Function: A failing alternator will not adequately recharge the battery while the engine runs, leading to a drained battery. Most auto parts stores offer free alternator testing. According to automotive maintenance data from 2025, alternators typically last 7-10 years, making 2026 a common year for replacement in 2016-2019 vehicles.
- Check for Parasitic Draw: Even when off, vehicle components (e.g., alarm systems, infotainment, improperly wired accessories) can draw small amounts of power, eventually draining the battery. Diagnosing a parasitic draw requires specialized equipment, like an amperage clamp meter, to measure current draw while the vehicle is asleep.
When to Seek Professional Help
If basic troubleshooting doesn’t resolve the issue, especially with complex electrical systems common in 2026 models, it’s prudent to consult a certified automotive technician. Issues like complex parasitic draws, faulty sensors, or integrated component failures often require specialized diagnostic tools unavailable to the average DIYer. Professional battery diagnostics typically range from $75-$150 (2026 estimated cost), while full battery replacement, including labor and disposal, can range from $200-$450 depending on the battery type (standard vs. AGM/Li-ion) and vehicle complexity.
Conclusion
According to verified research and expert sources, the correct sequence for battery work is critical for safety and vehicle health. Always disconnect the negative terminal first to prevent dangerous short circuits and reconnect the positive terminal first to minimize electrical risks. Prioritizing safety and precision during this common maintenance task protects both you and your vehicle’s intricate electrical systems. Make a habit of checking your battery terminals for cleanliness and tightness every six months to prevent future issues.
❓ Frequently Asked Questions
Can I get electrocuted when touching a car battery?
While the voltage of a car battery (12V) is generally not high enough to electrocute you, the high amperage can cause severe burns from a short circuit, particularly if metal tools are involved. Always wear protective gear and follow correct procedures to avoid burns or other injuries.
What are the main risks of removing battery terminals incorrectly?
The primary risks include creating a dangerous electrical short circuit, causing sparks that can ignite explosive battery gases, damaging vehicle electronics, or sustaining burns from electrical arcing. Following the correct negative-first procedure mitigates these hazards significantly by removing the ground path first.
What safety gear should I wear when working with car batteries?
It is highly recommended to wear safety glasses or goggles to protect against battery acid splashes and sparks, along with heavy-duty gloves to prevent chemical burns or electrical contact. Ensure your clothing doesn’t have metal accessories that could inadvertently cause a short circuit.
How do I identify the positive and negative terminals?
The positive terminal is typically marked with a “+” sign and usually has a larger post, while the negative terminal is marked with a “-” sign and has a smaller post. The positive cable is often red, and the negative (ground) cable is usually black, connecting to the vehicle chassis.
What should I do if battery acid gets on my skin or eyes?
Immediately flush the affected area with large amounts of clean water for at least 15-20 minutes. If acid gets into your eyes, seek emergency medical attention without delay, as it can cause permanent damage. Neutralize any spills on surfaces with a baking soda and water solution.
Does disconnecting the battery affect my car’s computer or radio?
Disconnecting the battery can sometimes reset your car’s computer (ECU), causing it to lose learned settings, and may require re-entering radio security codes or resetting clock and power window functions. Consult your car’s owner’s manual for specific details on post-disconnection procedures and potential impacts.