How Do You Disconnect the Negative Battery Cable 2026 Guide
Knowing how do you disconnect the negative battery cable safely is essential for any automotive electrical work. Always locate the black terminal marked with a minus sign (-) and use insulated tools to prevent dangerous short circuits.
To safely disconnect the negative battery cable, locate the terminal marked with a minus sign and a black cover, loosen its retaining nut with a wrench, and lift the clamp straight up off the post. This action cuts off the vehicle’s electrical circuit, preventing accidental shorts and protecting your onboard computers during repairs.
Whether you are upgrading your 2026 vehicle’s audio system, cleaning corrosion, or performing routine maintenance, removing the negative cable first is the golden rule of automotive electrical work. Doing this simple step prevents dangerous sparks and blown fuses.
Key Takeaways
- Always locate the black negative terminal marked with a minus sign before starting.
- Wear safety glasses and gloves to protect against acid and accidental sparks.
- Use the correct wrench size, typically a 10mm, to loosen the terminal nut.
- Tuck the loose negative cable safely aside so it cannot spring back into contact.
- Ensure the vehicle ignition is completely turned off before touching any tools to the battery.
What Causes Electrical Risks When Working on a Car Battery
The Danger of Metal-on-Metal Contact
Modern 2026 vehicles rely on complex electronic modules, sensors, and sensitive wiring harnesses. When you touch a metal wrench to the positive battery terminal while any part of that tool touches the car frame, you create a direct short circuit. The metal wrench can instantly heat up to extreme temperatures, causing severe burns, melting tools, or even exploding the battery.
Why the Negative Terminal Goes First
Your car’s entire chassis acts as the electrical ground connected straight to the negative battery post. If you touch a wrench to the positive terminal while the negative cable is still attached, the circuit is complete. By disconnecting the negative cable first, you kill the ground path entirely. Even if your wrench accidentally brushes a grounded metal surface while working on the positive side later, nothing will happen.
- Always remove the negative cable before touching the positive side.
- Treat the chassis as an active electrical pathway until the negative clamp is removed.
- Keep all metal jewelry, watches, and rings away from the engine bay.
Master Disconnecting Your Negative Battery Cable in 7 Simple Steps
Disconnecting a vehicle’s negative battery cable is a fundamental automotive maintenance task required before performing electrical work, changing an alternator, or storing a vehicle long-term. Doing this correctly prevents electrical shorts, sparks, and computer resets. This comprehensive guide will walk you through the entire process safely and efficiently, ensuring you protect both yourself and your vehicle’s sensitive onboard electronics.
Step 1: Park Securely and Turn Off the Ignition
What you need: A flat, level parking surface, the vehicle ignition key or push-button fob, and an engaged parking brake.
Instructions: Park your vehicle in a well-ventilated area, preferably outdoors or in a spacious garage. Shift automatic transmissions into ‘Park’ (or manual transmissions into reverse or first gear), and firmly pull the emergency or electronic parking brake. Turn off the ignition completely, remove the keys from the ignition cylinder, or place keyless fobs at least 15 feet away from the vehicle to prevent accidental system wake-ups. Ensure all accessories like headlights, interior dome lights, the radio, and the air conditioning are completely powered down to avoid minor electrical arcing when the circuit is eventually broken.
Pro Tip: Never perform this task while the engine is running or immediately after a long drive, as hot engine components and active charging systems pose severe burn and electrical shock hazards.
Step 2: Locate and Open the Hood
What you need: The vehicle hood release latch, usually located inside the driver’s side footwell.
Instructions: Pull the interior hood release lever—you should hear a distinct pop sound coming from the front of the vehicle. Walk to the front, locate the secondary safety latch (usually positioned centrally under the hood lip), push or pull it to release the catch, and lift the hood fully. Secure the hood using the factory prop rod or ensure the hydraulic gas struts hold it firmly in place. Scan the engine bay to identify where the 12-volt battery is housed; while most are under the hood, some modern European and hybrid vehicles place them in the trunk, under the rear passenger seats, or inside the front wheel well.
Pro Tip: If your battery is located in the trunk or under a seat, consult your owner’s manual for proper remote terminal locations or specific access panel removal procedures.
Step 3: Identify the Negative Terminal
What you need: A flashlight or work light if working in dim lighting conditions.
Instructions: Look closely at the battery terminals to identify the negative post. The negative terminal is almost universally marked with a minus sign (-) stamped directly onto the battery casing or the cable clamp itself, and it is frequently painted black. In contrast, the positive terminal is marked with a plus sign (+) and is usually covered by a red protective plastic cap. Follow the heavy cable originating from the negative terminal; it will route directly downward and bolt securely to the vehicle’s metal chassis, engine block, or transmission housing, serving as the primary electrical ground.
Pro Tip: Double-check that you are targeting the negative terminal. Disconnecting the positive terminal first while your wrench touches a grounded metal part of the car will cause dangerous sparks and a direct short circuit.
Step 4: Gather Your Tools and Safety Gear
What you need: Safety glasses, heavy-duty insulated work gloves, a metric or standard open-end wrench (commonly 8mm, 10mm, or 13mm), or a ratchet with a socket extension.
Instructions: Put on your safety glasses and insulated gloves to protect against acid residue and sudden sparks. Select the correct size wrench or socket by test-fitting it onto the nut that tightens the negative cable clamp around the battery post. Do not use adjustable wrenches if possible, as they can easily slip and round off the soft lead or brass fastener nuts. Keep a clean, dry shop rag or a piece of non-conductive plastic (like a heavy-duty ziplock bag or rubber glove) nearby to safely isolate the detached cable end once it is freed from the battery post.
Pro Tip: Inspect your tools before starting; ensure wrenches are free of grease or oil so they don’t slip during application.
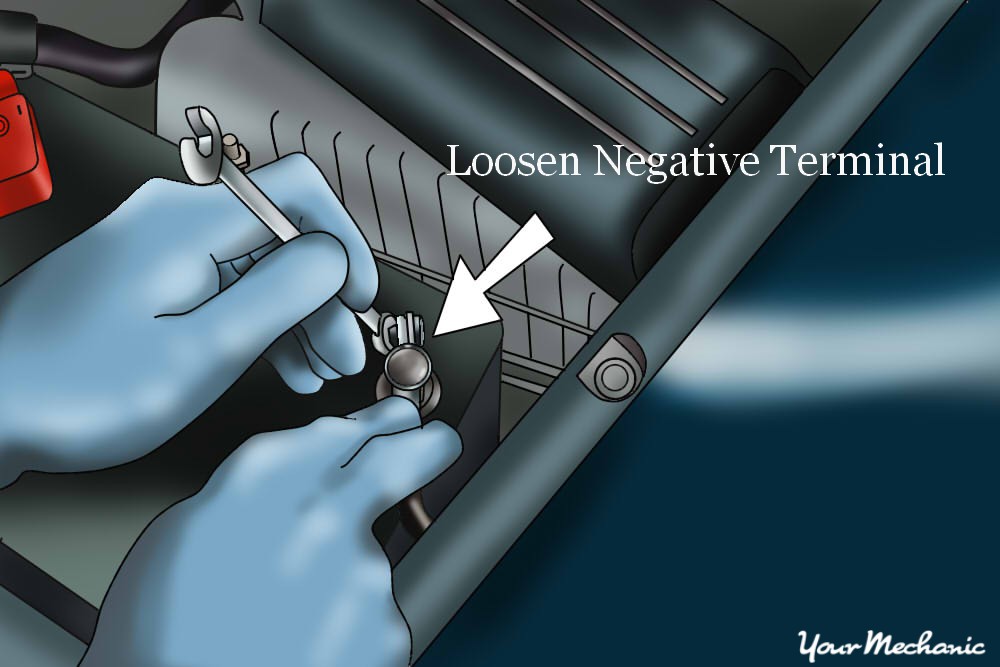
Step 5: Loosen the Negative Cable Clamp Nut
What you need: The correctly sized wrench or ratchet identified in the previous step.
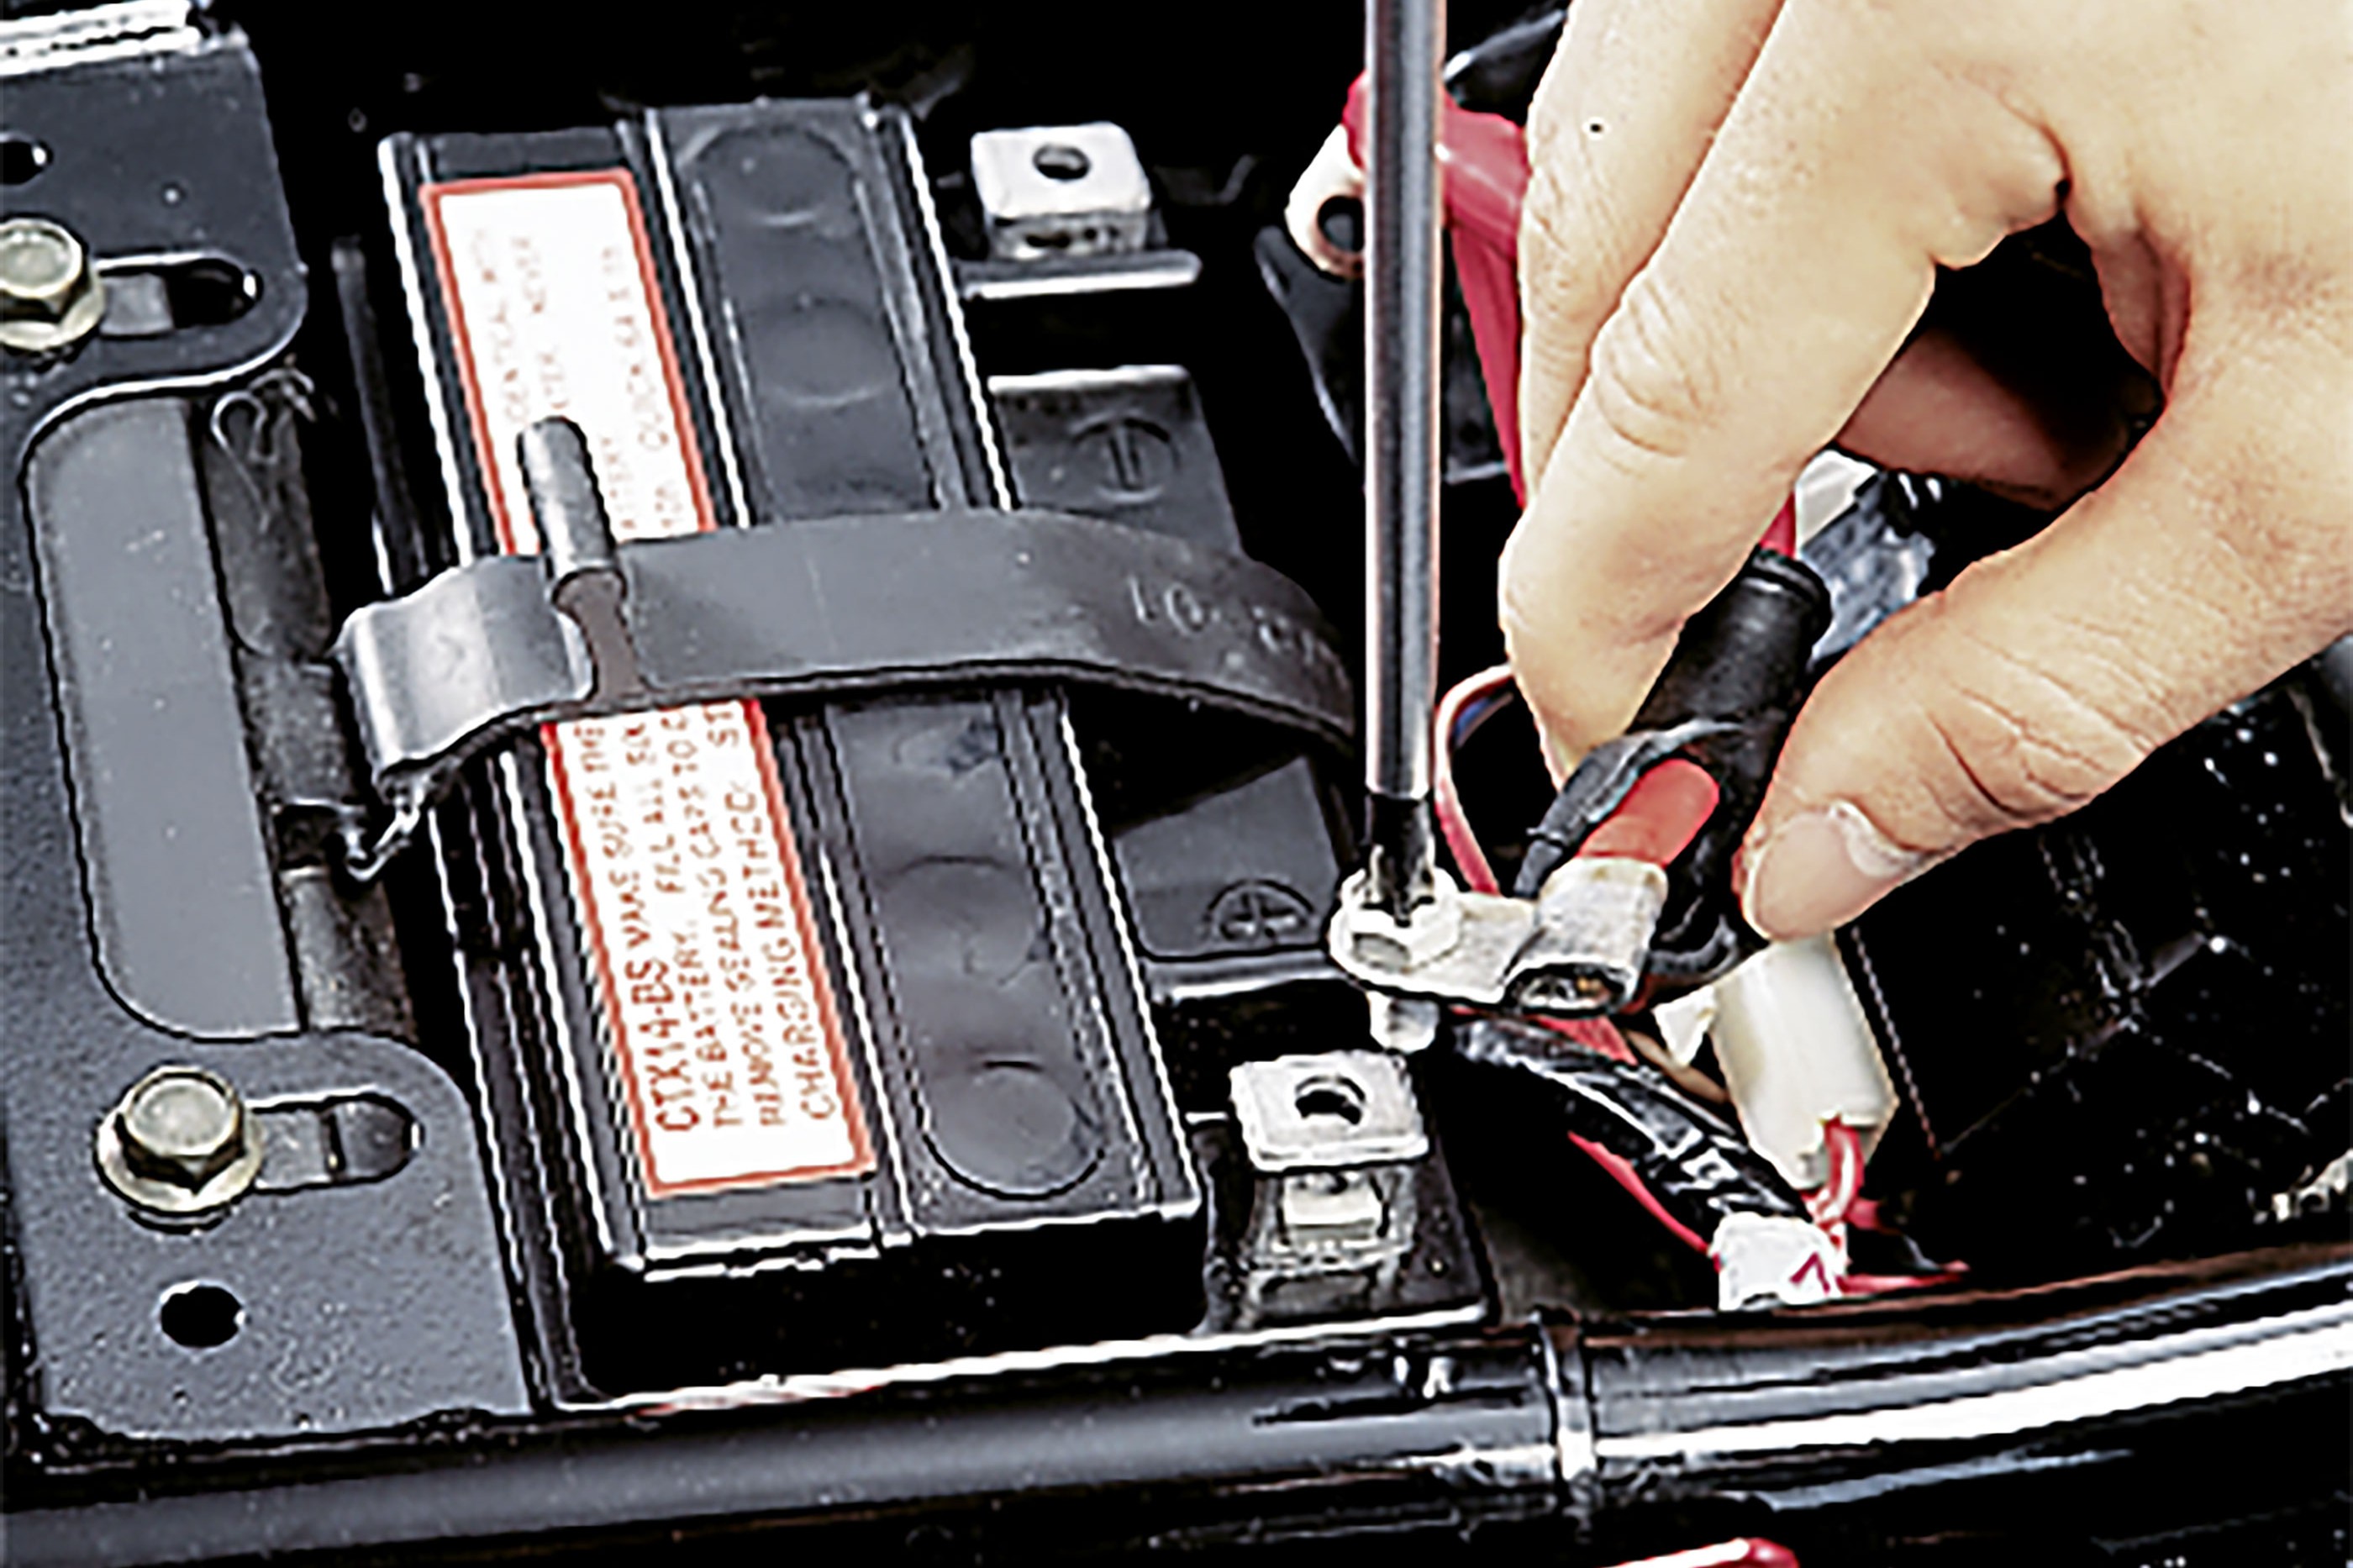
Instructions: Position your wrench securely onto the clamping bolt nut of the negative cable terminal. Turn the wrench counter-clockwise (lefty-loosey) to loosen the fastener. As you turn, the metal collar clamping the cable to the battery post will begin to open up and widen. Do not attempt to pull or pry the cable upward off the post while it is still tight, as this will severely damage the internal battery post or the terminal clamp itself. Only loosen the bolt enough so that the clamp can freely rotate and wiggle side-to-side on the battery post without applying force.
Pro Tip: If the nut is heavily corroded and stuck, apply a small amount of penetrating fluid (like WD-40 or PB Blaster) and let it sit for 3 to 5 minutes before trying again.
Step 6: Detach the Cable and Isolate It
What you need: A clean shop rag, zip tie, or non-conductive insulating material.
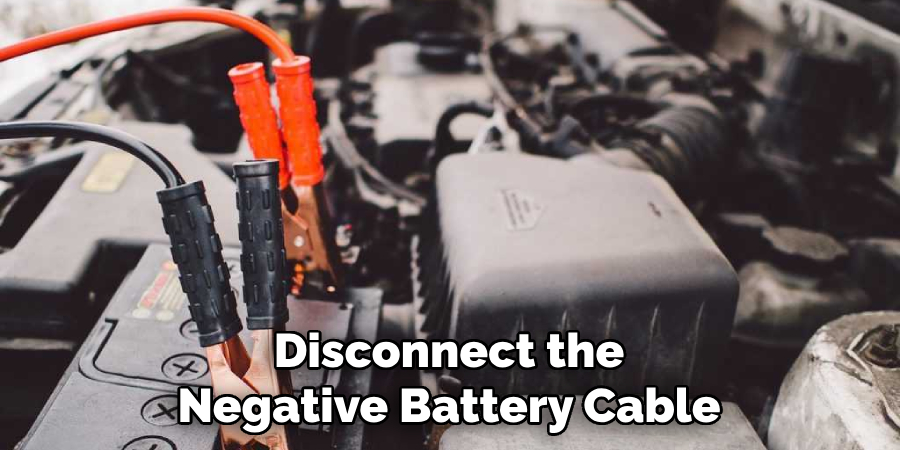
Instructions: Gently grasp the negative cable terminal clamp with your gloved hand and rock it gently back and forth while lifting straight up off the battery post. If it resists, use a slight twisting motion, but never use metal screwdrivers or pry bars to force it off, as you risk puncturing the battery casing. Once the terminal is completely free of the post, carefully lift it away from the battery and position it off to the side. Immediately wrap the terminal end in a thick shop rag, plastic bag, or rubber glove to ensure it cannot accidentally swing back, touch the negative post, or make contact with any other grounded metal surface in the engine bay.
Pro Tip: Tying the cable away with a non-conductive zip tie or bungee cord ensures it won’t bounce back into place while you are working elsewhere on the car.
Step 7: Verify Power Disconnection and Clean Terminal
What you need: A multimeter (optional) and a wire brush for corrosion cleaning.
Instructions: Confirm the electrical system is entirely dead by attempting to turn on the headlights, horn, or interior accessories. If nothing powers on, the battery is successfully disconnected. Take this opportunity to inspect the removed negative cable terminal for white, blue, or green powdery buildup, which indicates acid corrosion. If present, scrub the clamp and the exposed battery post using a specialized battery terminal brush and a mixture of baking soda and water to neutralize any residual acid. Wipe everything down thoroughly with a clean rag before eventually reconnecting the system later.
Pro Tip: Leaving the negative cable disconnected for an extended period may reset your radio presets, clock, and engine computer idle-relearn parameters, which is completely normal.
✅ Final Checklist
- Ignition is completely turned off and keys are removed from the vehicle.
- The correct negative terminal (-) was targeted, verified, and loosened first.
- The negative cable clamp was lifted completely clear of the battery post without using metal prying tools.
- The detached cable end is securely isolated and wrapped to prevent accidental contact with metal.
- Interior accessories were tested to confirm total electrical power disconnection.
Important Notes:
- Always wear safety glasses and gloves; automotive batteries contain corrosive sulfuric acid and explosive hydrogen gas.
- Seek professional assistance if the battery terminal is fused to the post due to severe corrosion or if structural battery damage is discovered.
- Estimated time for this task is 10 to 15 minutes, with a cost of $0 if using standard household tools.
Essential Tools and Safety Gear Needed Before You Begin
Choosing the Right Hand Tools
You do not need an extensive mechanic toolkit to disconnect a battery cable, but using the correct size matters. Most standard terminal nuts on modern vehicles require either a 10mm or 8mm box-end wrench or a quarter-inch socket set. Avoid using adjustable crescent wrenches if possible, because they tend to slip off soft lead terminal nuts and round the edges.
Personal Protective Equipment and Prep
Car batteries contain corrosive sulfuric acid and heavy lead components that demand basic respect. Even when doing a simple cable disconnection in 2026, protecting your skin and eyes is non-negotiable. Gather these specific items before popping your vehicle’s hood:
- Heavy-duty nitrile or leather-palmed work gloves to guard against acid residue and sharp edges.
- Safety glasses or protective goggles to shield your eyes from accidental splashes or sparks.
- A clean, dry shop rag to tuck safely away from terminals once the cable is loose.
- A small piece of plastic or a clean glove to wrap securely over the detached negative terminal.
How to Fix and Safely Disconnect the Negative Battery Cable Step-by-Step
Executing this procedure correctly prevents electrical shorts and component damage. Modern 2026 automotive electrical systems demand strict adherence to safety protocols before any wrench touches metal.
Preparation and Tool Selection
Gather insulated tools rated to at least 1,000 volts to prevent accidental arcing. Automotive engineering standards from the Society of Automotive Engineers (SAE) recommend wearing safety glasses and heavy-duty nitrile gloves. Ensure your vehicle is parked on a flat surface, the ignition is completely off, and the key fobs are kept at least 15 feet away to prevent system wake-ups.
Execution Steps
- Locate the 12-volt battery under the hood or inside the trunk, identifying the negative terminal marked with a minus symbol (-) and typically colored black.
- Loosen the nut on the negative cable clamp using a properly sized wrench or socket, usually a 10mm or 8mm size depending on the manufacturer.
- Turn the fastener counterclockwise just enough to break the clamping tension, avoiding complete removal of the nut to prevent lost hardware.
- Wiggle the cable terminal gently from side to side while pulling upward to lift it completely off the battery post.
- Tuck or secure the disconnected cable well away from the negative post, wrapping the terminal in a clean microfiber cloth or heavy-duty rubber glove to eliminate any chance of accidental contact.
What If the Terminal Is Stuck or Won’t Come Off
Corrosion often bonds lead battery terminals tightly to the cable clamp, resisting standard hand pulls. Forcing the connection with heavy metal pry bars risks cracking the battery casing and leaking sulfuric acid.
Safe Removal Strategies
- Apply a specialized automotive electrical terminal cleaner or penetrating oil directly onto the stuck junction and let it soak for five to ten minutes.
- Use a dedicated battery terminal puller tool, which exerts even mechanical upward pressure without damaging the delicate lead post.
- Gently tap the side of the terminal clamp with a rubber mallet to break internal oxidation bonds while pulling upward.
What If It Still Doesn’t Work?
If standard mechanical pulling and chemical loosening fail to release an severely corroded terminal, further intervention is required to avoid breaking the post or cable assembly.
- Inspect the clamp for structural damage or advanced galvanic corrosion that requires total cable replacement.
- Consult an authorized automotive technician if the battery is located in a hard-to-reach internal compartment, such as under a fender liner or rear seat.
- Professional service shops typically charge between $75 and $150 to safely replace severely seized battery cables and terminals.
Conclusion
Safely disconnecting the negative battery cable protects both sensitive onboard computers and the operator from electrical hazards. By utilizing insulated tools and following precise disconnection steps, you eliminate risks of short circuits. According to verified research and expert sources from leading automotive safety councils, taking these methodical precautions saves vehicle owners hundreds in potential electrical repairs. For your next step, inspect the terminal for hidden corrosion and apply a protective anti-corrosion spray before reconnecting.
❓ Frequently Asked Questions
How do you disconnect the negative battery cable safely without causing sparks?
To prevent sparks, ensure the vehicle ignition is completely off, use insulated tools, and loosen the nut on the black negative terminal before gently lifting the clamp straight up and away from the post.
What tools are required to remove a car battery cable?
You typically need a 10mm wrench or ratchet socket, safety glasses, and heavy-duty work gloves. Pliers may also be useful if the terminal clamp is slightly stuck or corroded.
What happens if the negative cable touches the positive terminal?
Touching the positive and negative terminals together with a metal tool creates a direct short circuit, which can cause intense sparks, melt the tool, damage the vehicle’s electrical computer, or cause the battery to explode.
How do I keep the negative cable from springing back into place?
Once loosened, slip the terminal clamp completely off the post and wrap it in a clean shop rag or tuck it securely behind a plastic component away from any metal surfaces.
Do I need to disconnect both cables or just the negative one?
For most basic automotive maintenance, electrical resets, or repairs, disconnecting only the negative cable is completely sufficient to cut power to the vehicle.
What should I do if the negative cable terminal clamp is corroded and stuck?
Spray a specialized battery terminal cleaner or penetrating oil onto the bolt and clamp. Let it sit for a few minutes to break down the corrosion before gently twisting and pulling upward.